
Interactive Tutorial
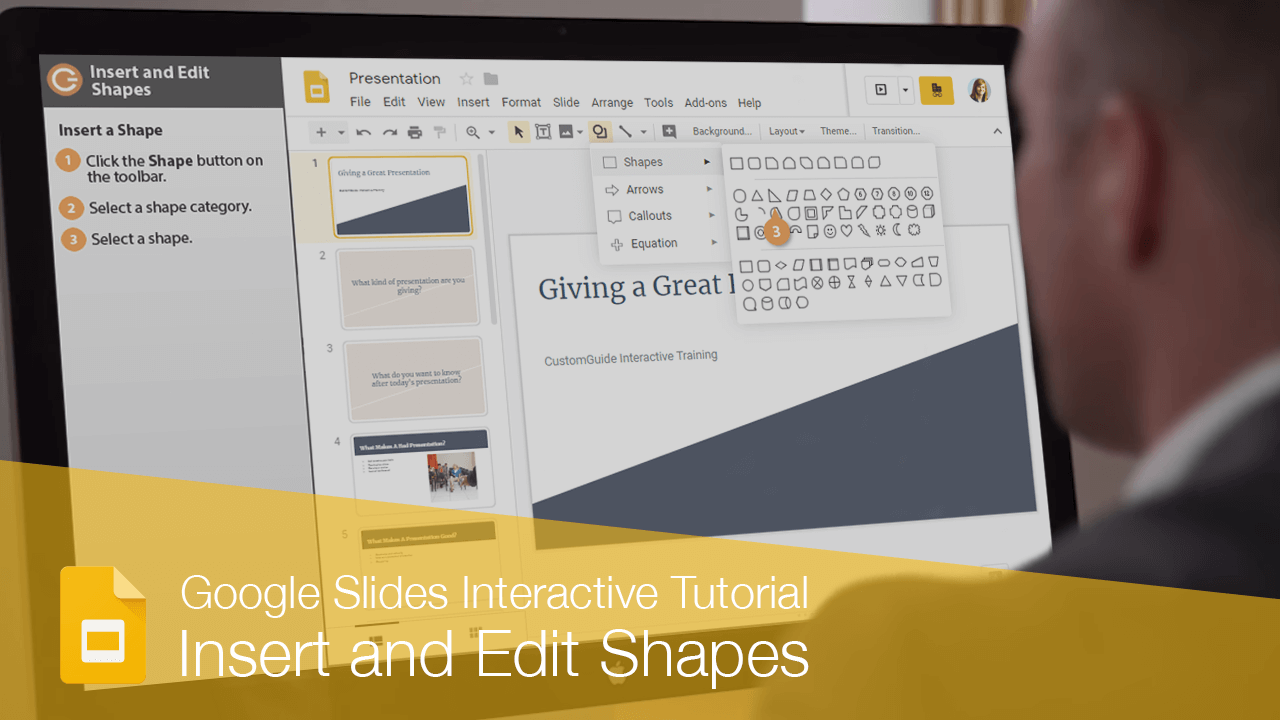
Insert and Edit Shapes
Add and Customize Shapes in Google Slides to Highlight Key Points and Enhance Design
-
Learn by Doing
-
LMS Ready
-
Earn Certificates

Try this Course with a Free Trial
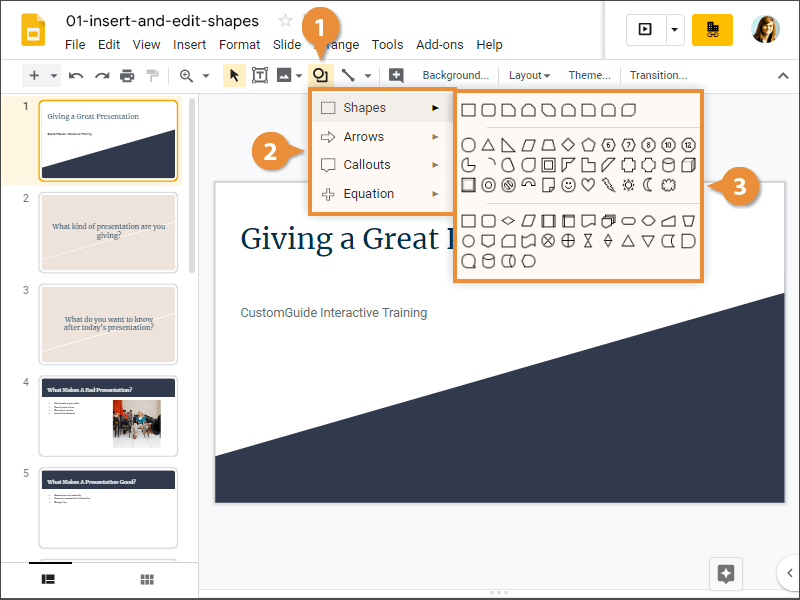
Insert a Shape
- Click the Shape button on the toolbar.
- Select a shape category.
- Select a shape.
- Click where you want to insert the shape.
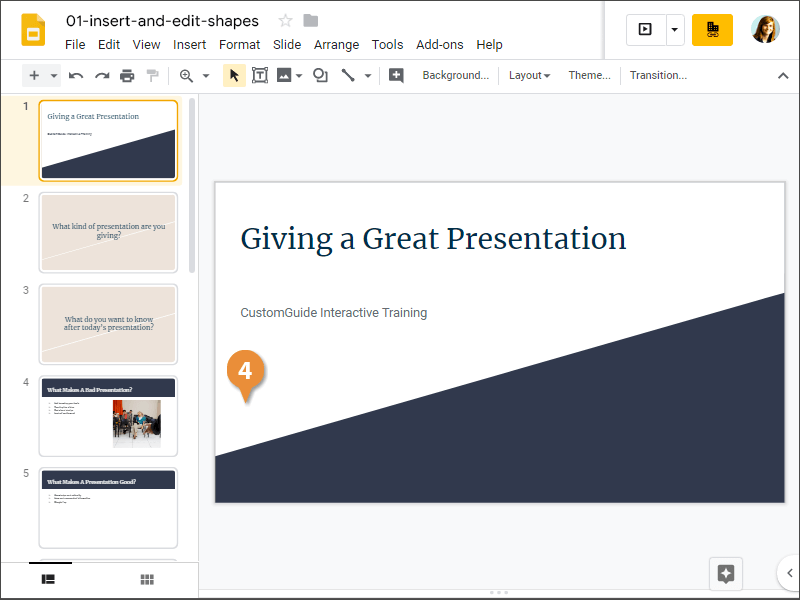
The shape is placed.
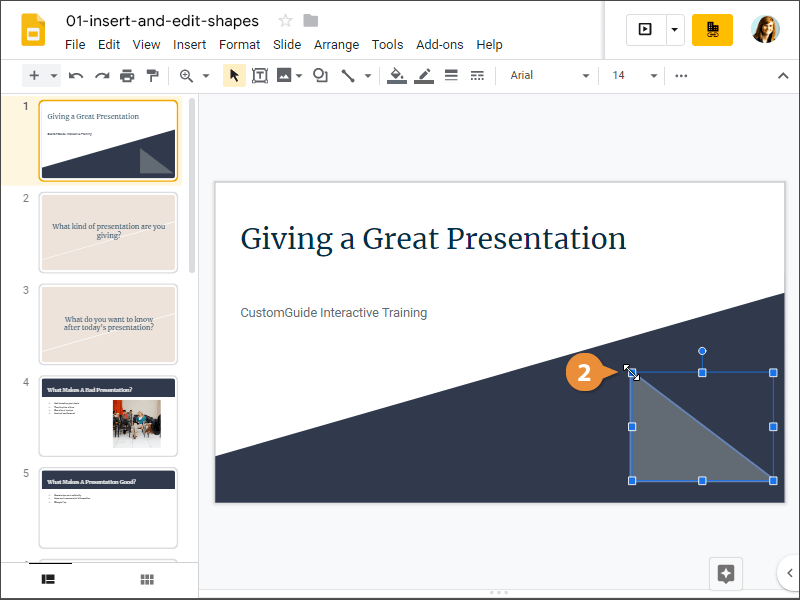
Move and Resize a Shape
Once the shape is inserted, it can be resized and moved around.
- Click and drag a shape to move it.
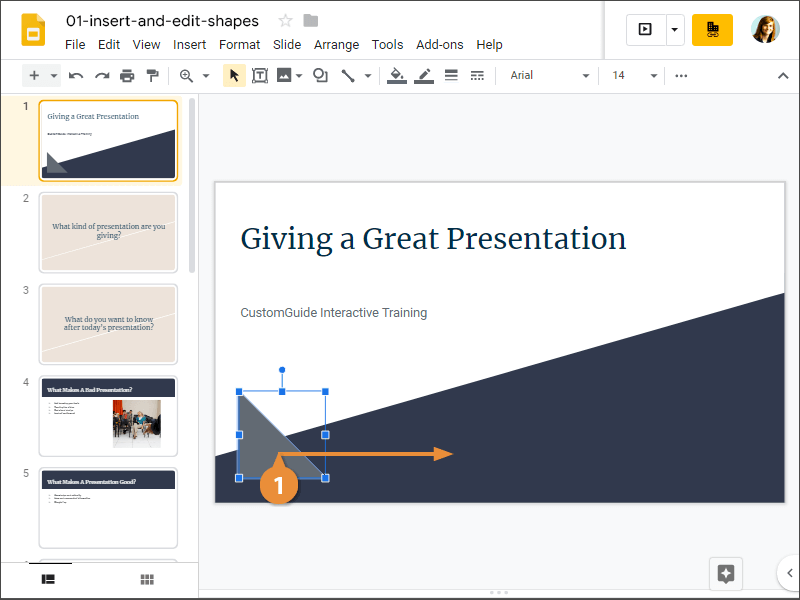
- Click and drag a shape's resize handles to resize it.
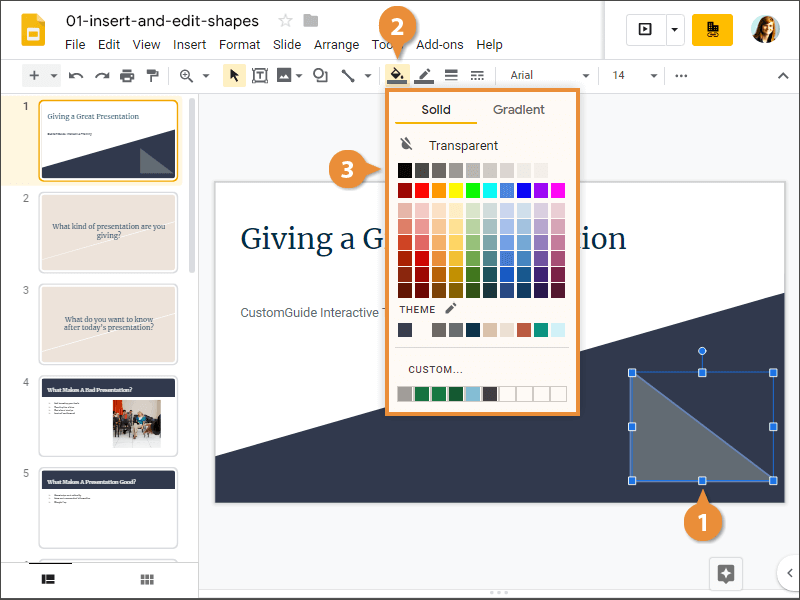
Format a Shape
You can also change the fill and border color of a shape, as well as the width and style of the shape border.
- Select a shape.
- Click the Fill color button.
- Select a fill color.
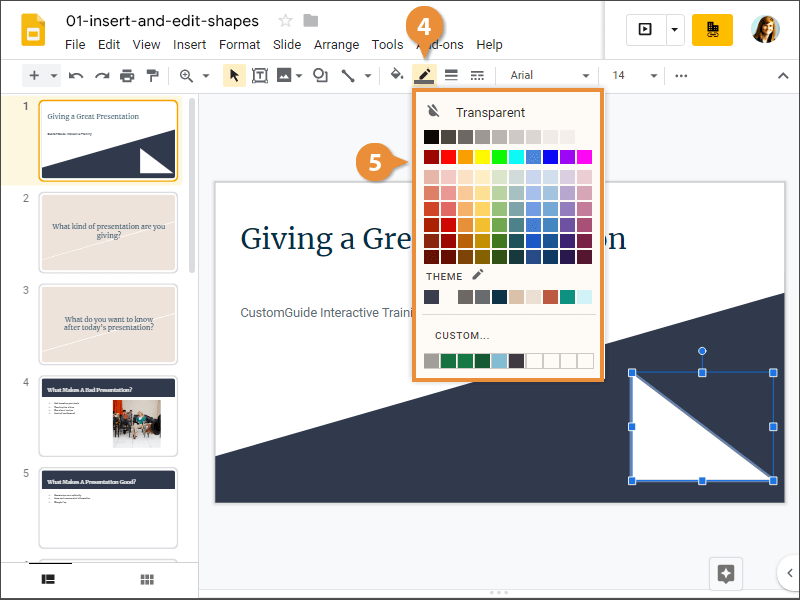
- Click the Border color button.
- Select a border color.
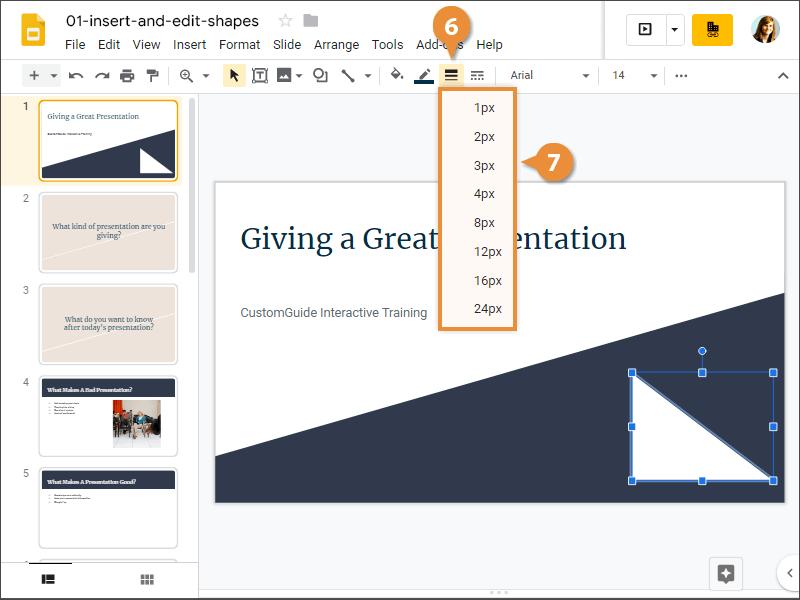
- Click the Border weight button.
- Select a border weight.
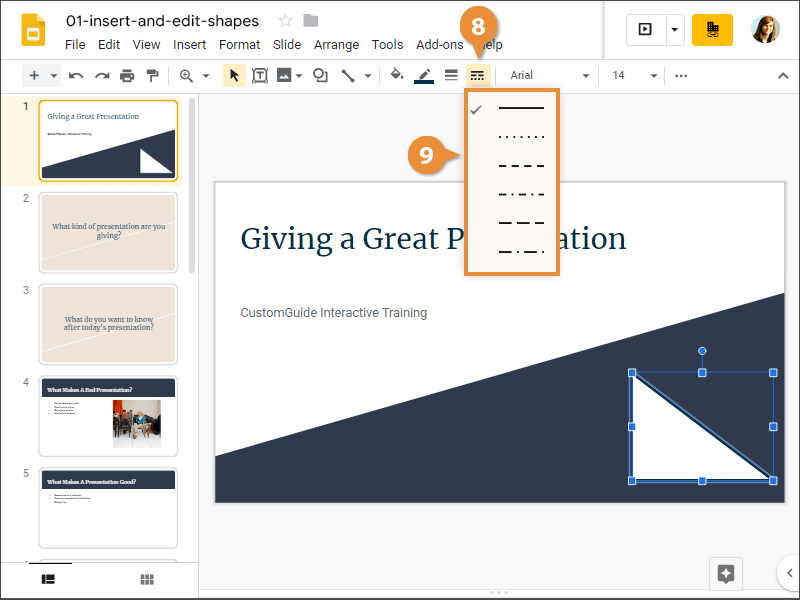
- Click the Border dash button.
- Select a border dash style.
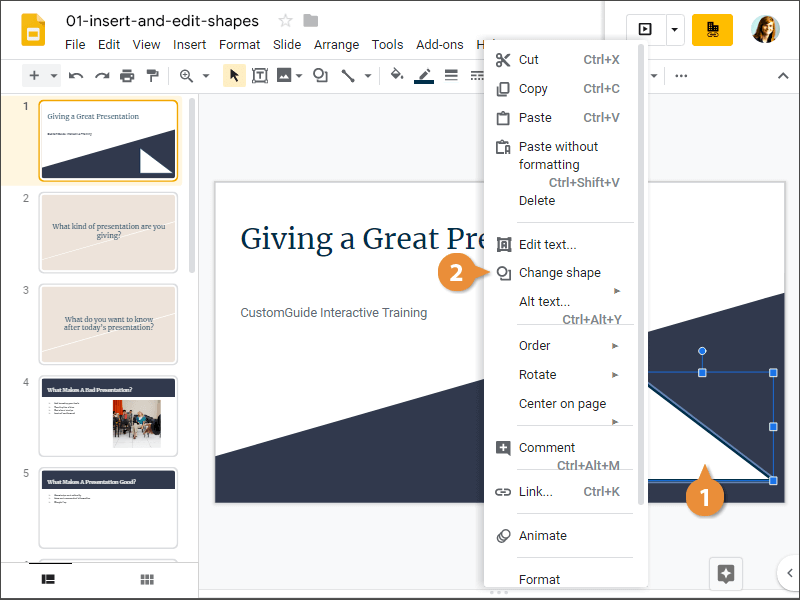
Change a Shape
If you'd rather use a different shape while keeping the same position, size, and formatting, you can change the shape.
- Right-click a shape.
- Select Change shape.
- Select a shape category.
- Select a shape.
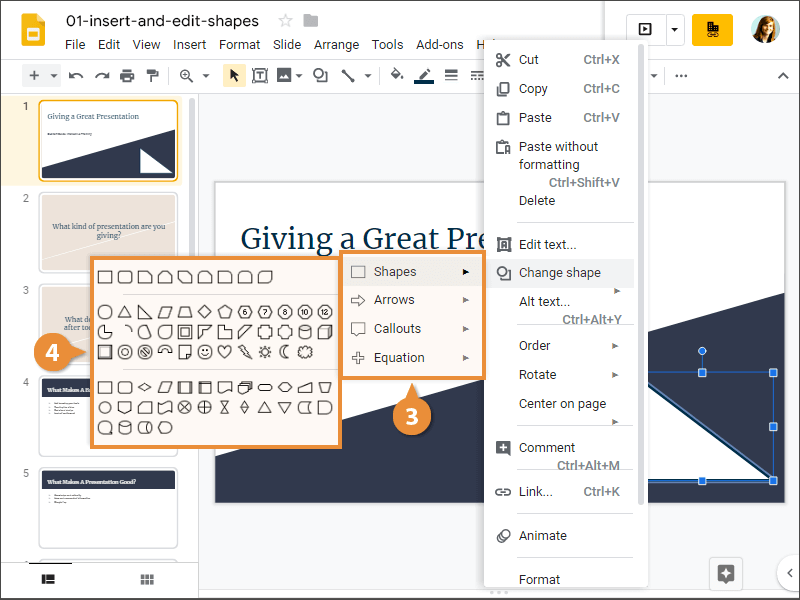
The shape is updated, but the formatting and size remain the same.
- Click and drag a shape's resize handles to resize it.
- Click where you want to insert the shape.