
Interactive Tutorial
Version History Google Slides
View, Restore, and Manage Previous Versions in Google Slides to Track Edits Easily
-
Learn by Doing
-
LMS Ready
-
Earn Certificates

Try this Course with a Free Trial
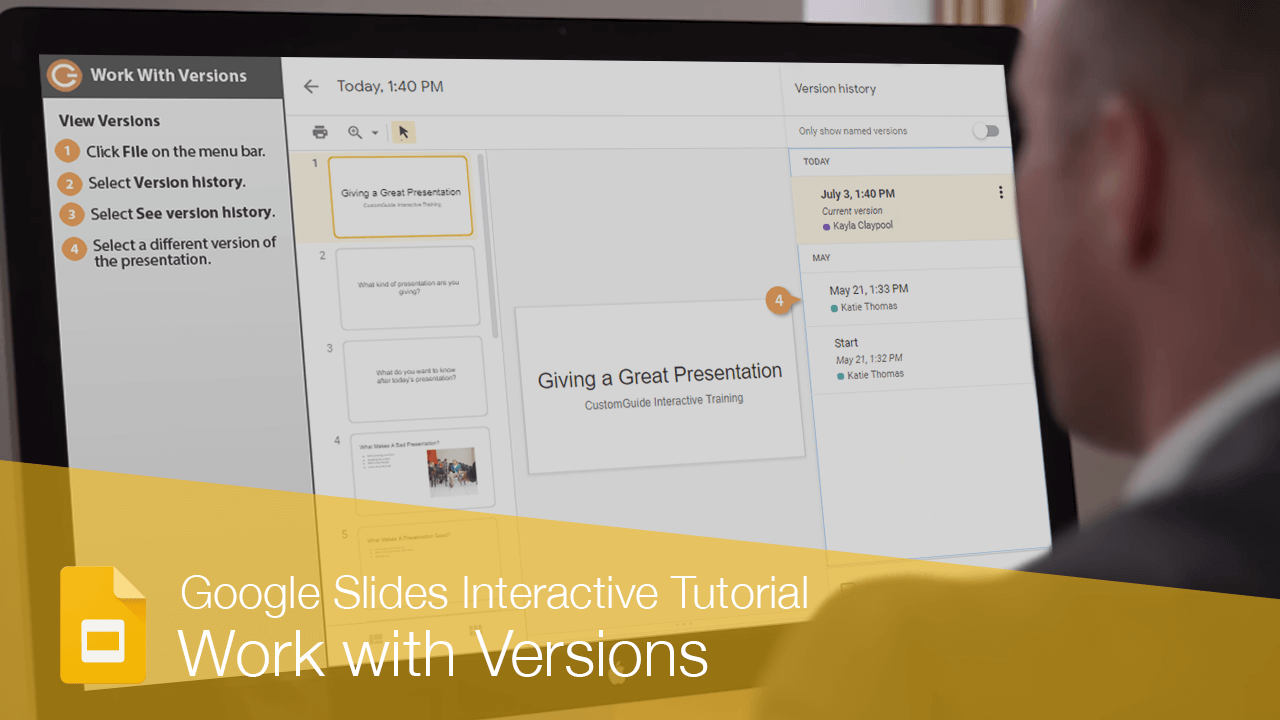
After you create a new presentation, every change or edit you make is recorded. The record of these changes is called the version history.
View Versions
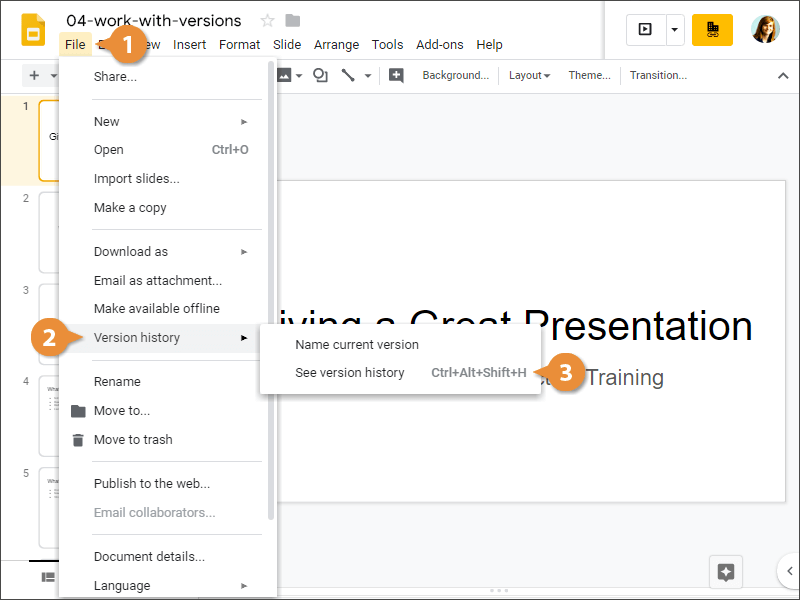
- Click File on the menu bar.
- Select Version history.
- Select See version history.
The Version history pane appears at the right showing all previous versions that have been auto-saved.
- Select a different version of the presentation.
You see a preview of that version at the left.
- (Optional) Select the Show changes check box.
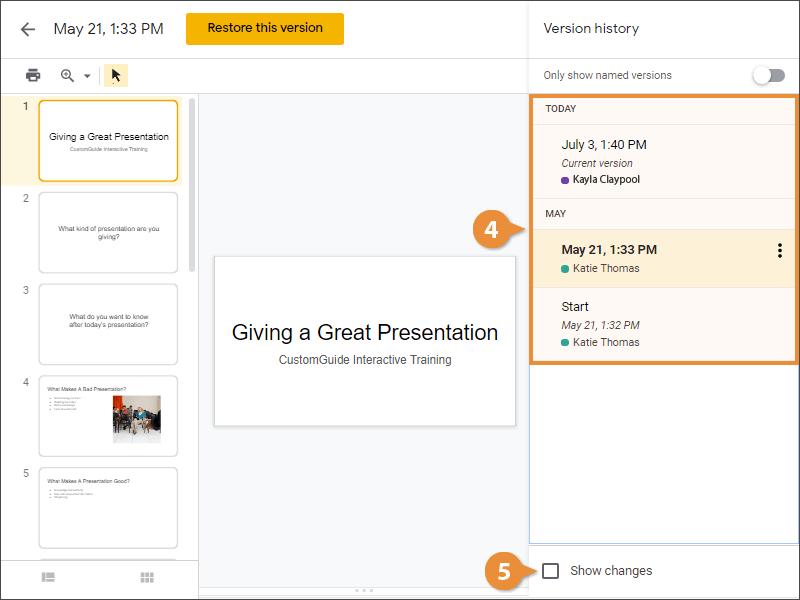
Any changes that were made are highlighted in green.
Create a Named Version
To make it easier to know which version is which, you can give it a name.
- Click the More actions button for the version you want to name in the Version history pane.
- Select Name this version.
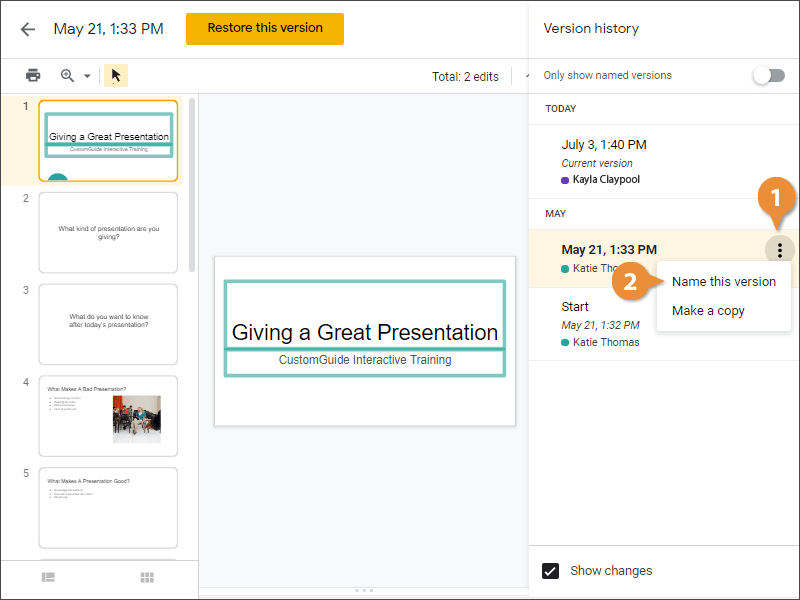
- Type a name for the version and click outside the name field.
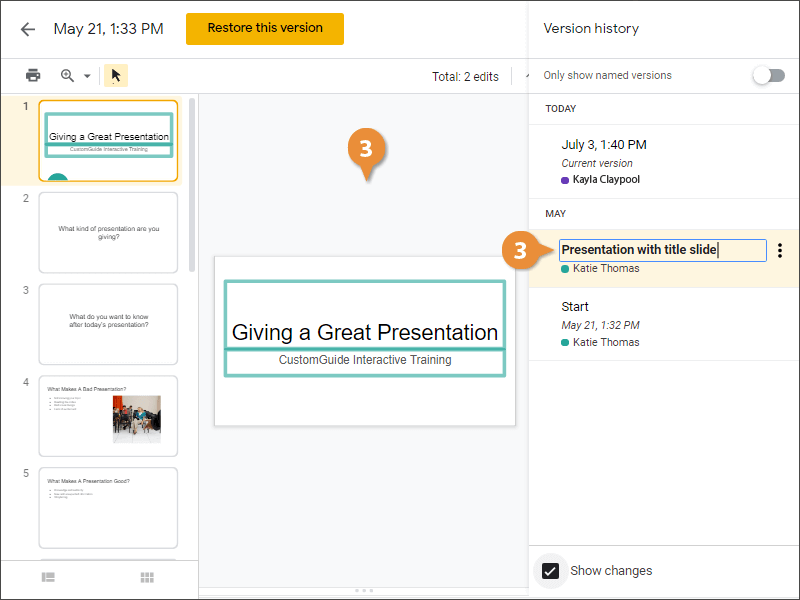
The name is saved and now it's easy to tell which version this is.
Restore a Version
- Select the version you want to restore in the version history pane.
Selecting a version in this pane doesn't actually bring this version back. You could still click the back arrow and return to the current version.
- Click the Restore this version button.

- Click the Restore to confirm.
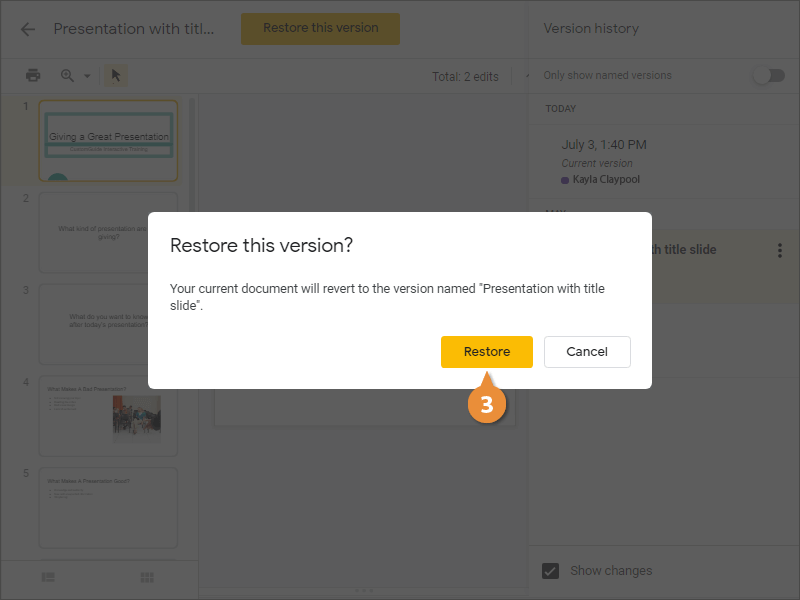
The older version is restored to the active version and you can continue making edits.
- Click the Restore to confirm.
- Type a name for the version and click outside the name field.
- Select a different version of the presentation.