
Interactive Tutorial
How to Format Text in Google Slides
Customize Fonts, Colors, and Styles in Google Slides to Make Your Text Stand Out
-
Learn by Doing
-
LMS Ready
-
Earn Certificates

Try this Course with a Free Trial
If you don't like the way your text appears on a slide, you can change it.
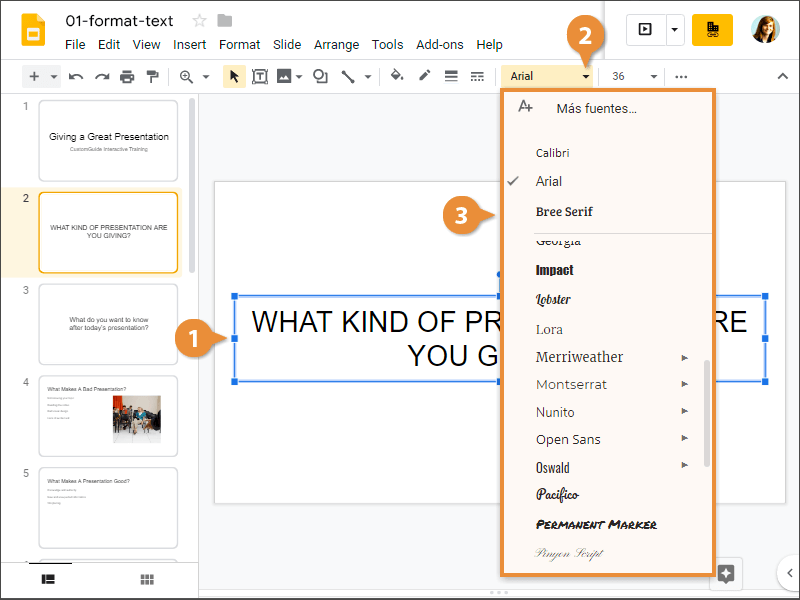
Change the Font
- Select text.
- Click the Font list arrow.
- Select a font.
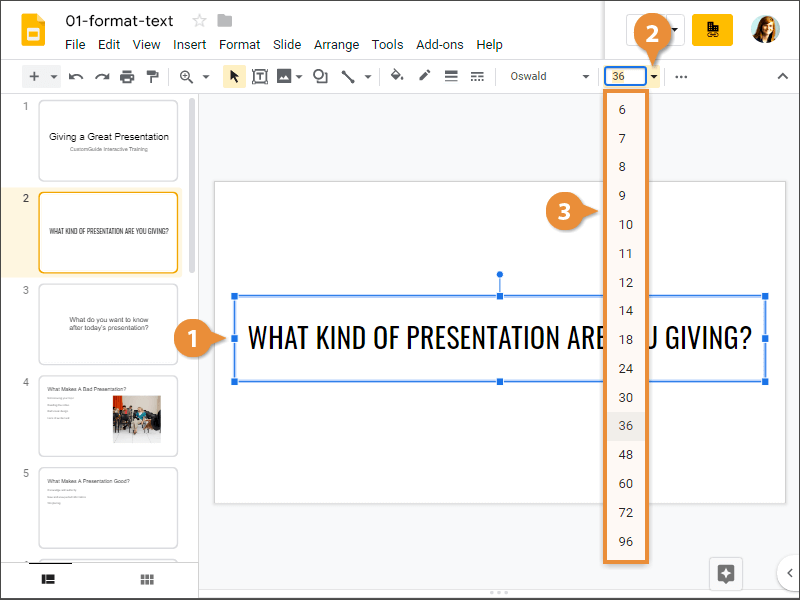
Change the Font Size
- Select text.
- Click the Font Size list arrow.
- Select a font size.
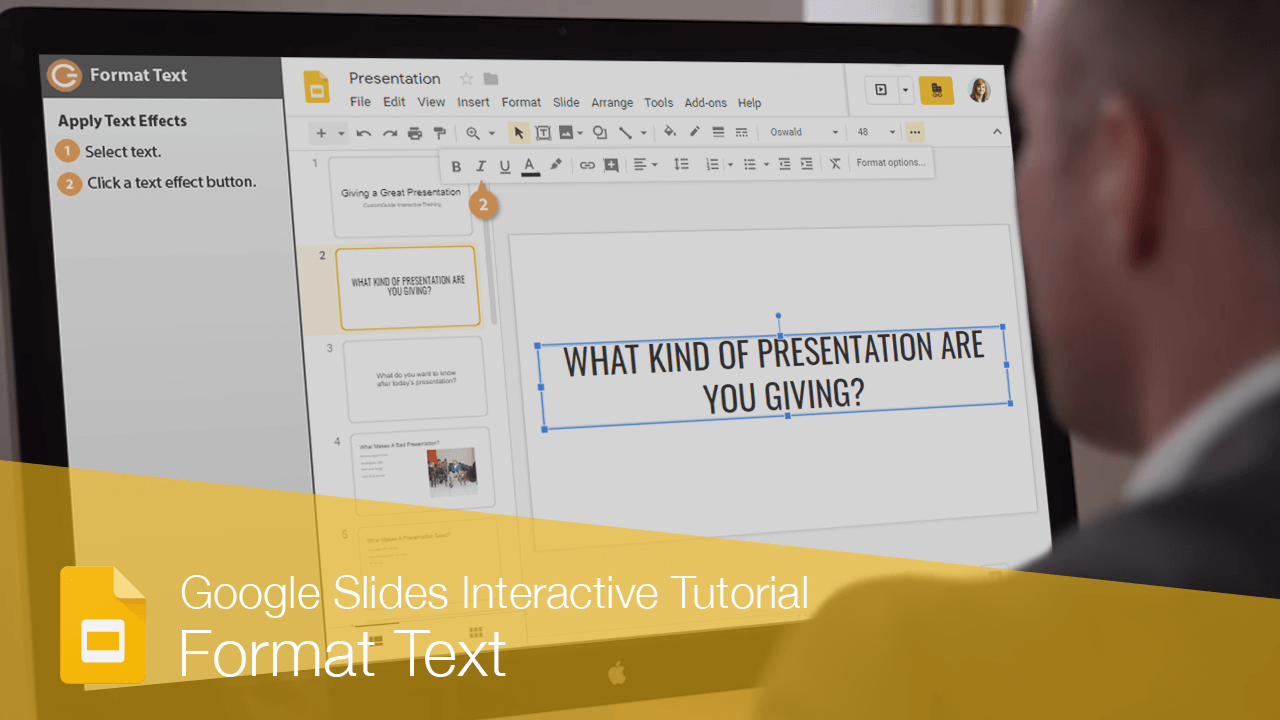
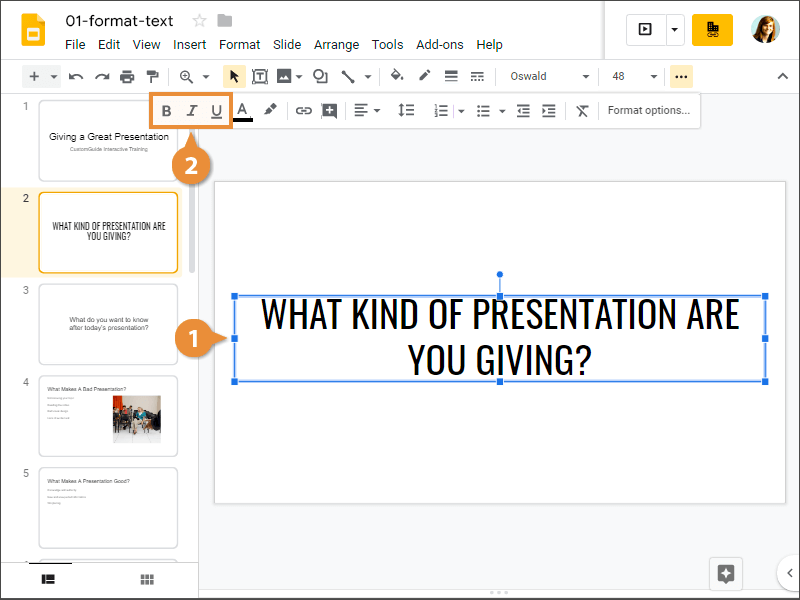
Apply Text Effects
There are other font formatting options available. If you can't see them, click the More (…) button on the toolbar.
- Select text.
You can apply basic effects to the text, such as bolding it, italicizing it, or underlining it.
- Click a text effect button.
Change the Text Color
- Select text.
- Click the Text color button.
Here you can choose from the color picker, or you can choose from theme colors that will automatically update if the theme changes.
- Select a color.

The text color changes.
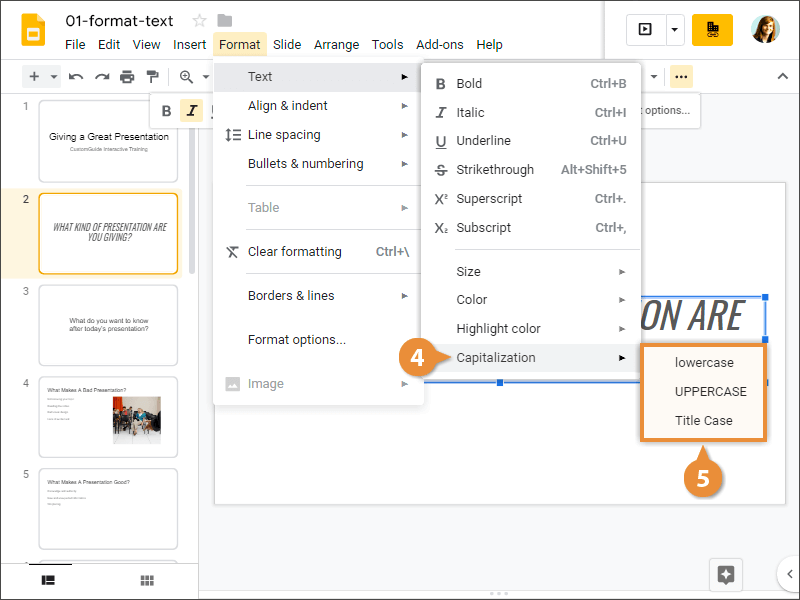
Change the Case
You can change the case of text, so every letter appears capitalized, every letter appears uncapitalized, or just the first letter of every word appears capitalized.
- Select text.
- Click Format on the menu bar.
- Select Text.

- Select Capitalization.
- Select a capitalization option.
Align Text
- Select text.
- Click the Align button.
- Select an alignment option.
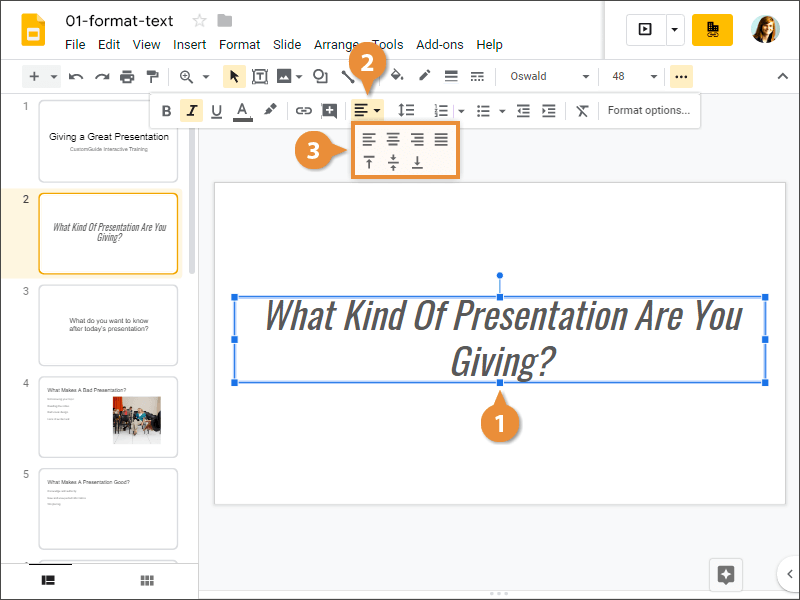
The alignment is applied to the selected text.
Here you can change both the horizontal alignment and the vertical alignment of the text in the text box.
- Select text.
When a text box is selected, any formatting you apply will be applied to all of the text within that text box. You could also select just some text as well, and any formatting would be applied to only the selected text.