Select Cells and Ranges
How to Select Cells and Ranges in Google Sheets

Google Sheets Training Features:
-
Interactive bite-sized lessons
-
Get Certified
-
Accurate skill assessments
-
Customizable, LMS-ready content

Selecting cells is an important skill in Sheets. Almost all of the information in Sheets is saved in a cell or cell range. So, before you can enter, edit, or format text, you first need to know how to select a cell or cell range.
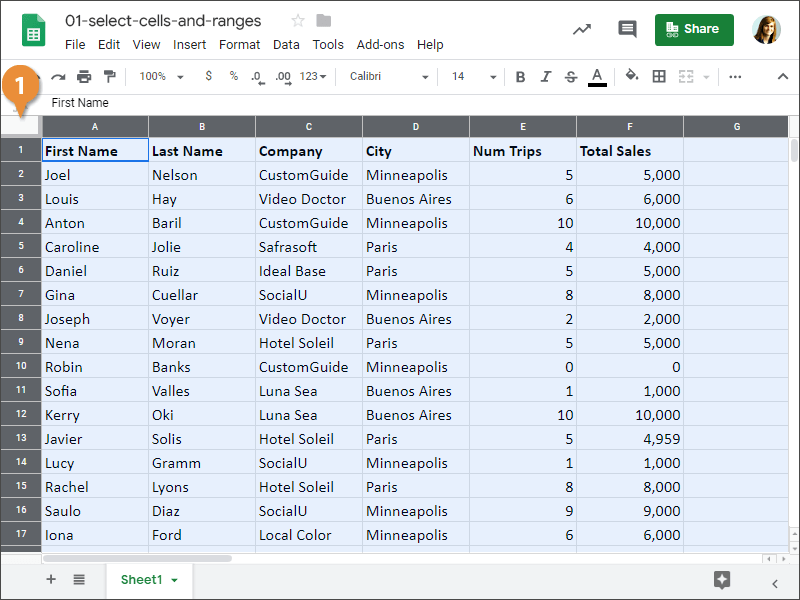
Select a Cell
- Click a cell.
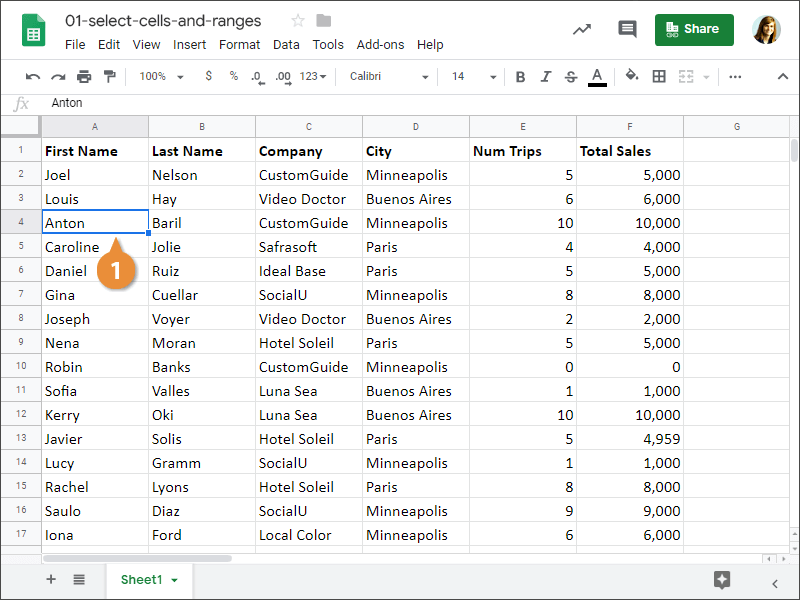
To see which cell is selected, look at the shaded column number and row letter.
The cell is selected, indicated by the selection border around it.
Select a Row
Now let's try selecting an entire row.
- Click a row header.

You can also select multiple rows by selecting a row header, pressing and holding the Shift key, and pressing the Up or Down arrow keys to select additional rows.
All of the cells in that row are selected.
The row's header is also shaded darker to indicate that the entire row is selected.
Select a Column
You can select columns in the same way that you select rows.
- Click and drag column headers to select multiple columns.
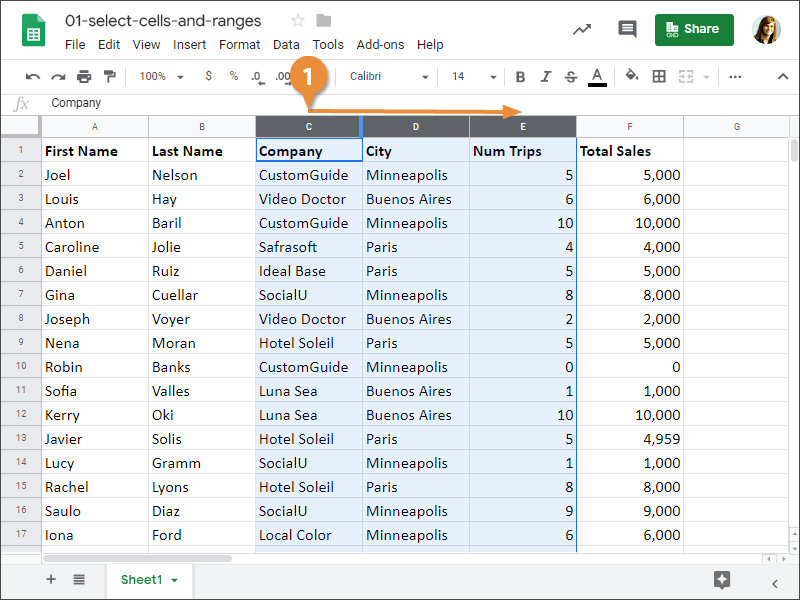
You can also select multiple columns by selecting a column header, pressing and holding the Shift key, and pressing the Left or Right arrow keys to select additional columns.
Select a Range of Cells
- Click and drag cells to select multiple cells.
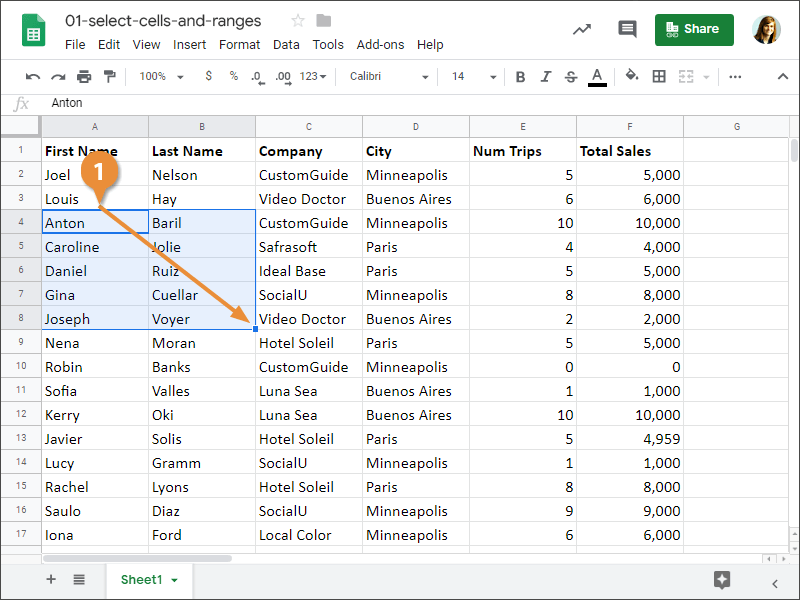
You can also select a cell range by selecting the first cell of the cell range, pressing and holding the Shift key and selecting the last cell of the cell range.
The cell range is selected.
Select All Cells
- Click the Select All box.
Press Ctrl + A.
The entire sheet is selected.

FREE Quick Reference
Click to DownloadFree to distribute with our compliments; we hope you will consider our paid training.
- LinkedIn-ready certificate
- Skill assessments
- Bite-sized, interactive lessons
- Saved progress