
Interactive Tutorial
How to Lock Cells in Google Sheets
Learn how to lock cells and control who can edit your Google Sheets
-
Learn by Doing
-
LMS Ready
-
Earn Certificates

Try this Course with a Free Trial
Prevent unauthorized changes to data by protecting your spreadsheets. In a protected spreadsheet, none of its contents can be changed. However, it's also possible to set up the spreadsheet so that only certain cells and elements can be changed after it's protected.
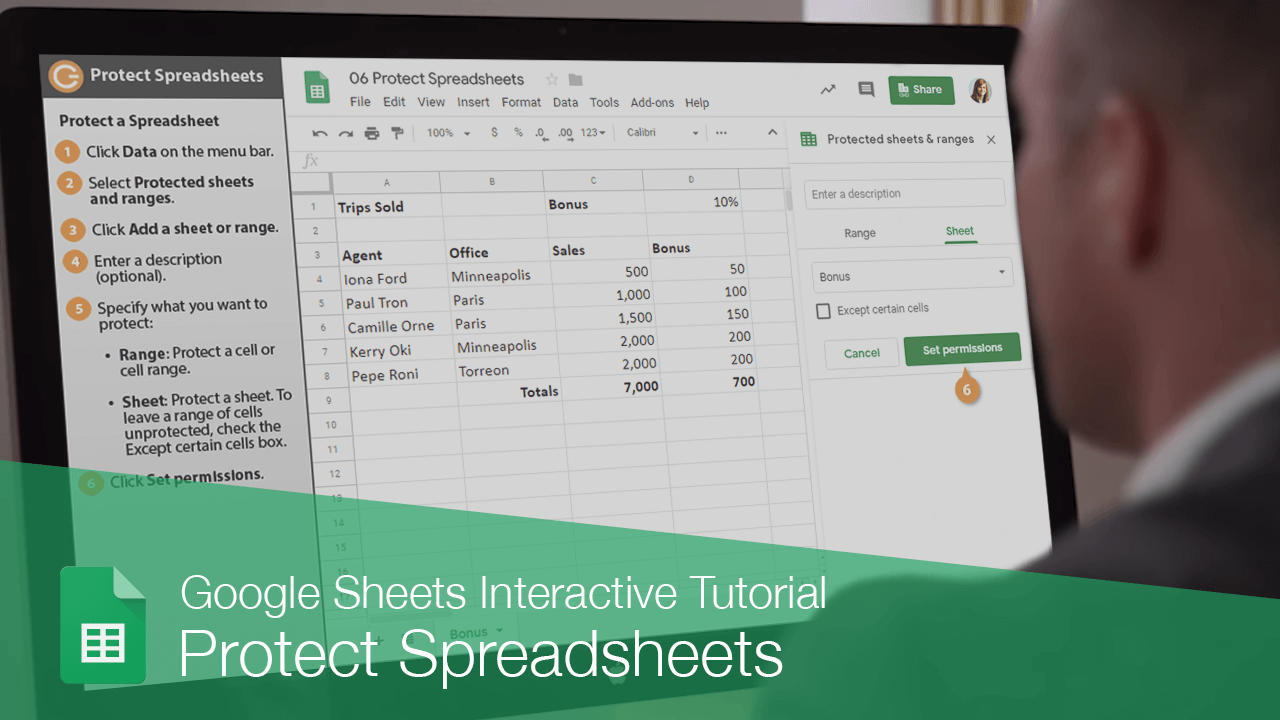
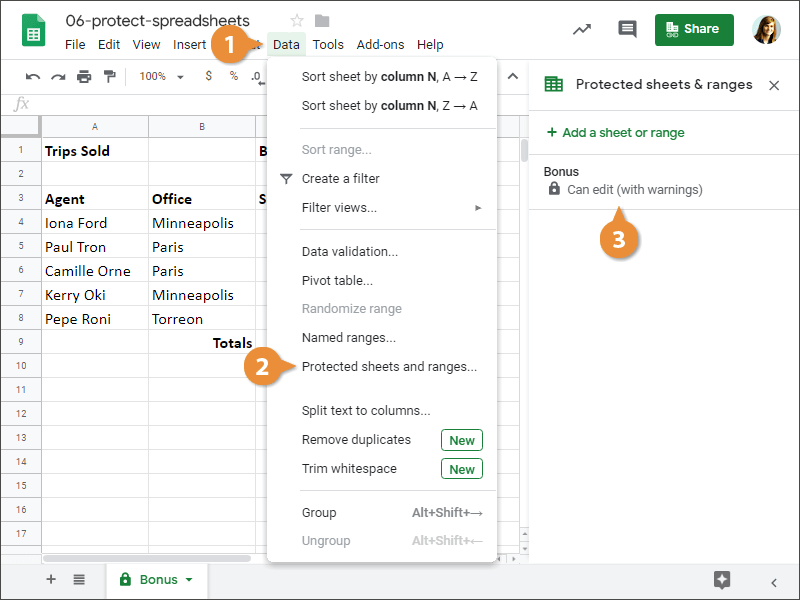
Protect a Spreadsheet
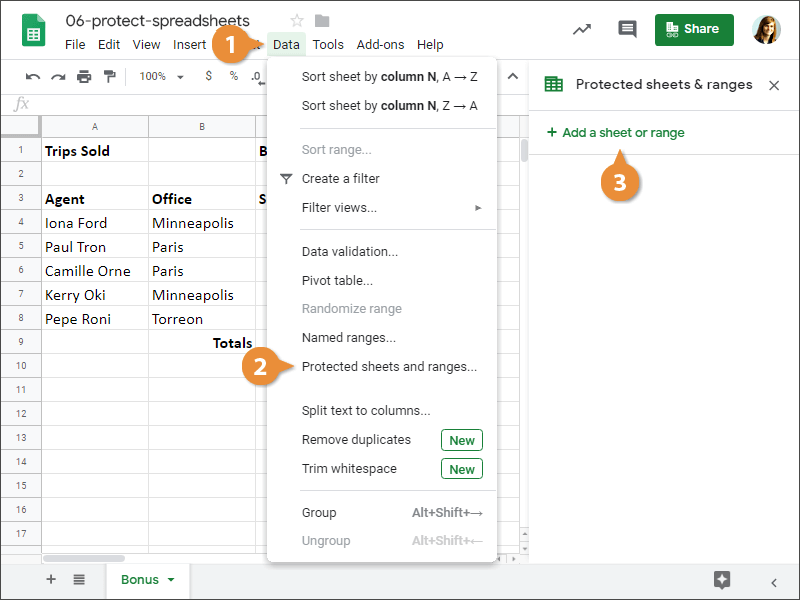
- Click Data on the menu bar.
- Select Protected sheets and ranges.
The Protected sheets & ranges pane opens on the right.
- Click Add a sheet or range.
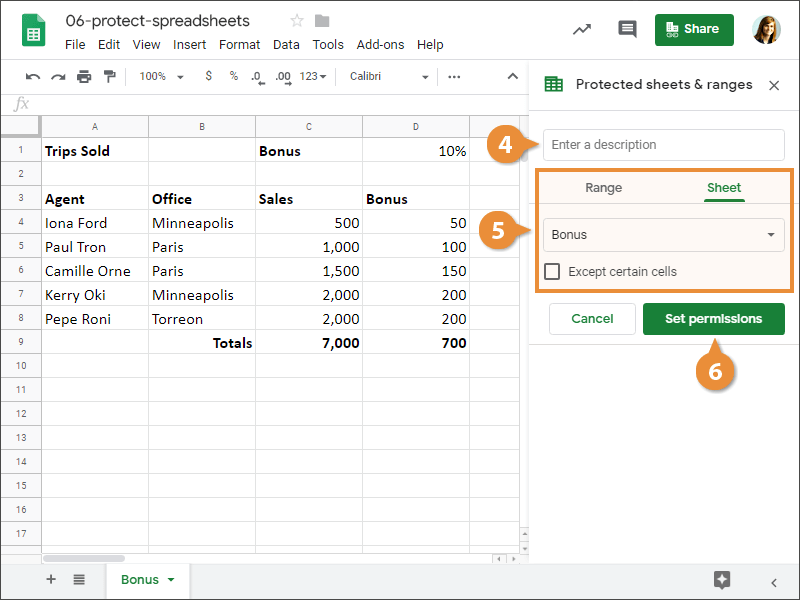
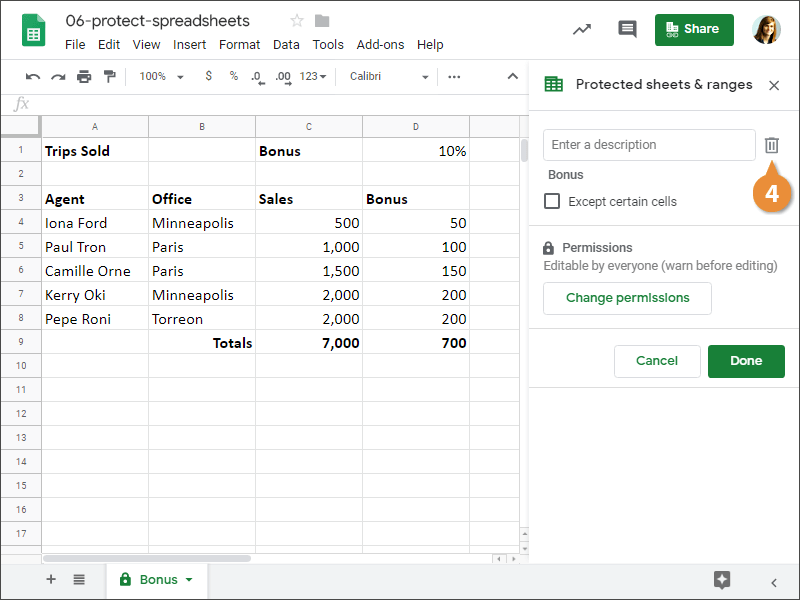
- (Optional) Enter a description.
- Specify what you want to protect:
- Range: Protect a cell or cell range from edits.
- Sheet: Protect a sheet from edits. To leave a range of cells unprotected, check the Except certain cells box.
- Click Set permissions.
- Specify how you want to limit editing:
- Show warnings when the spreadsheet is edited.
- Specify who can edit the spreadsheet.
- Click Done.
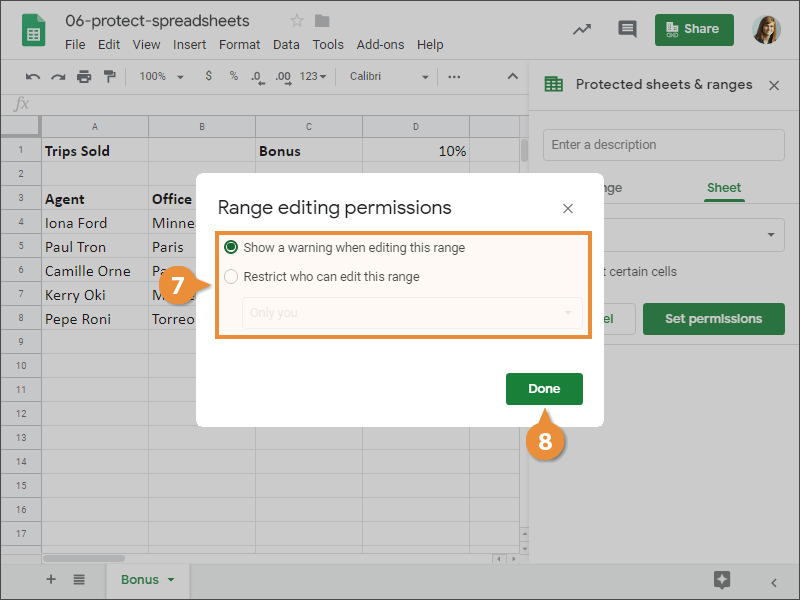
The spreadsheet is protected and no changes can be made to the specified content.
Edit or Delete Protection
You can also edit which areas of your spreadsheet are protected, or delete protection from your spreadsheet altogether.
- Click Data on the menu bar.
- Select Protected sheets and ranges.
The Protected sheets & ranges pane displays the protected ranges in this spreadsheet.
- Click the protected area you want to edit or delete.
- Edit the protection or delete it by clicking the trash icon.
The protection is edited or removed from the spreadsheet.