
Interactive Tutorial
Google Sheets Named Range
Simplify Your Formulas by Creating and Using Named Ranges in Google Sheets
-
Learn by Doing
-
LMS Ready
-
Earn Certificates

Try this Course with a Free Trial
Cell references can be confusing, especially when you're working with formulas. However, cell and range names can help. You can define a name for a single cell or a range of cells.
Name a Cell Range
- Select a cell range you want to name.
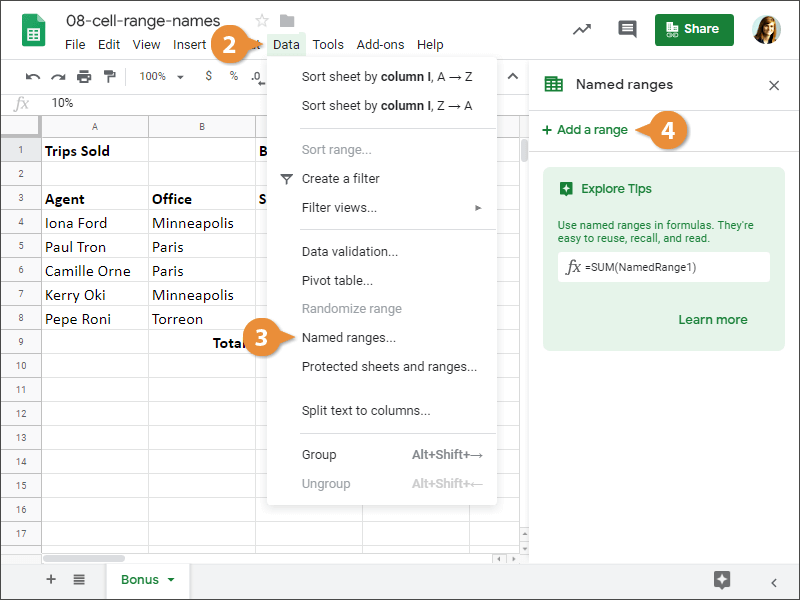
- Click Data on the menu bar.
- Select Named ranges.
The Named Ranges pane opens. If you had any cell ranges named already, they'd be listed here.
- Click Add a range.
- Enter a name for the cell range.
- Click Done.
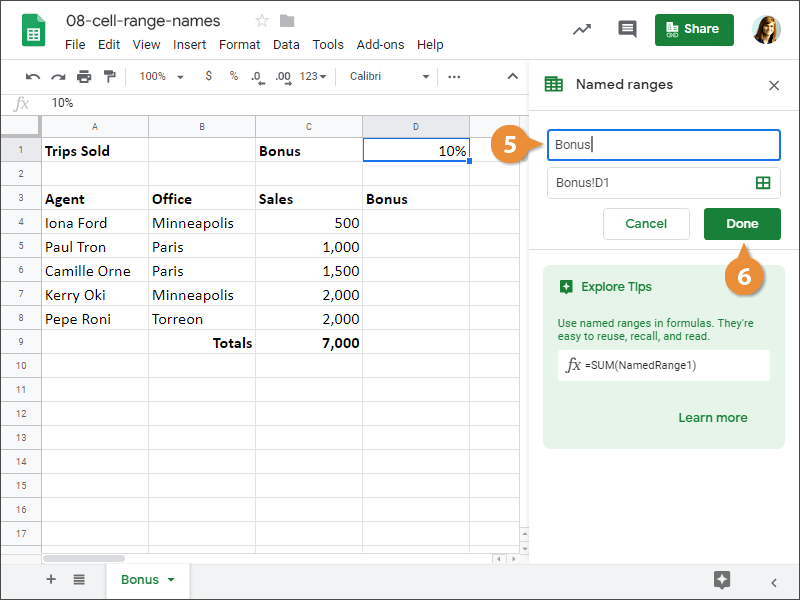
The cell range is named. Now, when you create a formula, use the name to reference the cell(s) instead.
Use a Cell Range Name in a Formula
- Enter a formula using the cell range name instead of the cell range.
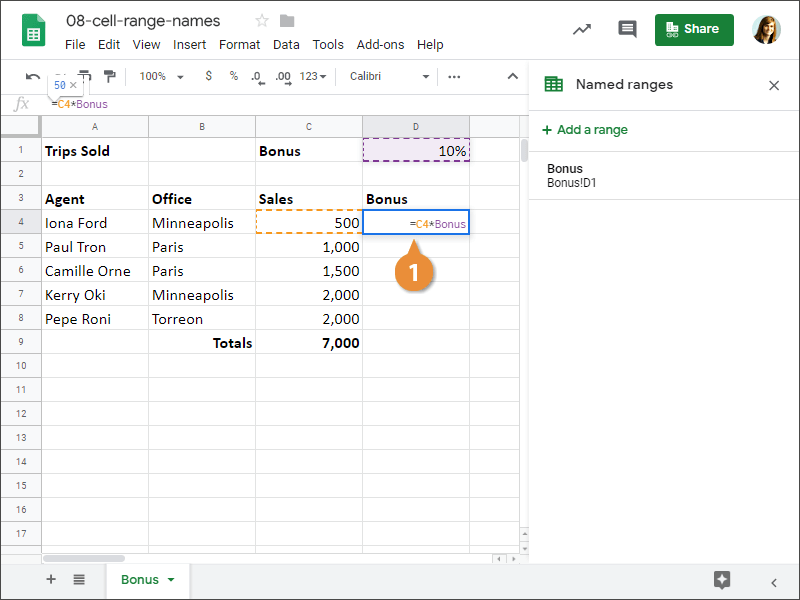
Now when we enter a formula, we can use the cell name instead of its column and row coordinates.
Go To a Named Range
You can also use named ranges to make it easier to navigate a workbook.
- Open the Named Ranges pane.
- Click a named cell range.
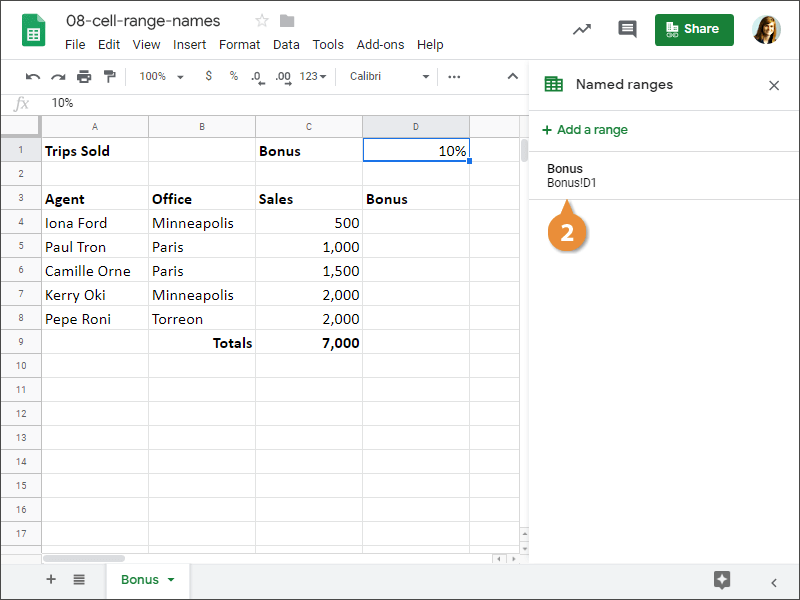
Sheets takes you to your named cell or cell range.
Edit and Delete Cell Range Names
You can easily edit, rename, and delete cell range names.
- Open the Named Ranges pane.
- Click a named range's Edit button.
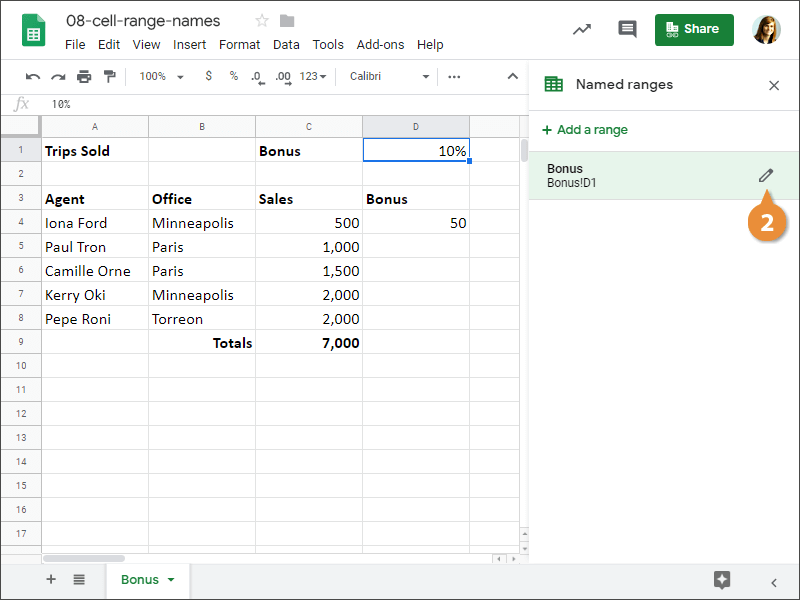
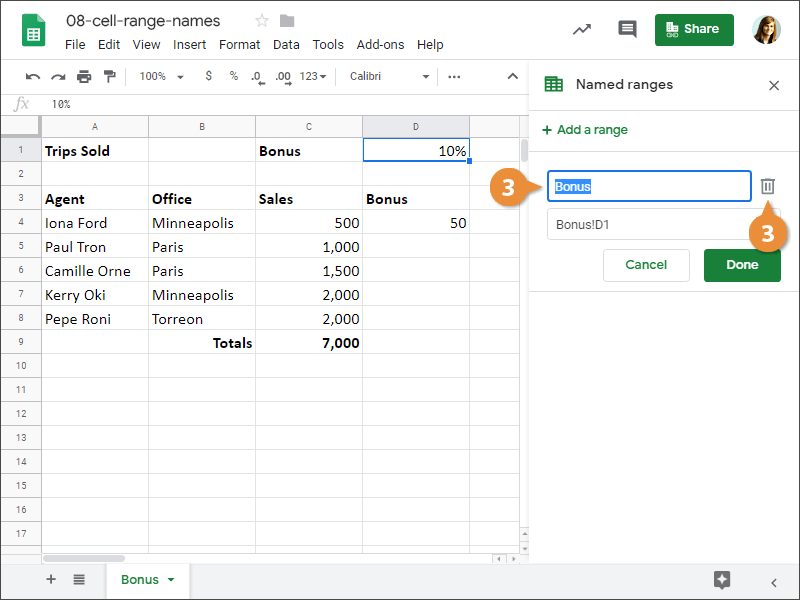
Here, you can change a range's name or adjust the cell range. You can also delete a range you no longer need.
- Edit a named range's name or range, or click Delete.
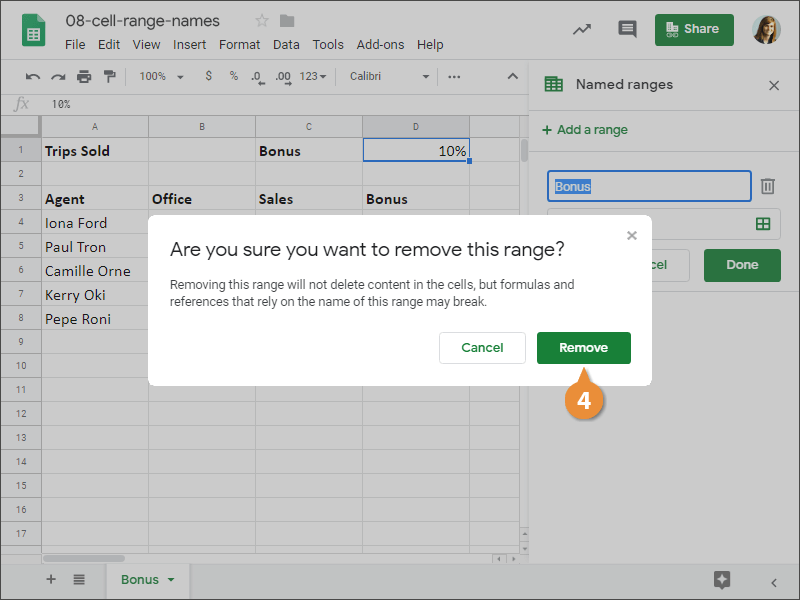
Just to be sure, you're asked before it's deleted.
- Click Remove.
- Close the Named Ranges pane.
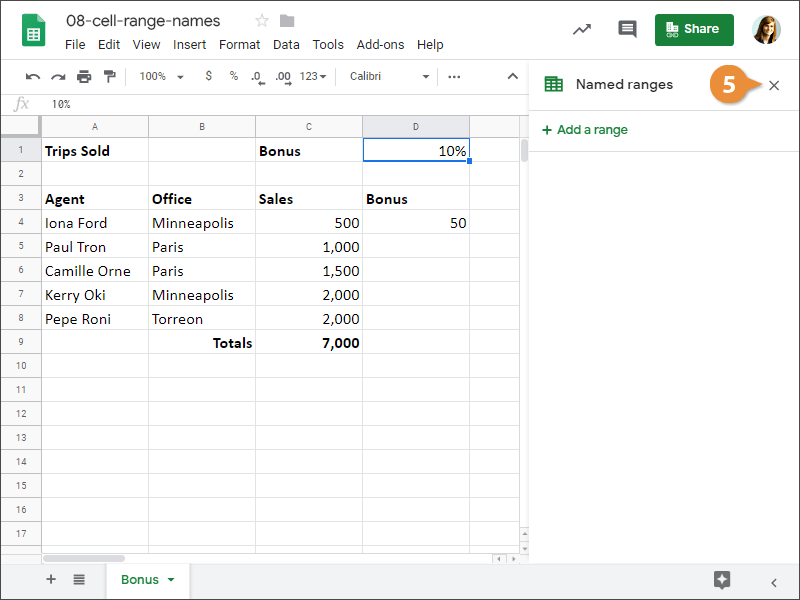
The pane closes. Remember that once a named range is removed, you'll need to update any formulas using that range with the correct cell range.