Interactive Tutorial
Google Drive Workspaces
Create and Manage Google Drive Workspaces to Organize Your Projects Efficiently
-
Learn by Doing
-
LMS Ready
-
Earn Certificates

Try this Course with a Free Trial
Workspaces are another way Google Drive makes it easy to find the content that matters most. Shortcut links to files are added to the Workspace where you can conveniently organize them as you wish, while the files themselves remain stored in their original location. This eliminates the need to search your entire Drive for frequently accessed files.
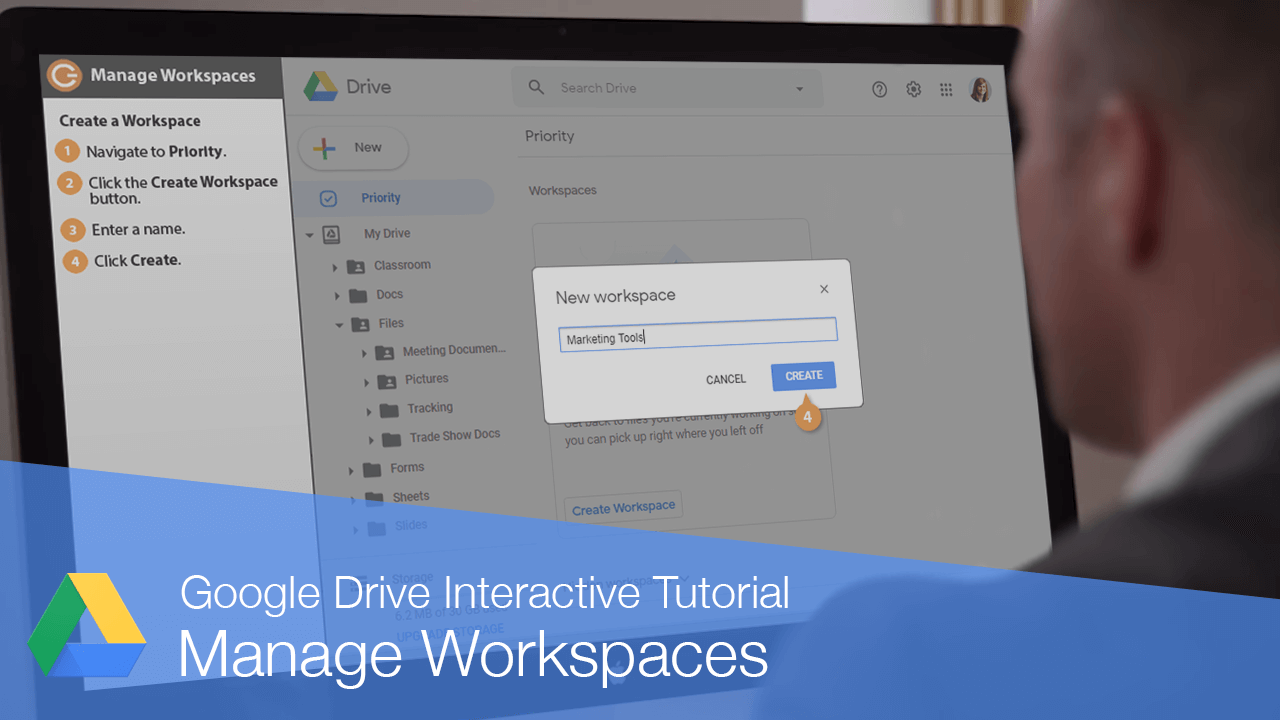
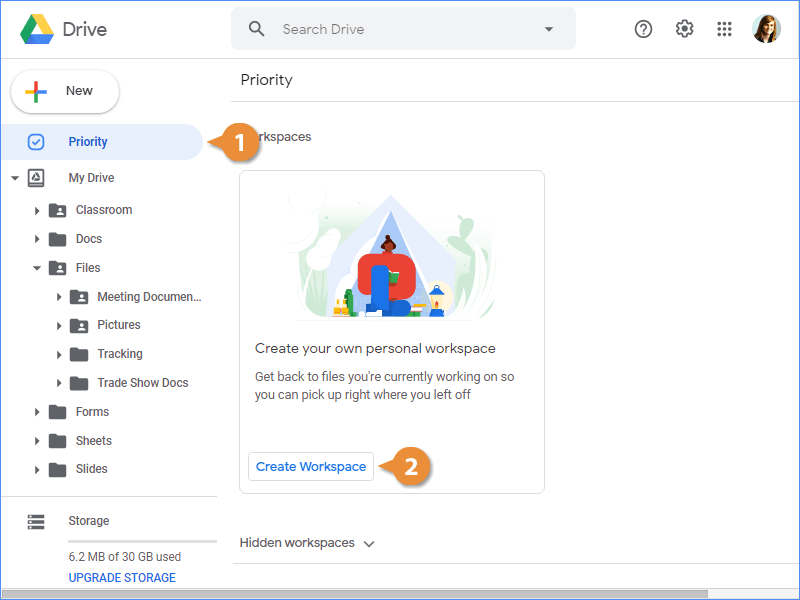
Create a Workspace
- Navigate to Priority.
- Click the Create Workspace button.
- Enter a name.
- Click Create.
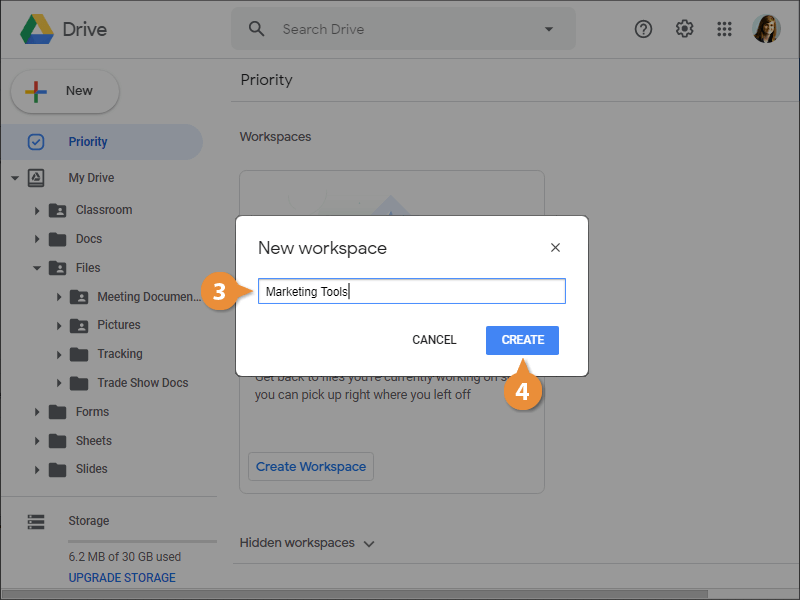
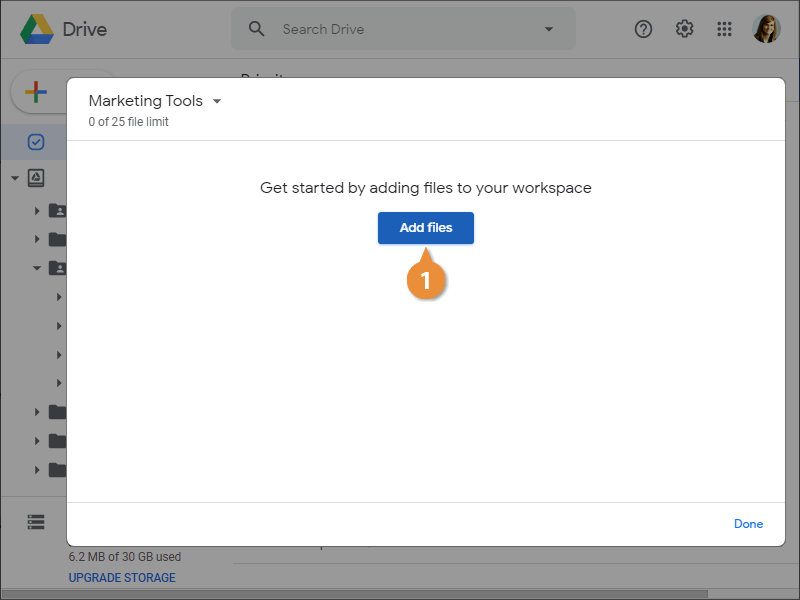
The Workspace is created and ready to populate with files.
Add Files to a Workspace
- In the workspace window, click Add files.
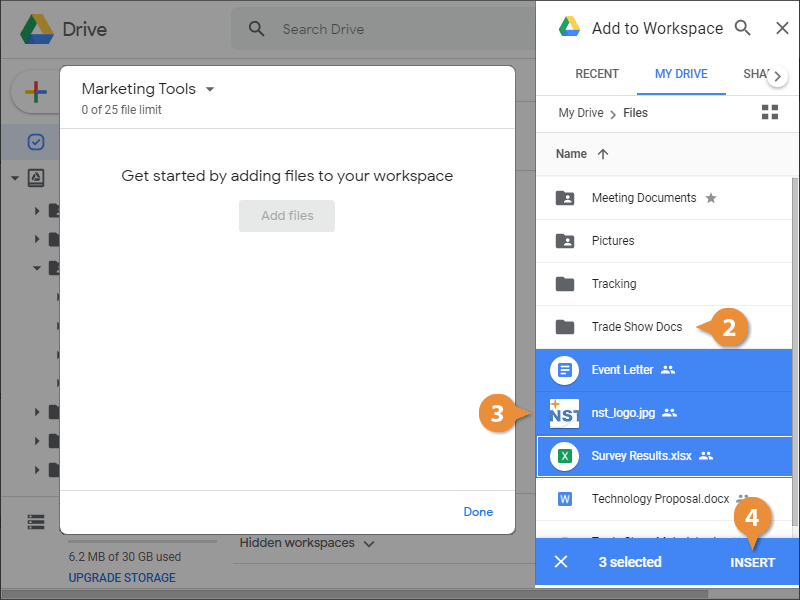
The Add to Workspace pane opens, where you can find files using the Recent, My Drive, or Shared With Me tabs.
- Navigate to the files’ location.
- Select the file(s) you want to add.
- Click Insert.
You can also right-click any file in your Drive, select Add to workspace, and select a Workspace from the menu.
Remove a File from a Workspace
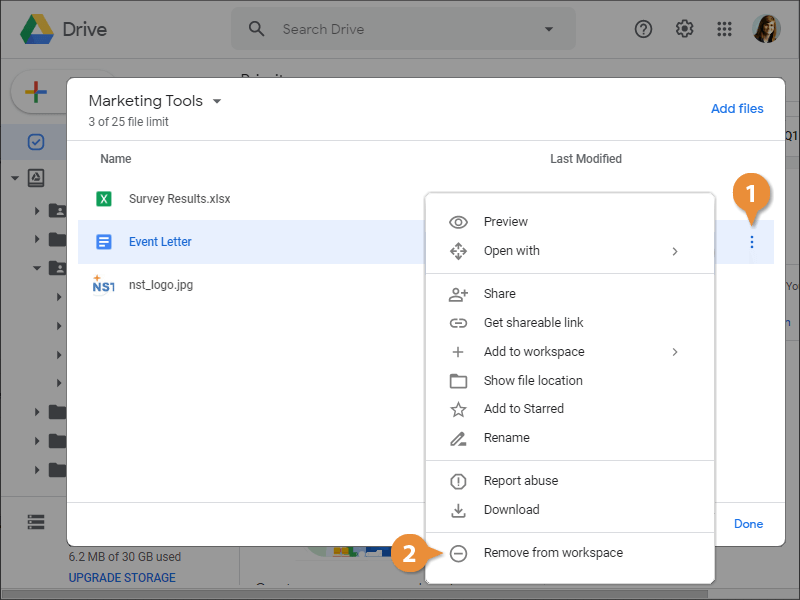
When a file is no longer needed, simply remove it from the Workspace.
- Click the file’s More actions button.
- Select Remove from workspace.
You can also right-click a file in the Workspace and select Remove from workspace from the menu.
The file is removed from the Workspace, but still exists in its original location.
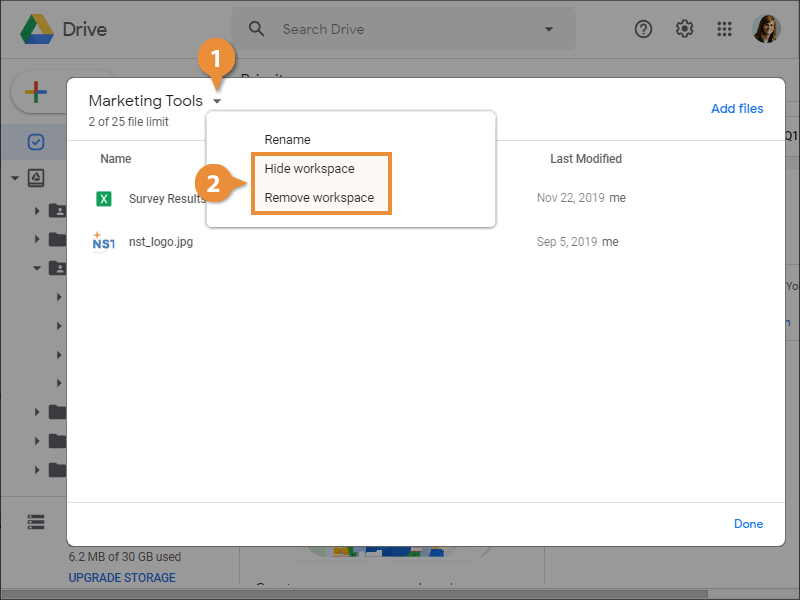
Hide or Remove a Workspace
A workspace can be hidden from the standard view or removed from the Priority page completely.
- Click the list arrow next to a Workspace’s name.
- Select an option.
- Hide workspace: Moves the Workspace to a Hidden section at the bottom of Priority.
- Remove workspace: Deletes the Workspace completely. After a Workspace is deleted, the files still remain in their original location.