
Interactive Tutorial
How to Wrap Text in Google Docs
Control Text Flow Around Images and Objects with Text Wrapping in Google Docs
-
Learn by Doing
-
LMS Ready
-
Earn Certificates

Try this Course with a Free Trial

You can insert pictures that you have on hand into your document. For example, you can insert an image made in another program, or a photo off a digital camera.
Insert a Picture
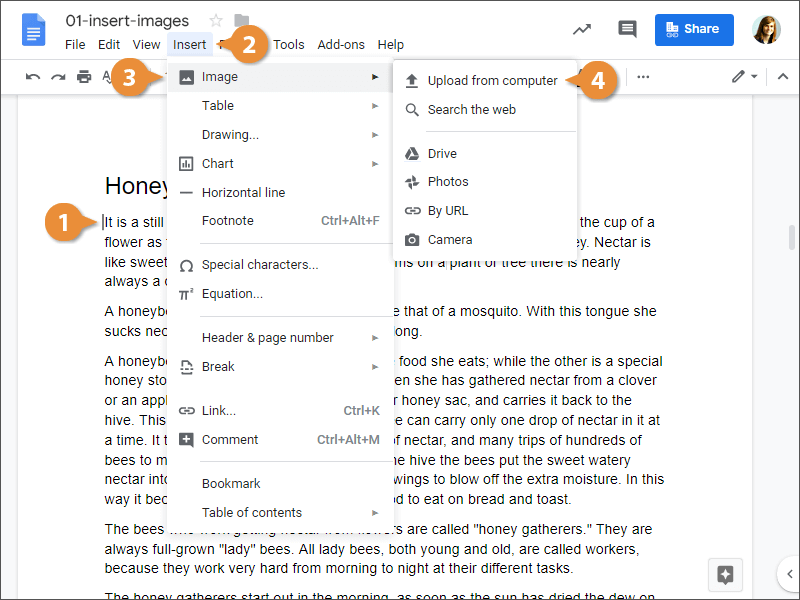
- Place the text cursor where you want to insert a picture.
- Click Insert on the menu bar.
- Select Image.
You can choose from a number of sources for a picture; you can upload a picture from your computer or search the web for one. You can also insert a picture from your Google Drive or Google Photos, enter a specific image URL, or take a picture using your computer’s camera
- Select Upload from computer.
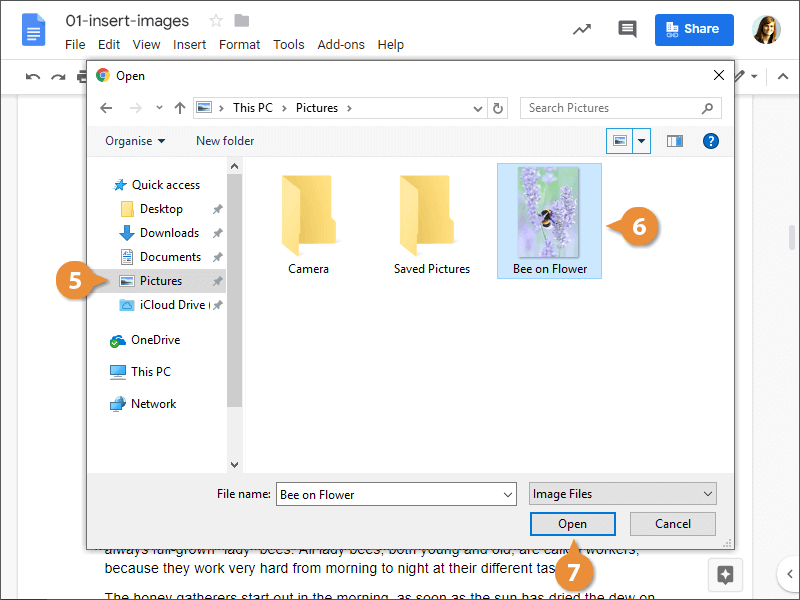
- Navigate to the picture you want to insert.
- Select a picture.
- Click Open.
The selected picture is inserted.
Adjust Text Wrap
Text wrapping is how an object in your document interacts with the text around it. You have several options controlling how closely text will wrap around an object.
- Select an image.
- Select a text wrap option.
- In line: Includes the picture in a paragraph, as if it were text.
- Wrap text: Wraps the surrounding text around the selected image.
- Break text: Creates a gap between the image and the text by it.
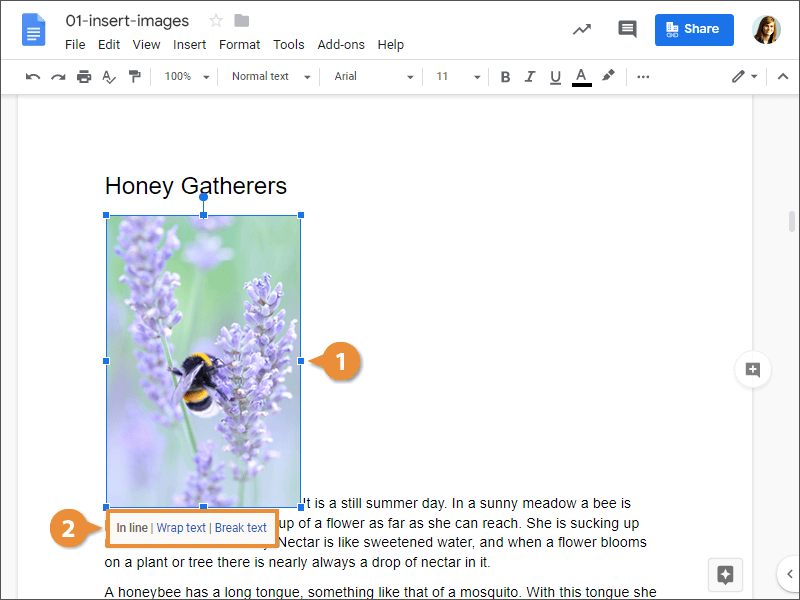
The image and the text by it wrap as you specified.