
Interactive Tutorial
How to Move a Table in Google Docs
Easily Move and Reposition Tables for Better Layout in Google Docs
-
Learn by Doing
-
LMS Ready
-
Earn Certificates

Try this Course with a Free Trial

When you first create a table, all the rows and columns will start the same size. As you add information to the table, you’ll likely find that some rows and columns will need to be bigger than others.
Tables aren’t simply stuck where they are when you first insert them. You can align them to the position you want or move them around manually.
Resize Rows and Columns
You can adjust the size of rows and columns manually, or automatically resize them.
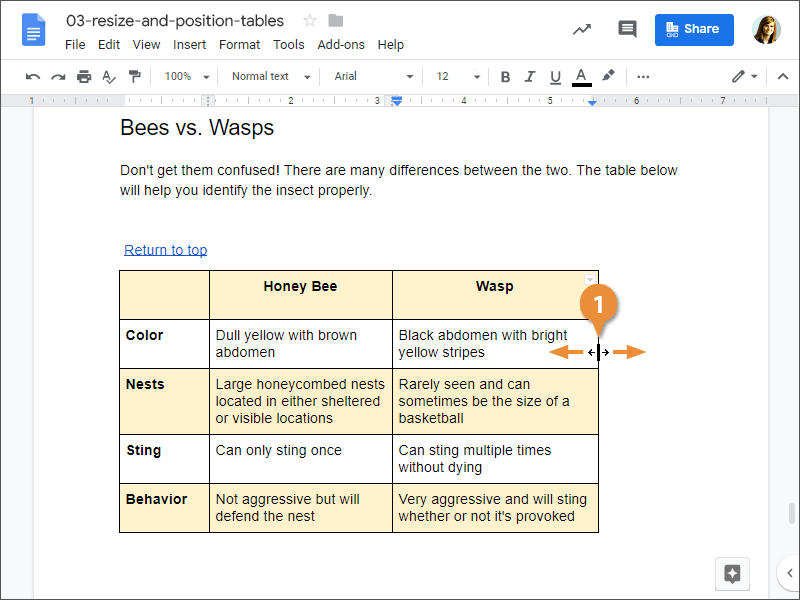
The columns or rows adjust to the new size.
You can automatically resize the table’s rows or columns so they’re all of equal height or width. Click Format on the menu bar, select Table, and select Distribute rows or Distribute columns.
Align a Table
You can position a table the same way that you position regular text, using the alignment controls.
- Click a cell inside the table.
- Click Format on the menu bar.
- Select Table.
- Select Table properties.
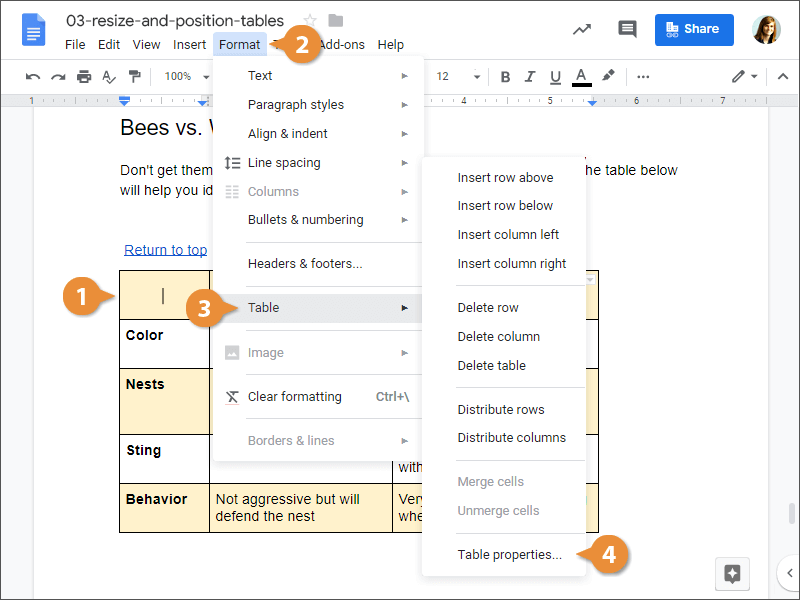
- Click the Table alignment button.
- Select an alignment option.
- Click OK.
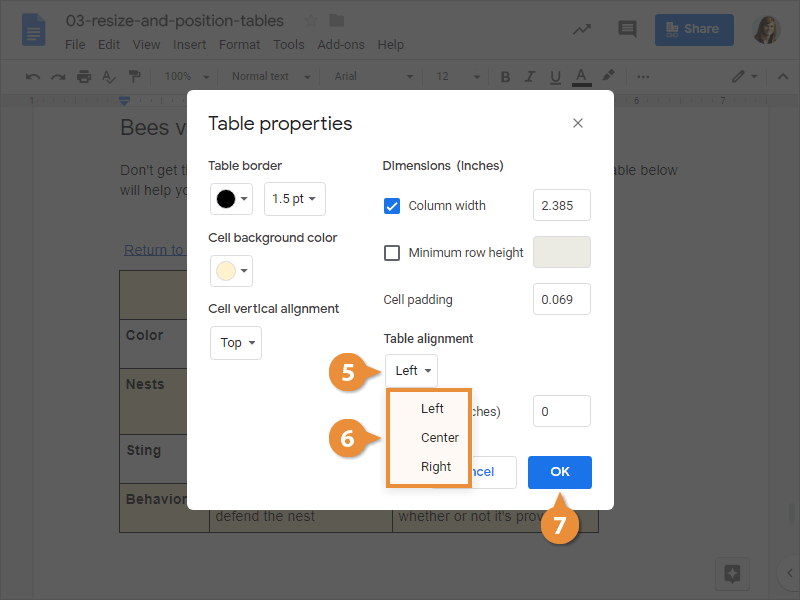
The table is aligned to the left, center, or right margin of the page, just like text would be.
Move a Table
If the basic alignment options don’t position the table where you want it to be, you can move the table around the page manually.
- Select a table.
- Click and drag the table to a new location.
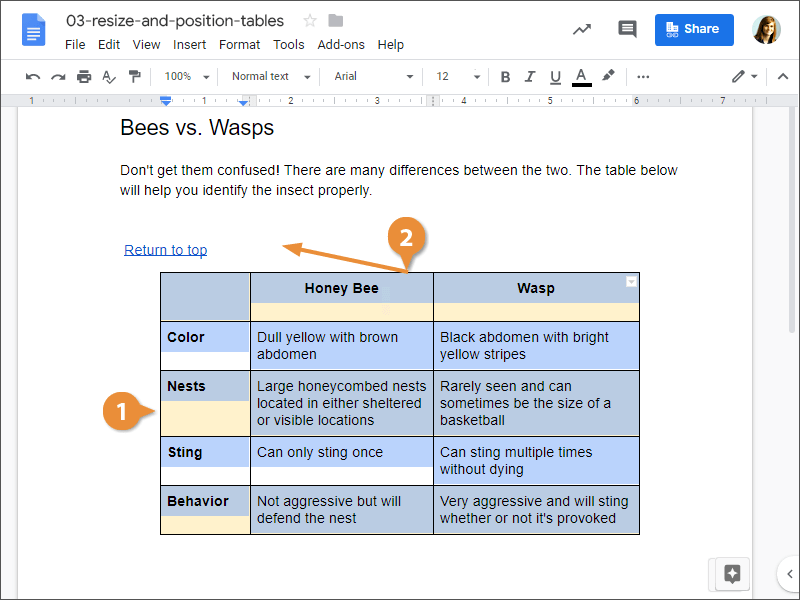
The table is moved to a different area of the page.