
Interactive Tutorial
Google Docs Table Borders
Adjust Table Borders and Customize Line Styles in Google Docs
-
Learn by Doing
-
LMS Ready
-
Earn Certificates

Try this Course with a Free Trial
Borders and shading improve a table’s appearance, giving it a polished, professional look. Borders and shading also make it easier to keep the information in different cells separate.
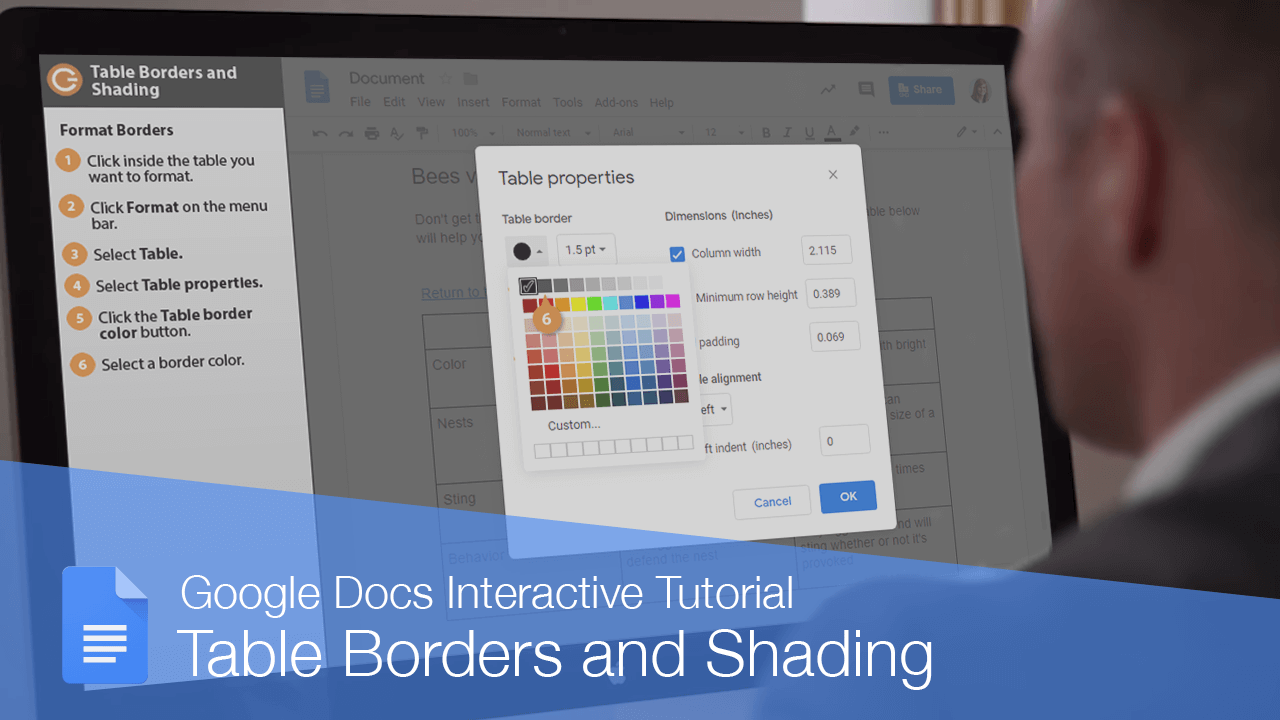
Format Borders
By default, new Docs tables are given a 1-point black boarder around all cells. However, you can customize the border formatting to meet the needs of your document.
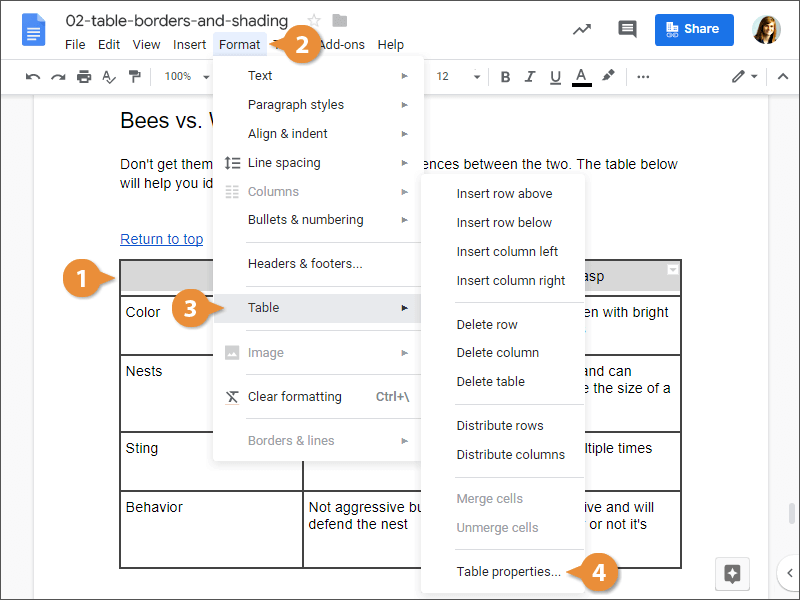
- Click inside the table you want to format.
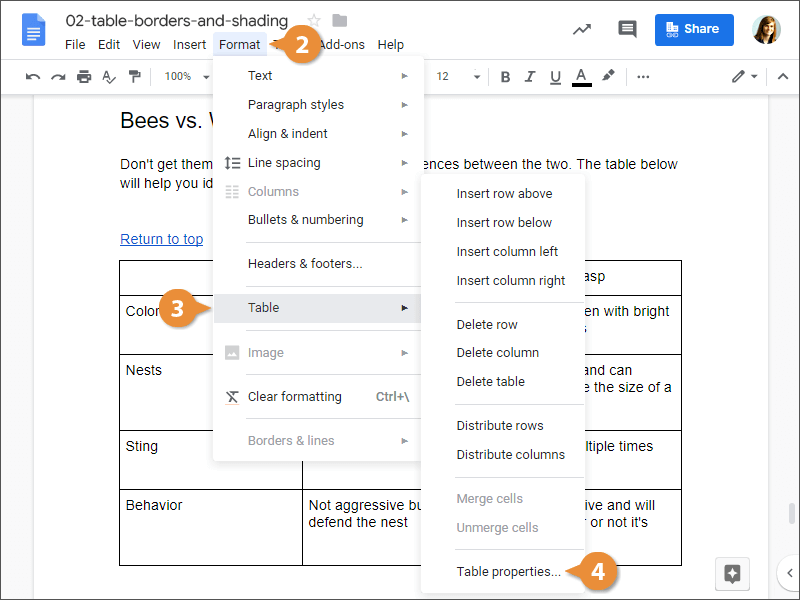
- Click Format on the menu bar.
- Select Table.
- Select Table properties.
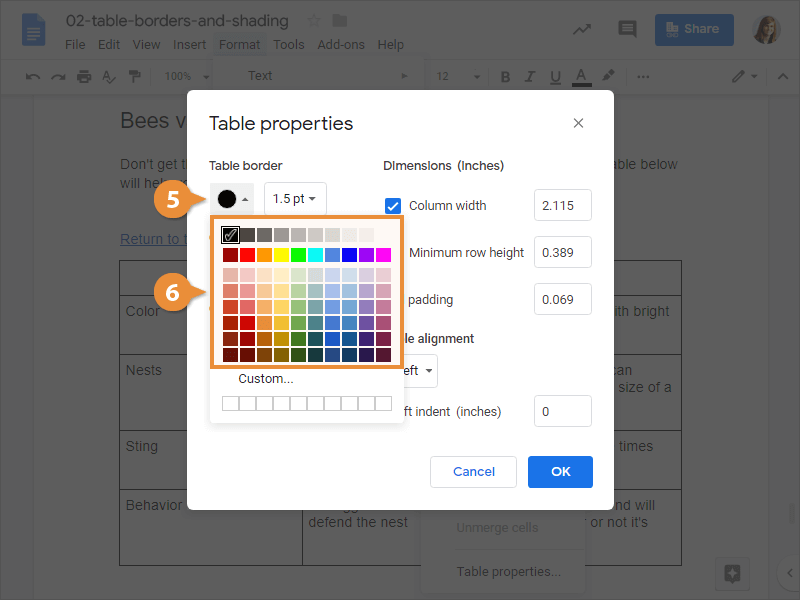
- Click the Table border color button.
- Select a border color.
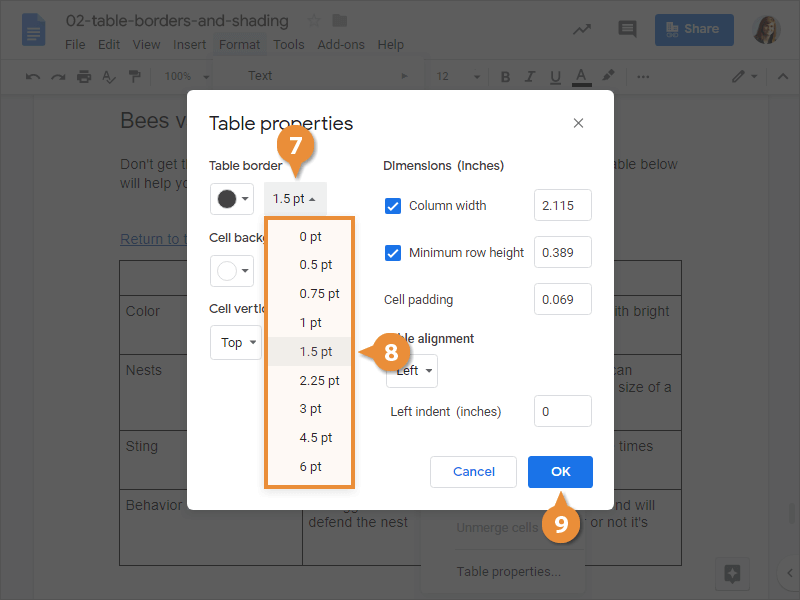
- Click the Table border width button.
- Select a border width.
- Click OK.
The selected border style is applied to the selected borders.
Select 0 from the Table border Width menu to remove borders from the selected cells.
Add Cell Shading
You can also change the cell shading to make the information in your table easier to read.
- Select the cells you want to add shading to.
- Click Format on the menu bar.
- Select Table.
- Select Table properties.
- Click the Cell background color button.
- Select a cell shading color.
- Click OK.
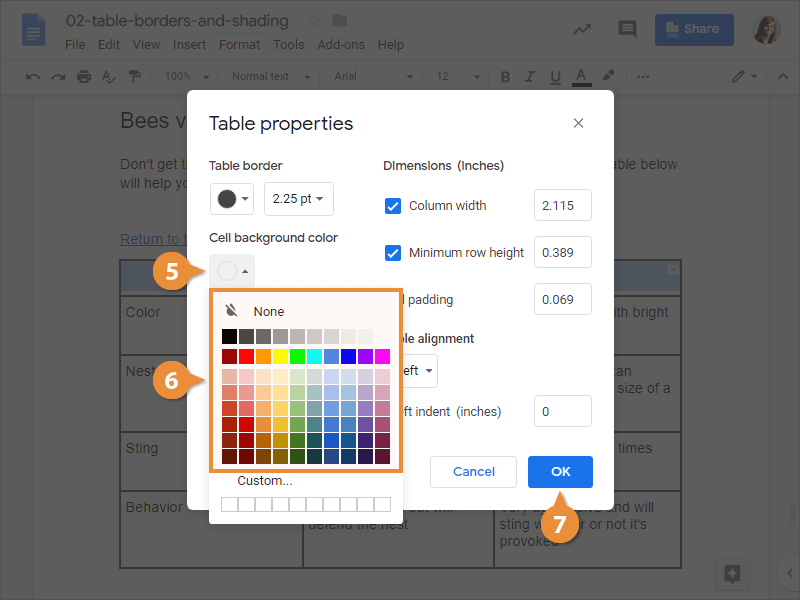
The color is added as a background to the selected cells.
You can also select table cells, click the Background color button on the formatting toolbar, and select a color to change cell shading.