
Interactive Tutorial
Gmail Enable Keyboard Shortcuts
Learn How to Turn On Keyboard Shortcuts in Gmail to Boost Productivity and Speed Up Email Tasks
-
Learn by Doing
-
LMS Ready
-
Earn Certificates

Try this Course with a Free Trial
Gmail supports a large number of keyboard shortcuts to help make reading and composing your email easier.
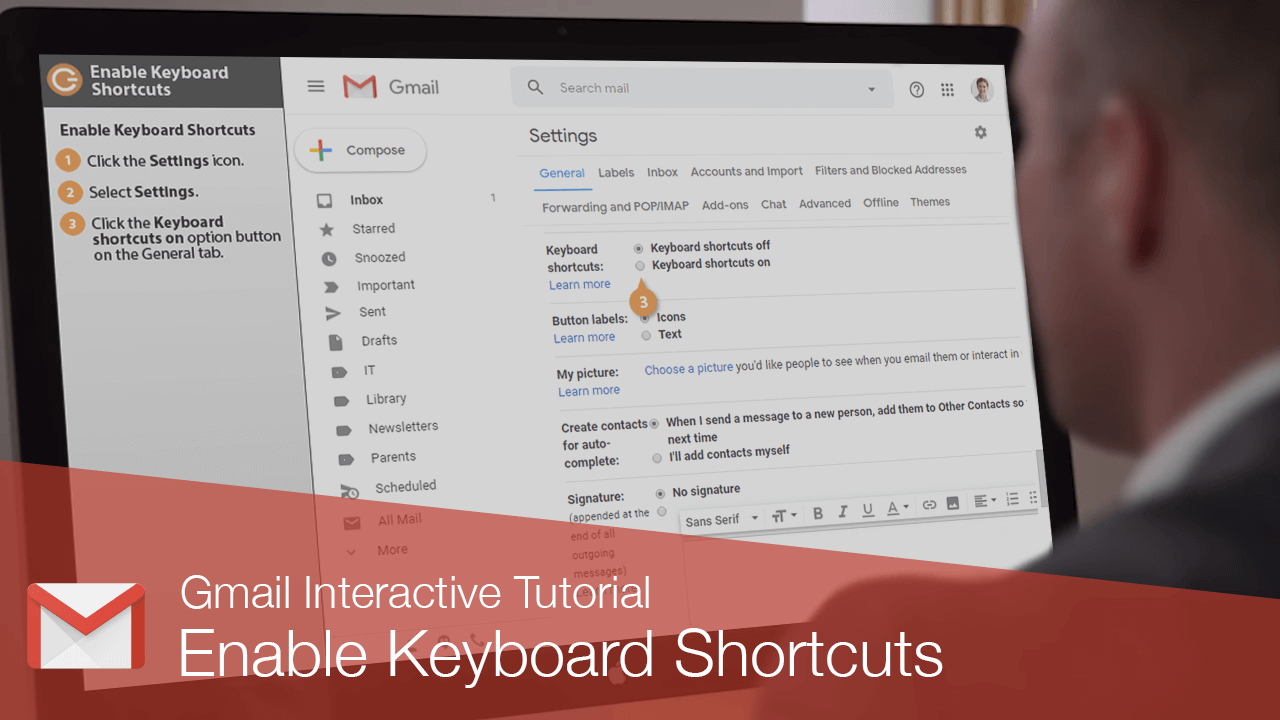
Enable Keyboard Shortcuts
Most keyboard shortcuts won’t work unless you enable them on the Settings page.
- Click the Settings icon.
- Select Settings.

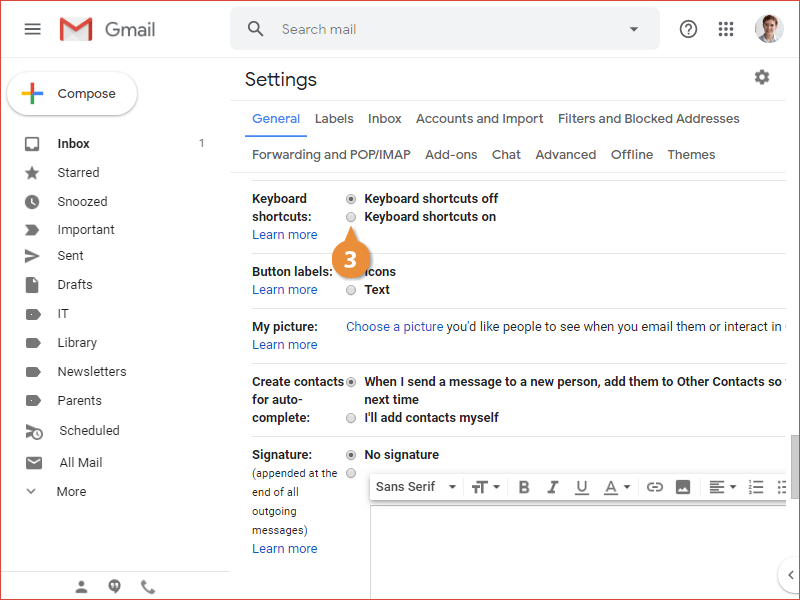
Scroll down the General settings tab until you find the Keyboard shortcuts category.
- Click the Keyboard shortcuts on option button on the General tab.
- Click the Save Changes button.
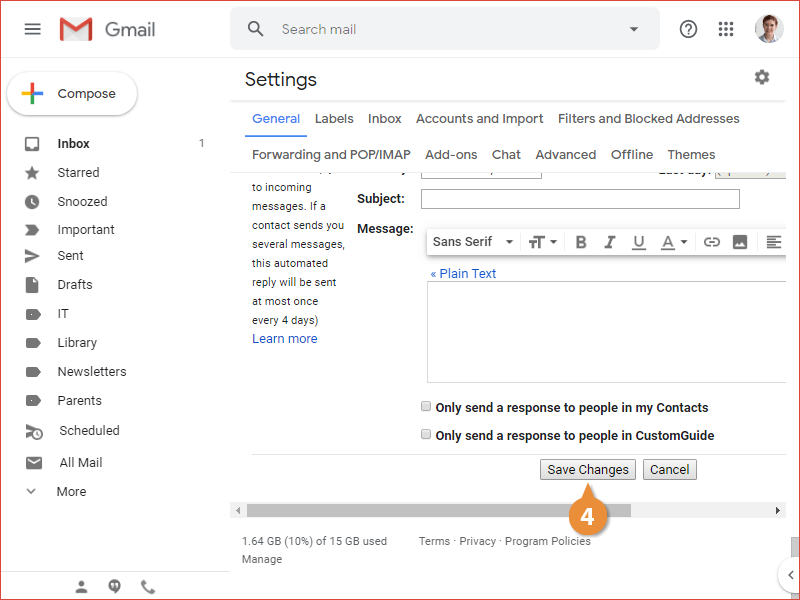
The Settings page closes and you return to the Inbox.
Once keyboard shortcuts have been enabled, a blue vertical bar appears next to the top email in your inbox; this bar indicates which email will be affected by whichever keyboard shortcut you use.
Use Keyboard Shortcuts
Once keyboard shortcuts are enabled, you can start using shortcut keys. You can see even more keyboard shortcuts in Gmail by pressing ? (Shift + /) while in your Inbox.
The following table lists some common actions you can perform in your Inbox or other email lists, and their keyboard shortcuts.
| Action | Shortcut |
|---|---|
| Select Conversation | X |
| Open Message | O |
| Toggle Star | S |
| Archive | E |
| Delete | # |
| Mute Conversation | M |
| Reply | R |
| Forward | F |
| Mark as Read | Shift + I |
| Mark as Unread | Shift + U |
| Return to List | U |
You can also jump directly to your Inbox, other lists, by pressing the G key followed by the appropriate shortcut key.
| Jump To... | Shortcut |
|---|---|
| Inbox | G, then I |
| Starred Conversations | G, then S |
| Sent Messages | G, then T |
| Drafts | G, then D |
| All Mail | G, then A |
| Tasks | G, then K |
| Select a Label | G, then L |