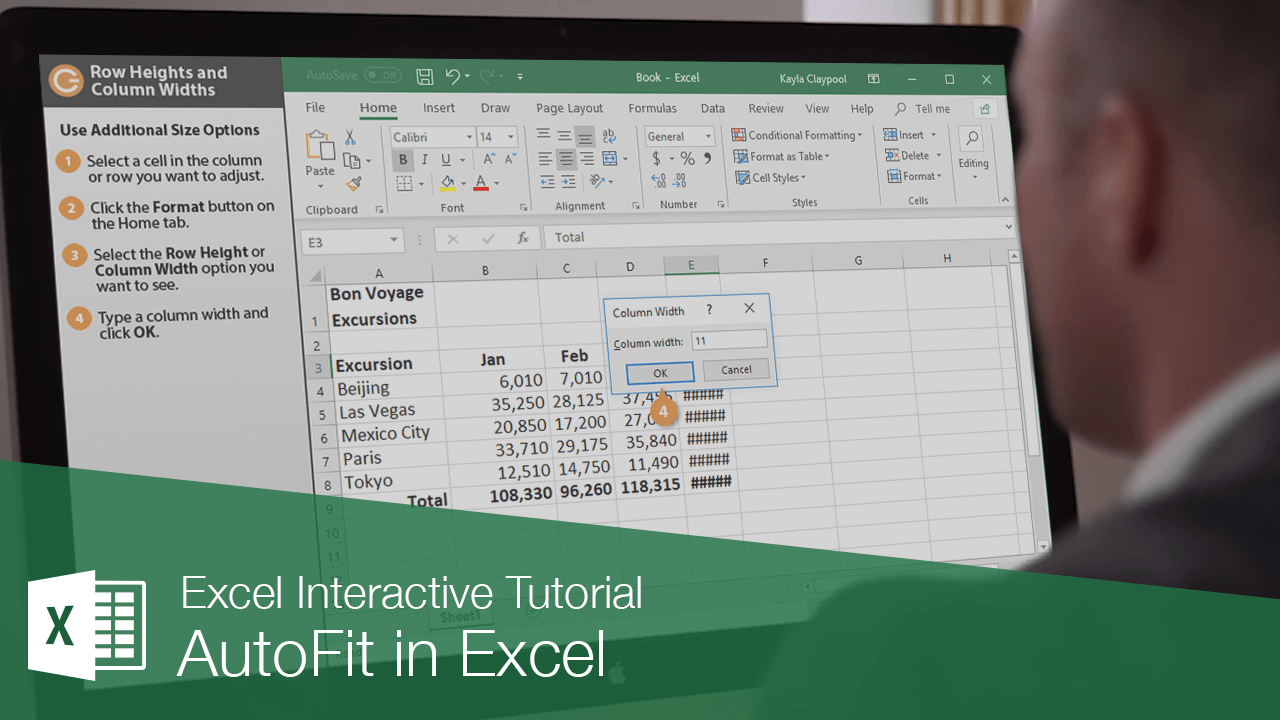
Interactive Tutorial
Autofit Excel
Learn How to Use AutoFit in Excel to Automatically Adjust Column Widths and Row Heights for Clean Layouts
-
Learn by Doing
-
LMS Ready
-
Earn Certificates

Try this Course with a Free Trial
When you begin working on a spreadsheet, all the rows and columns are the same size. As information is entered into the worksheet, some of the columns or rows may not be large enough to display the information they contain.
When you see ##### in a cell, it means the column width is not wide enough to show all the cell contents. Once the column width is adjusted, and the data will reappear.
Adjust Column Width
- Click and drag a column header’s right border to the left or right.
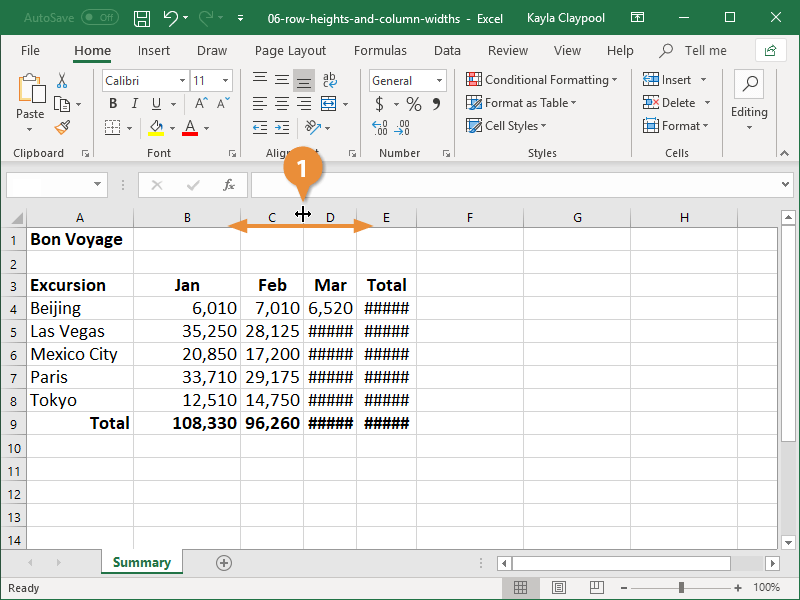
When you position the cursor over a column heading's border, a two-headed black arrow appears. This needs to be showing before clicking and dragging.
Adjust Row Height
- Click and drag a row header’s bottom border up or down.

A line appears as you drag, showing you where the new row border will be.
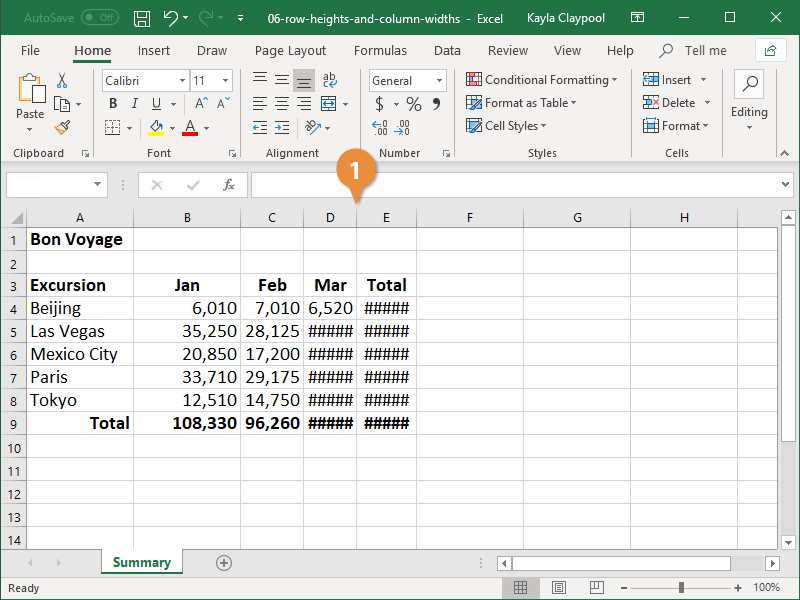
AutoFit Columns or Rows
The AutoFit feature automatically resizes columns or rows to fit the cell in each column or row that has the widest or tallest contents.
- Double-click the column header’s right border (or the row header's bottom border).
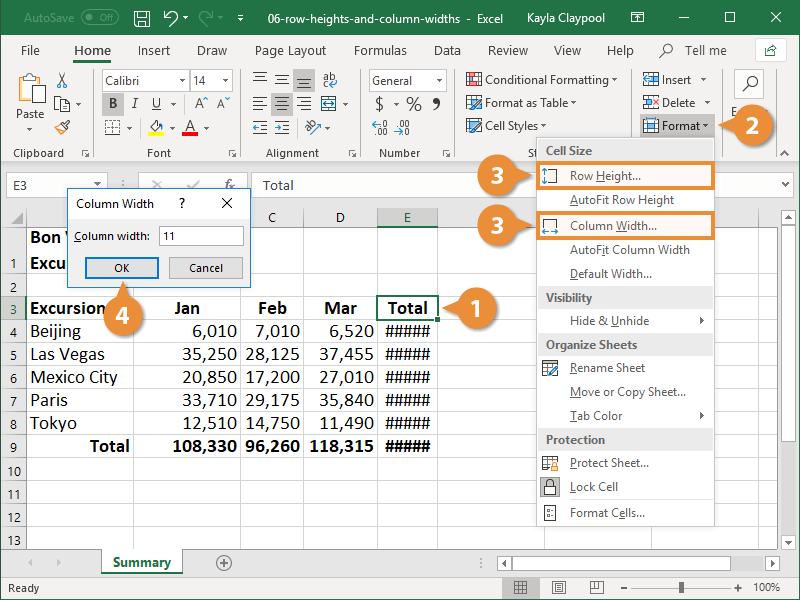
Set a Row or Column Value
If you know exactly what size you want a column or row to be, you can set a precise value.