

How to Merge Cells in Word
Combine or Split Table Cells in Word to Customize Layout and Improve Table Design
Try this Course with a Free Trial

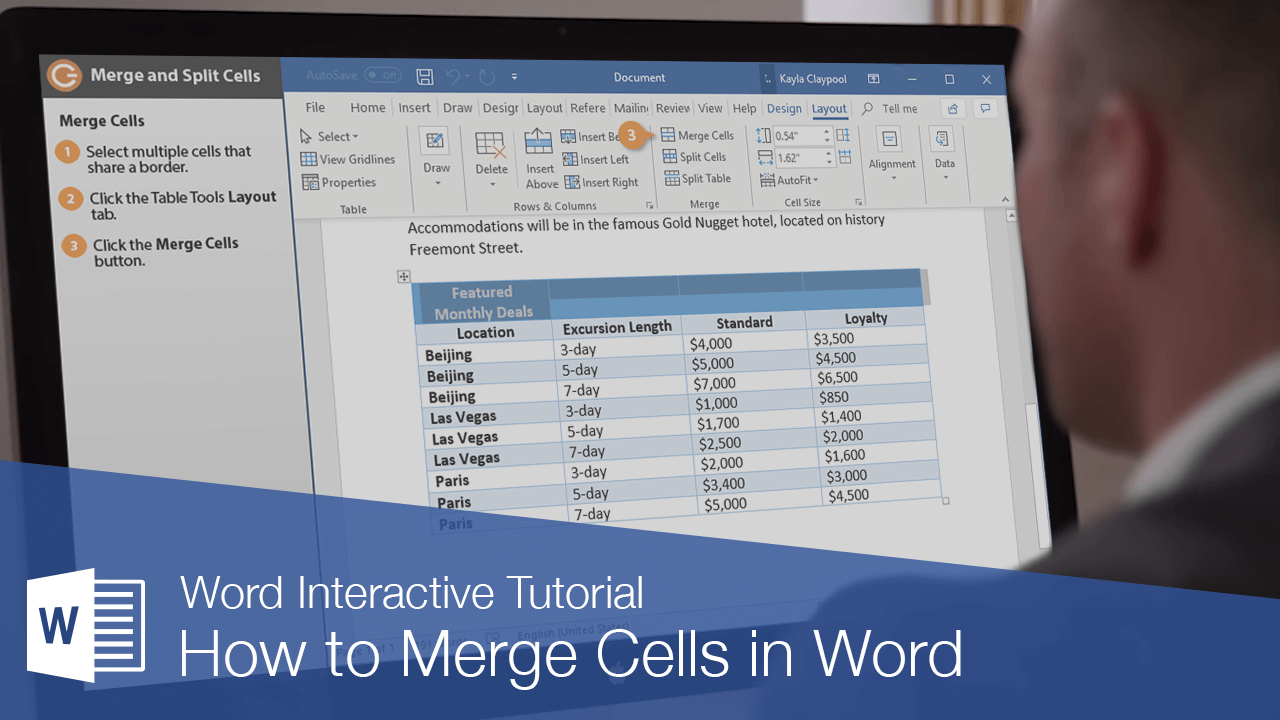
Even though a table starts out as a strict grid of cells, you can change a table’s layout by merging multiple cells together, as well as splitting a cell into multiple cells.
Merge Cells
You can combine several smaller cells into a single, larger cell that spans the space previously occupied by the individual cells.
- Select multiple cells that share a border.
- Click the Layout tab in the Table Tools ribbon group.
- Click the Merge Cells button.
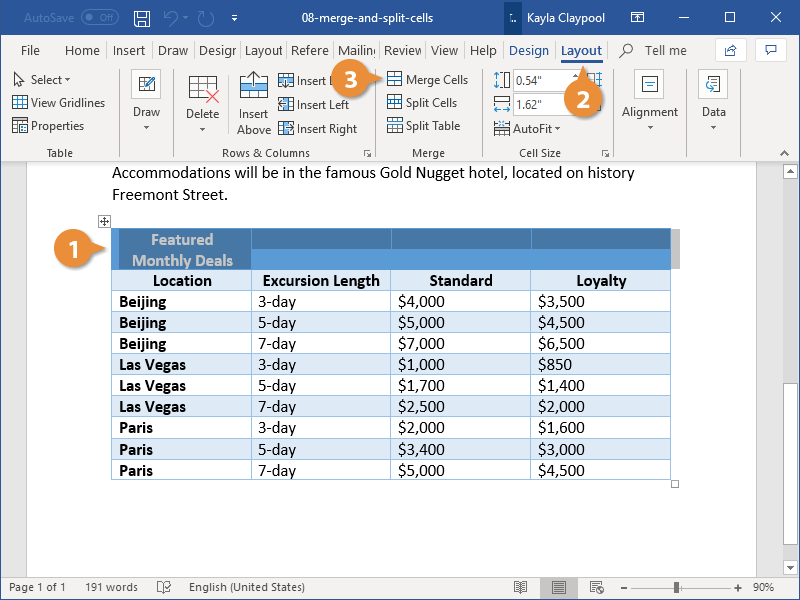
The selected cells are merged into a single cell that takes up the entire width and height of the original cells.
You can also right-click the selected cells and select Merge Cells from the menu.
Split Cells
Cells can also be broken up into several smaller cells by using the Split Cells command.
- Select a cell.
- Click the Split Cells button in the Layout tab.
- Enter the number of rows and columns you want the cell split into.
- Click OK when you're done.
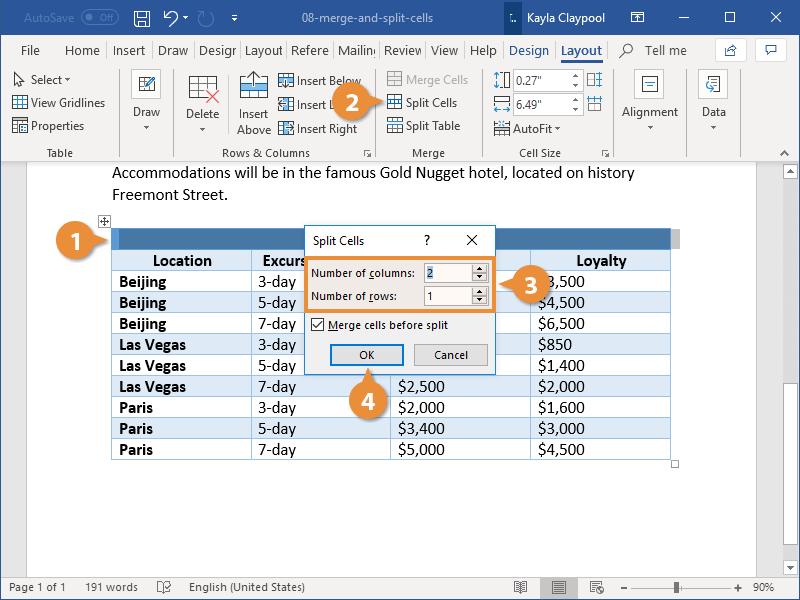
You can also right-click a cell and select Split Cells from the menu.
The selected cell is split into the set number of columns and rows.
Split Tables
You can also split an entire table in two, letting you move part of it somewhere else. You can move the new part to another page, another document, or just add text or images in the space between the split table.
- Place the text cursor in the row that you want the second table to start with.
- Click the Split Table button.
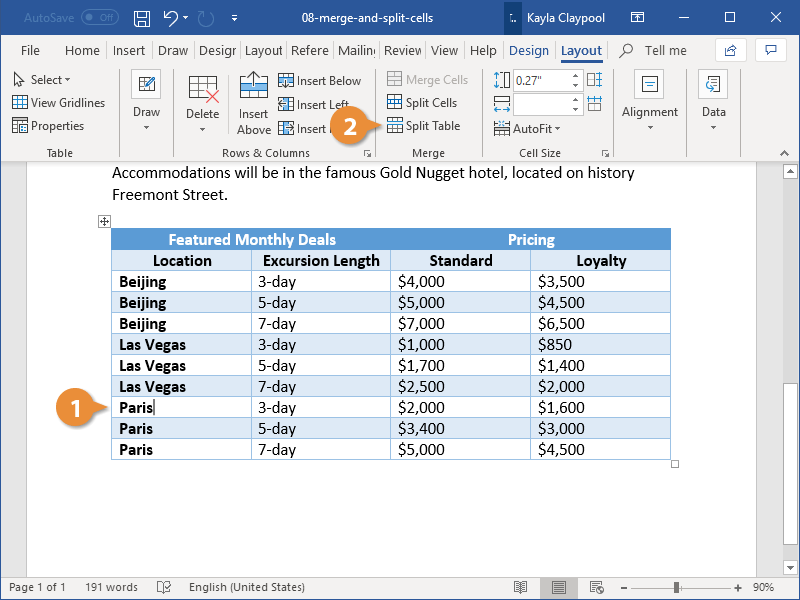
Splitting a table will split it right above the selected line.
The table is split.