

Autocorrect in Word
Customize and Manage Autocorrect in Word to Fix Typos and Improve Your Writing Efficiency
Try this Course with a Free Trial
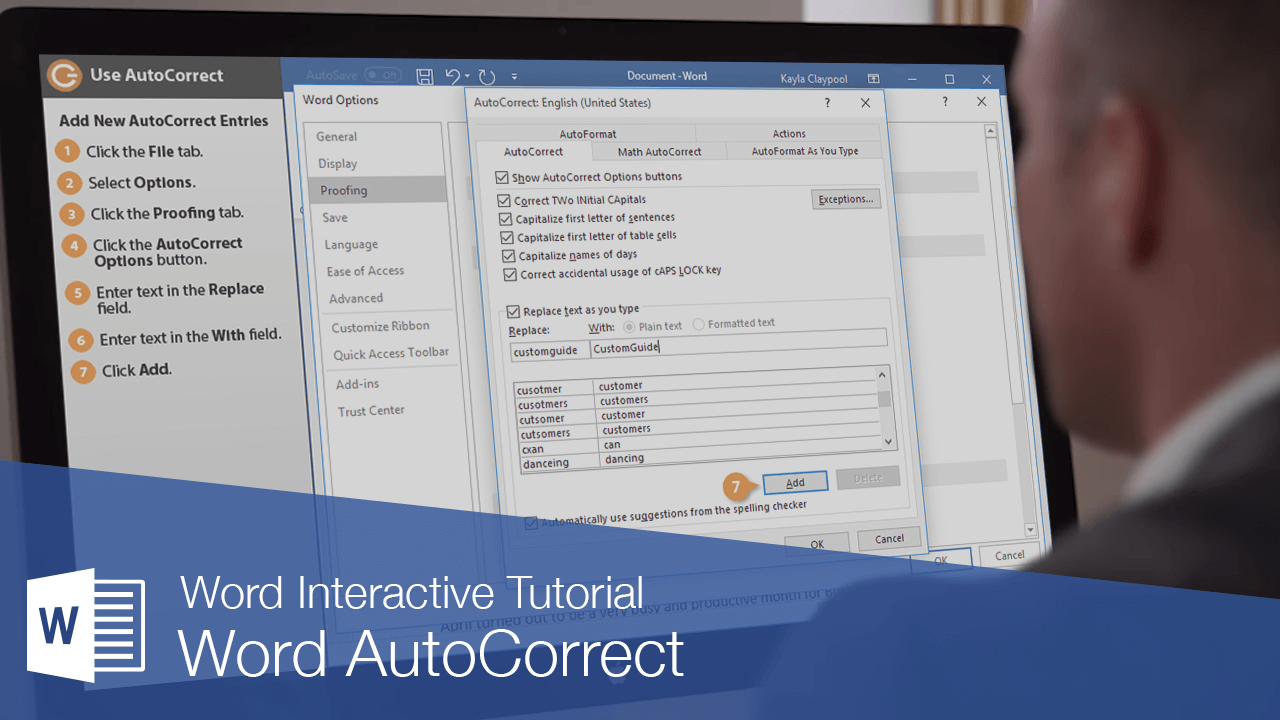
AutoCorrect is a feature that automatically corrects commonly misspelled words and replaces certain symbols and abbreviations with specific text. As you type, instead of being highlighted as misspelled, words in the AutoCorrect list will automatically be replaced with the correct spelling.
Add New AutoCorrect Entries
You can customize AutoCorrect by adding new words to the list of replacements.
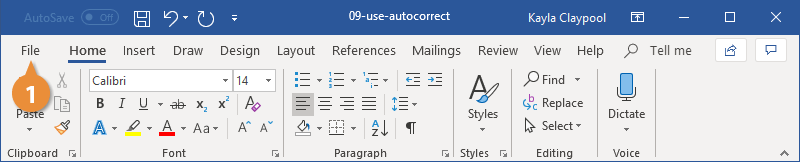
- Click the File tab.
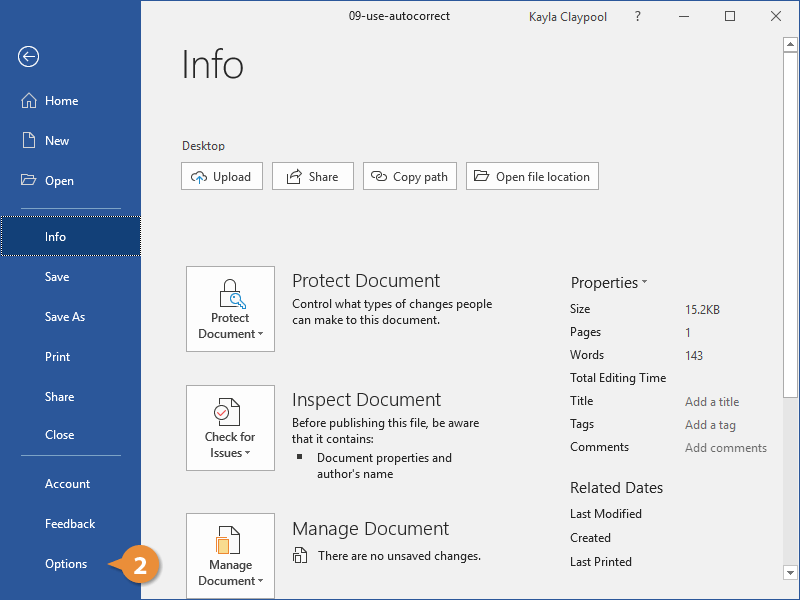
- Select Options.
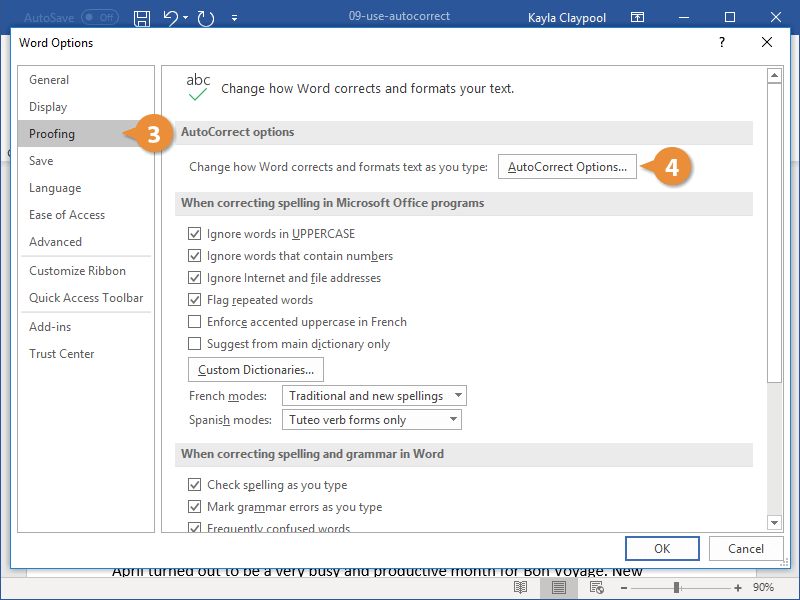
- Click the Proofing tab.
- Click the AutoCorrect Options button.
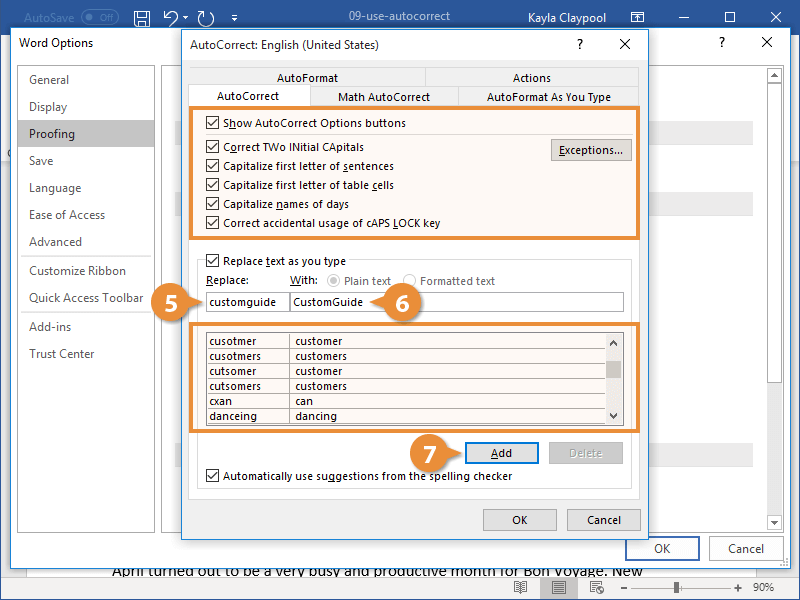
- Enter text in the Replace field.
- Enter text in the With field.
- Click Add.
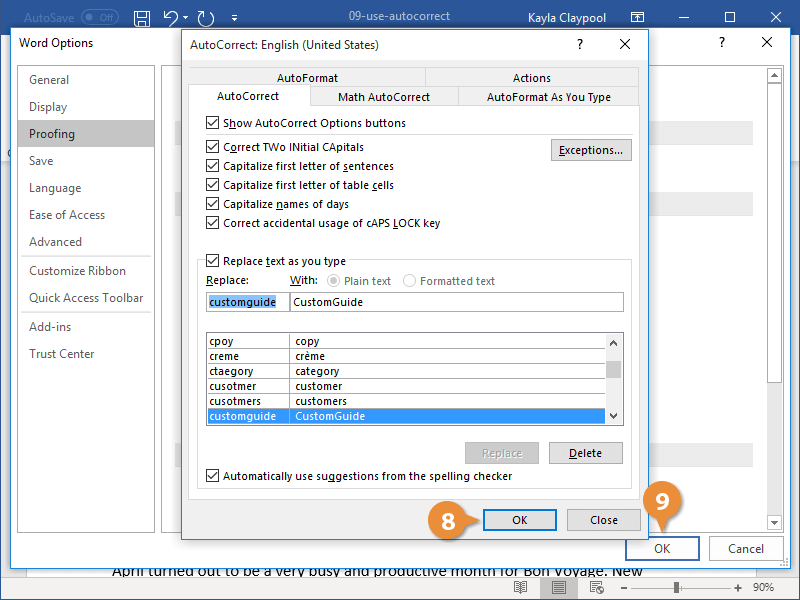
- Click OK to close the AutoCorrect dialog box.
- Click OK to close the Word Options dialog box.
The AutoCorrect options window opens.
At the top, there are a few options for fixing capitalization errors that can be turned on or off.
At the bottom is the AutoCorrect word list. When text from the left column is typed, it will be automatically replaced with the text from the right column.
When you type this text, AutoCorrect will trigger and this word will be replaced.
This text is what will replace the previous field when AutoCorrect is triggered.
The AutoCorrect entry is created.
You could also delete entries here by selecting an entry and clicking Delete. You can disable AutoCorrect entirely by clearing the Replace text as you type check box.
The AutoCorrect entry is created, and will be automatically inserted from now on.