Captivate Add Mouse Movement
Simulate real user actions by adding animated mouse movements in Adobe Captivate
Try this Course with a Free Trial

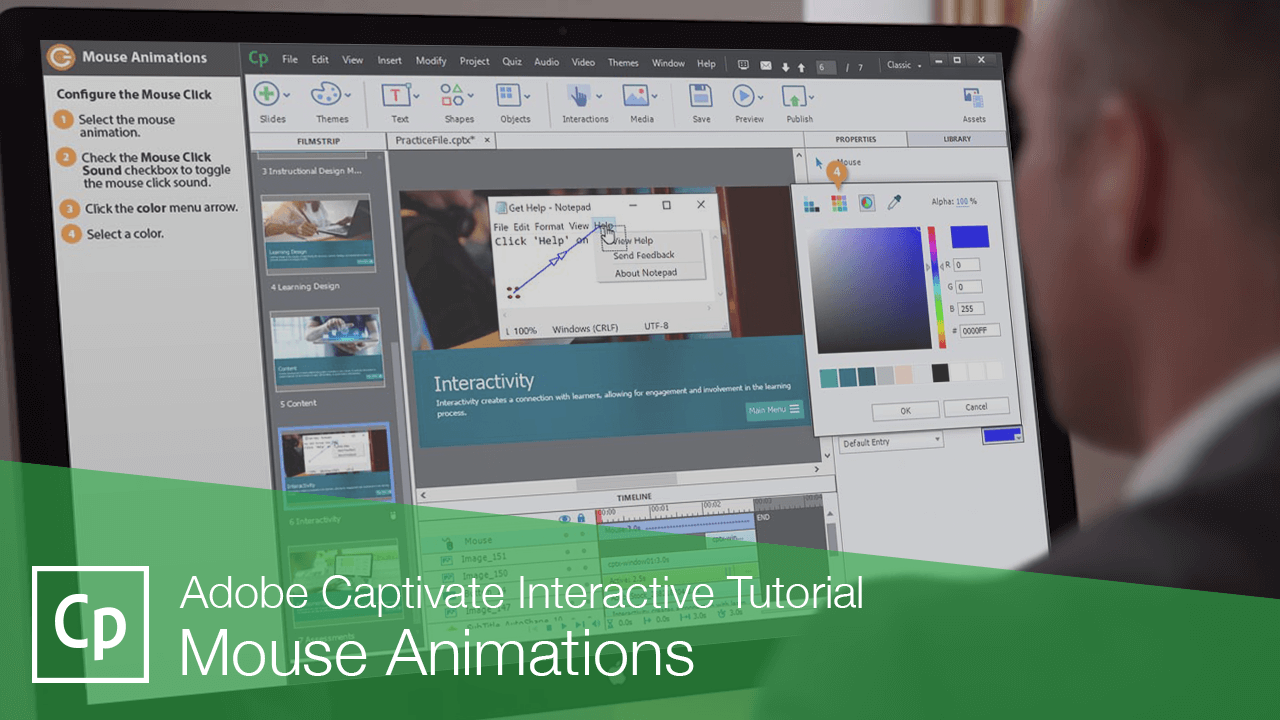
Captivate includes automatic mouse animations you can use to help make software demonstrations more effective.
Insert a Mouse Animation
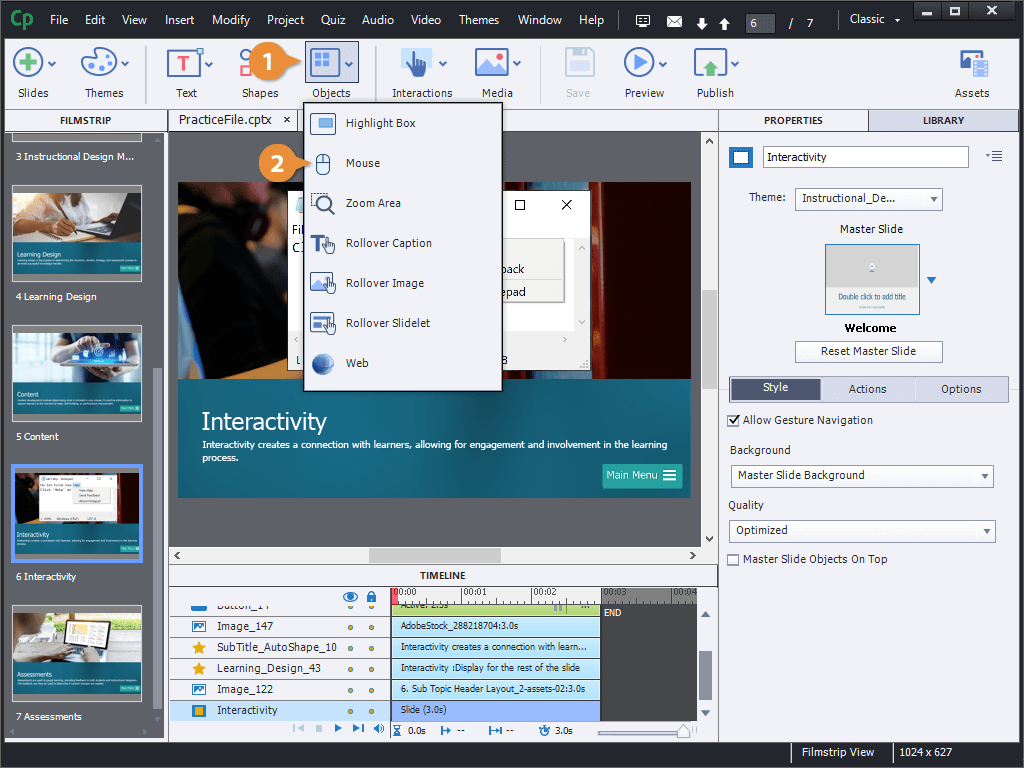
- Click the Objects button on the toolbar.
- Select Mouse.
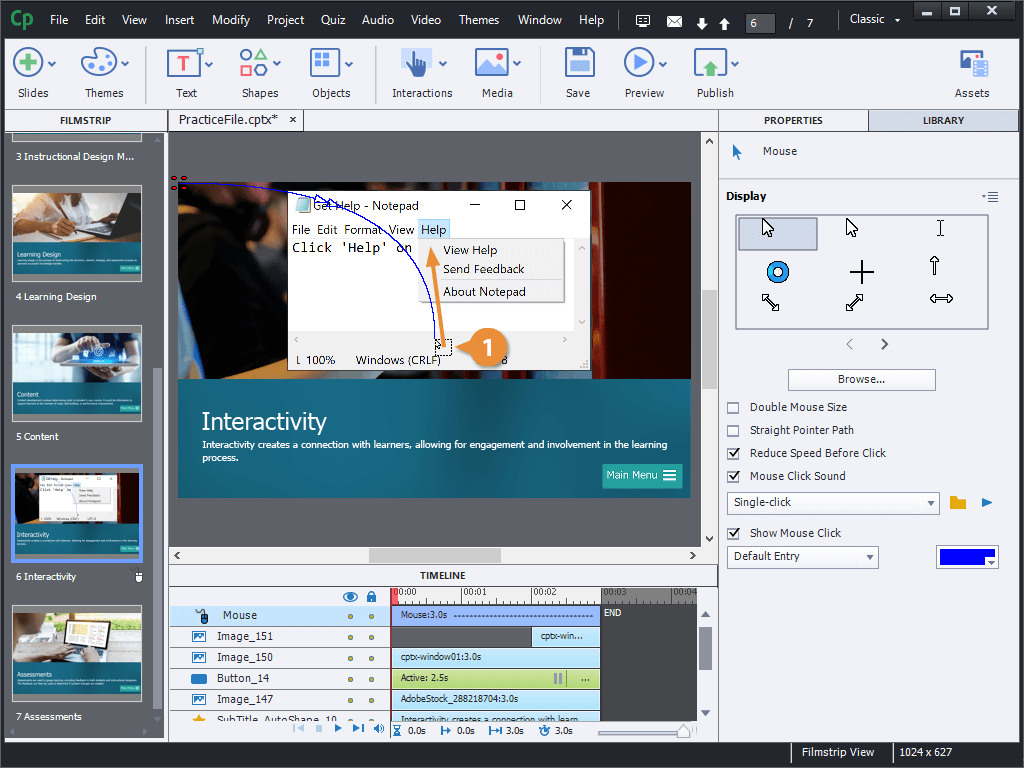
A new mouse animation is inserted, showing an arc between a starting point and an ending point.
Adjust a Mouse's Path
- Click and drag the start or end point on the mouse path to move it.
Modify Mouse Properties
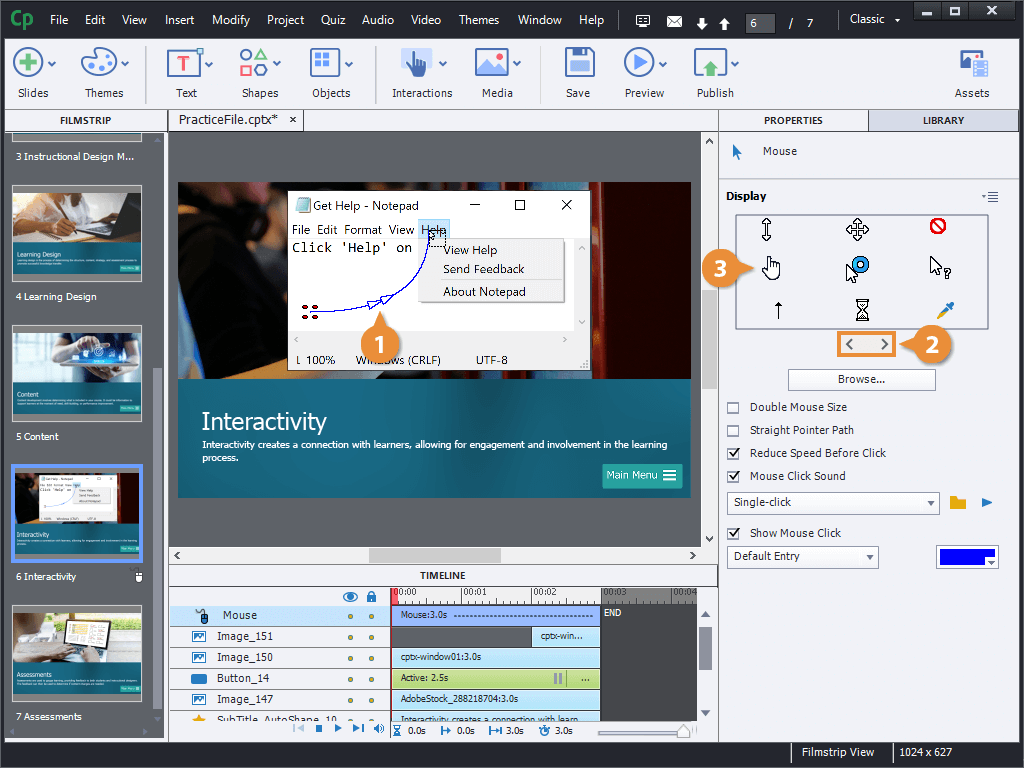
While a mouse animation is selected, the Properties panel switches to show the mouse animation's properties.
- Select the mouse animation.
- Click the Display arrow buttons to browse cursor images.
- Select a new cursor image.
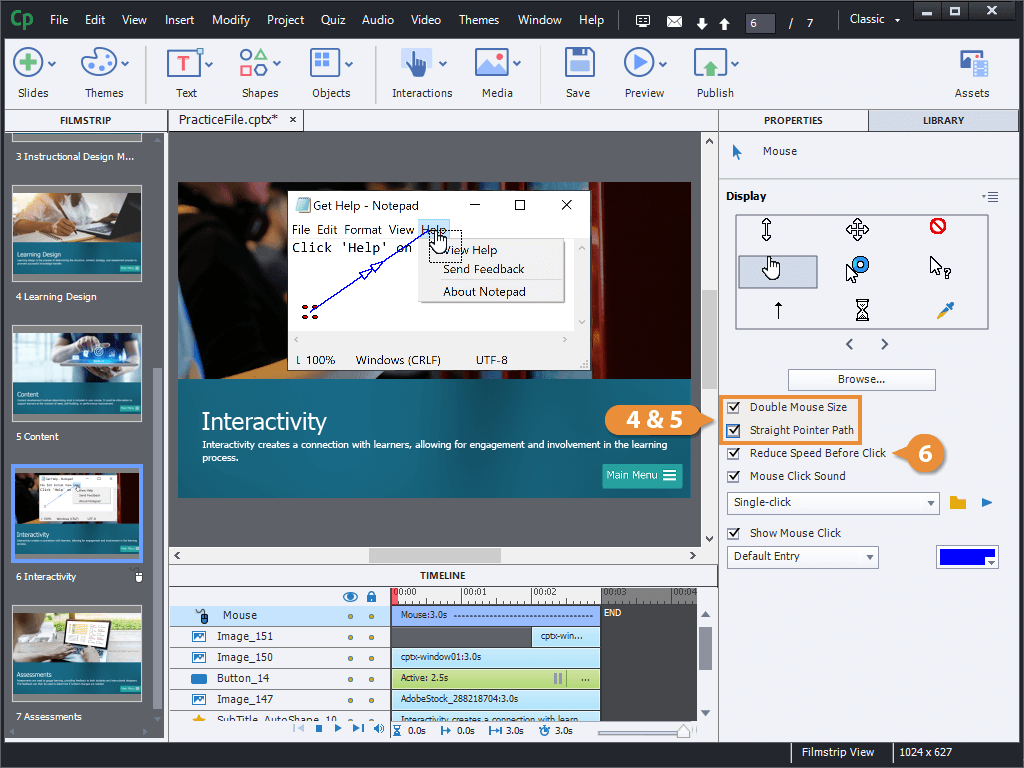
- Check the Double Mouse Size checkbox to increase the size of the cursor.
- Check the Straight Pointer Path checkbox to toggle a straight animation path.
- Check the Reduce Speed Before Click checkbox to toggle a decrease in speed at the end of the animation.
Configure the Mouse Click
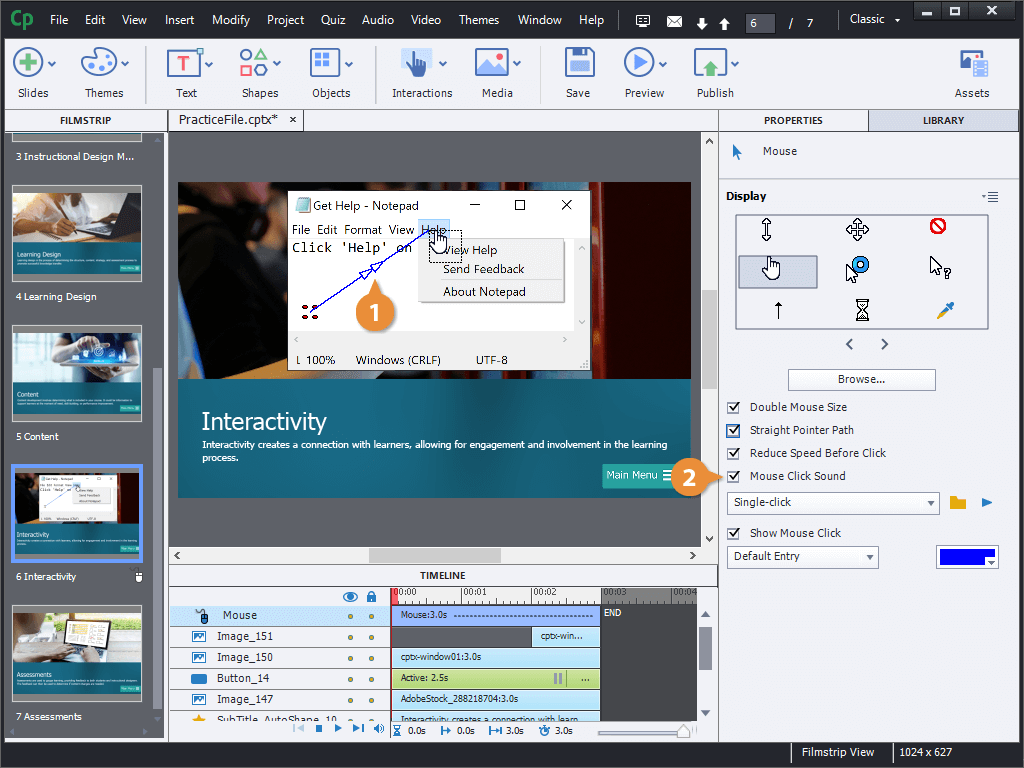
When the mouse animation ends, and the pointer reaches its end position, you can choose whether or not it plays a mouse click sound and animation.
- Select the mouse animation.
- Check the Mouse Click Sound checkbox to toggle the mouse click sound.
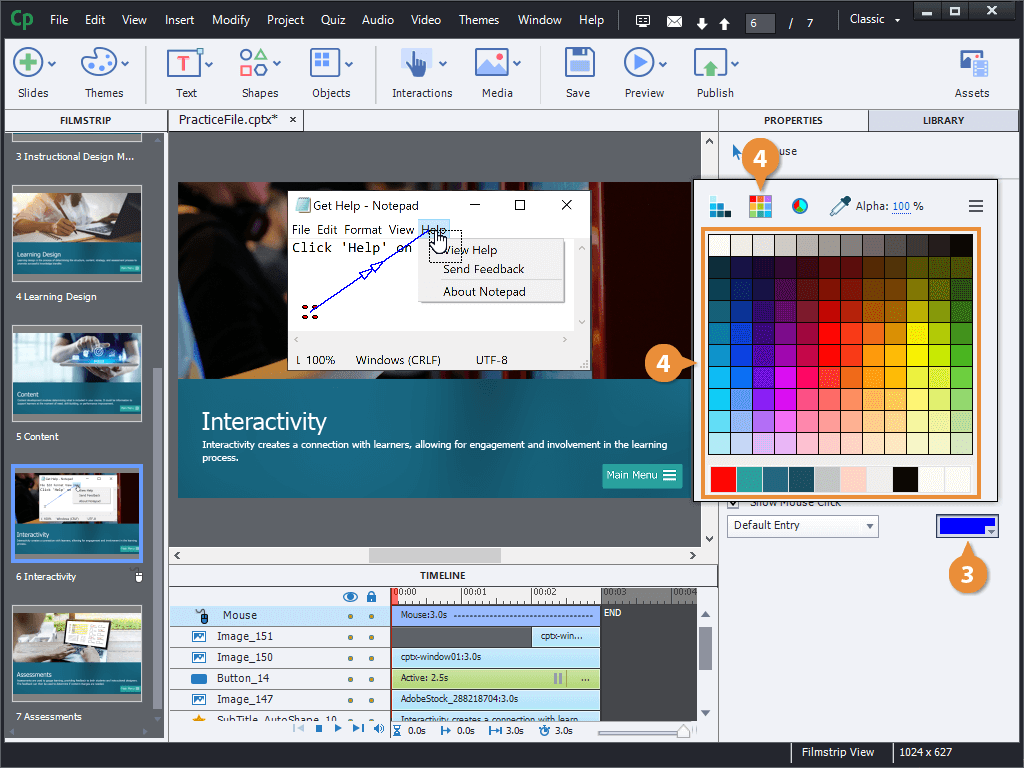
- Click the color menu arrow.
- Select a color.
Adjust Mouse Timing
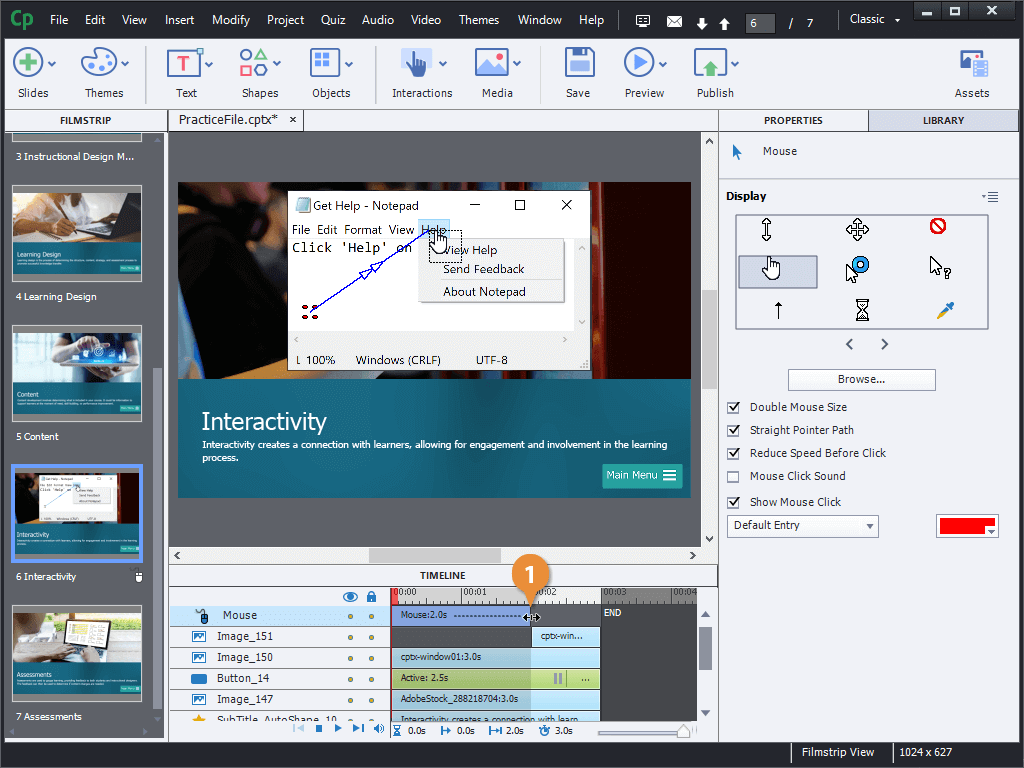
Finally, let's change the timing of the mouse animation, so that it lines up with the timing of the other objects on the slide.
- Click and drag a side edge of the animation on the timeline to adjust its beginning or end.