Interactive Tutorial
Adobe Captivate Zoom Area
Focus on important screen areas with smooth zoom effects in Adobe Captivate
-
Learn by Doing
-
LMS Ready
-
Earn Certificates

Try this Course with a Free Trial
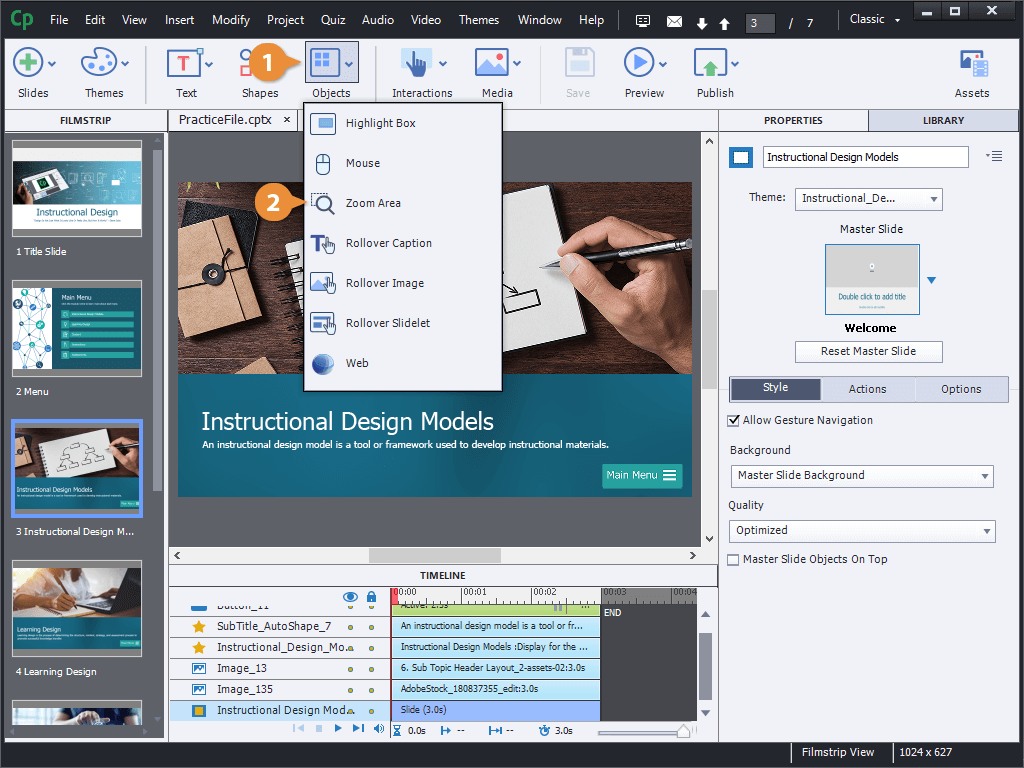
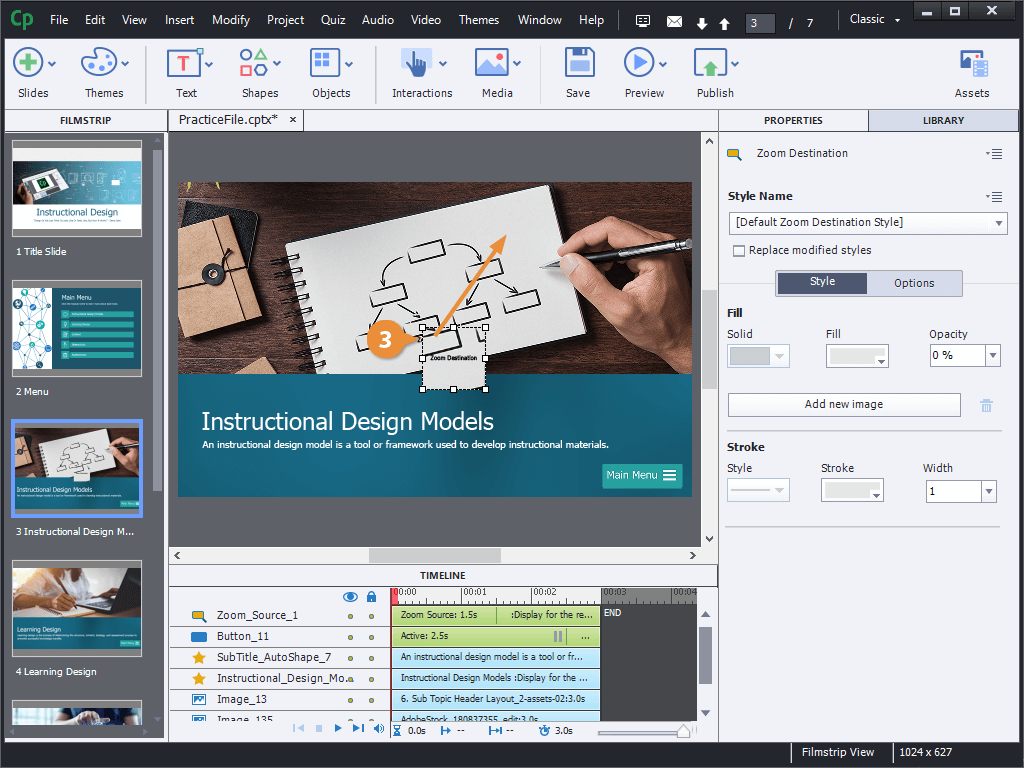
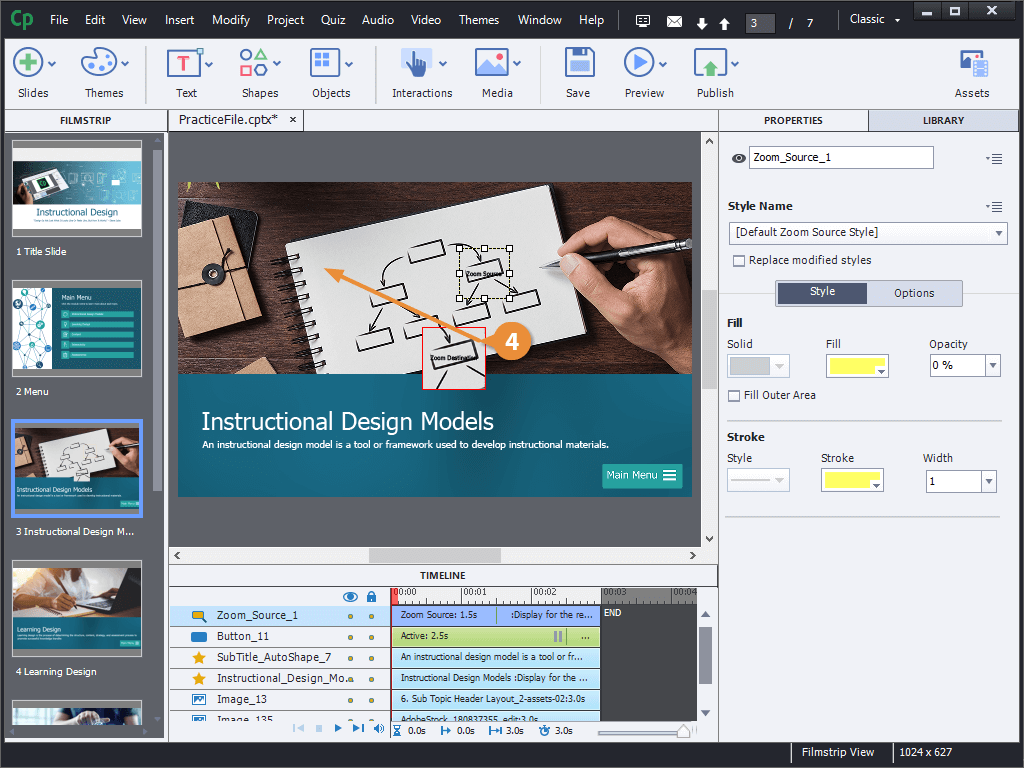
A Zoom Area is a type of Captivate object that you can use to create a zoom-in animation.
Insert a Zoom Area
Edit a Zoom Area's Properties
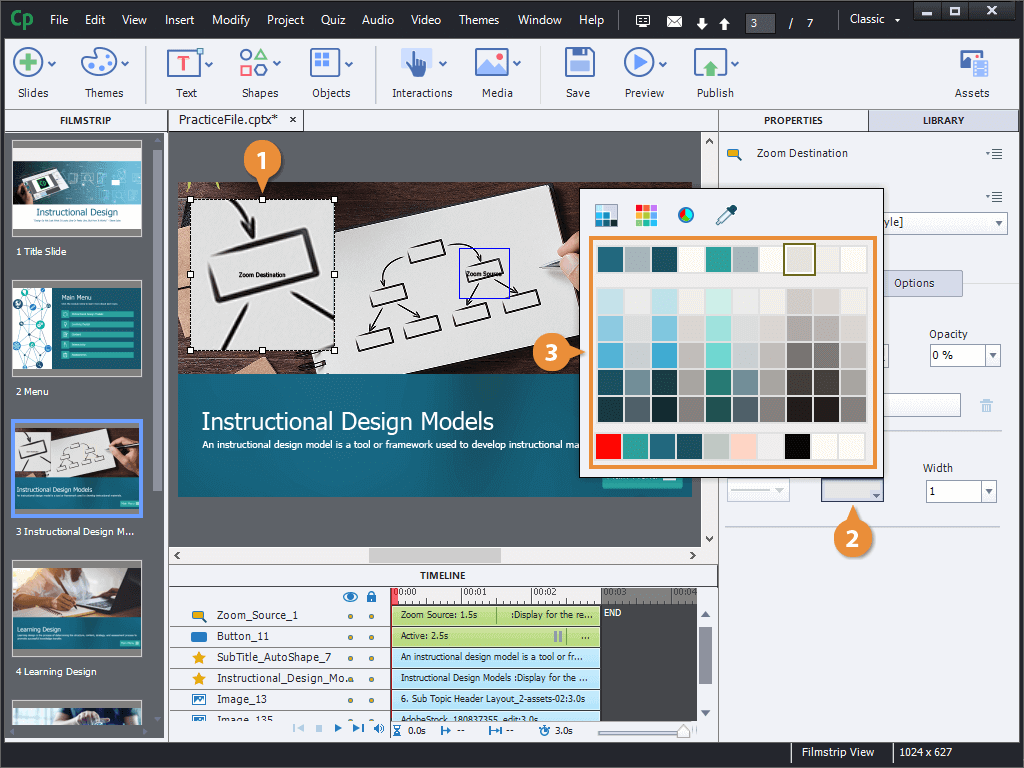
Both the Zoom Source and the Zoom Destination objects can be customized with stroke and fill colors.
- Select the Zoom Source or Zoom Destination that you want to edit.
- Click the Stroke color menu arrow.
- Select a color.
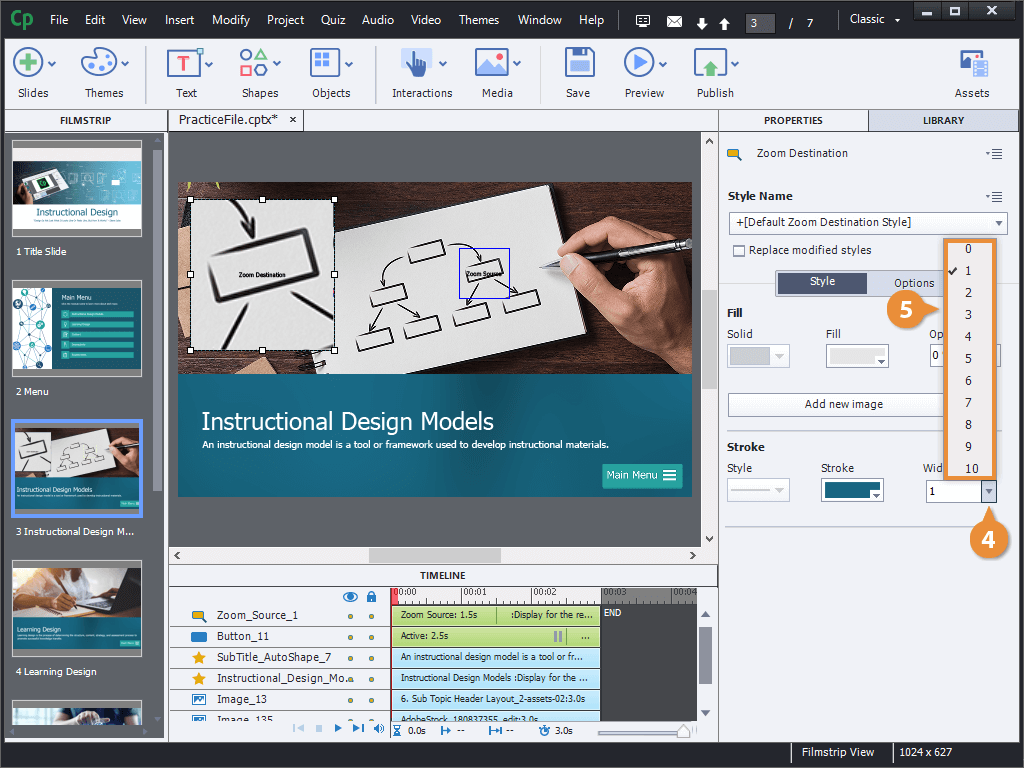
- Click the Stroke width menu arrow.
- Select a stroke width.
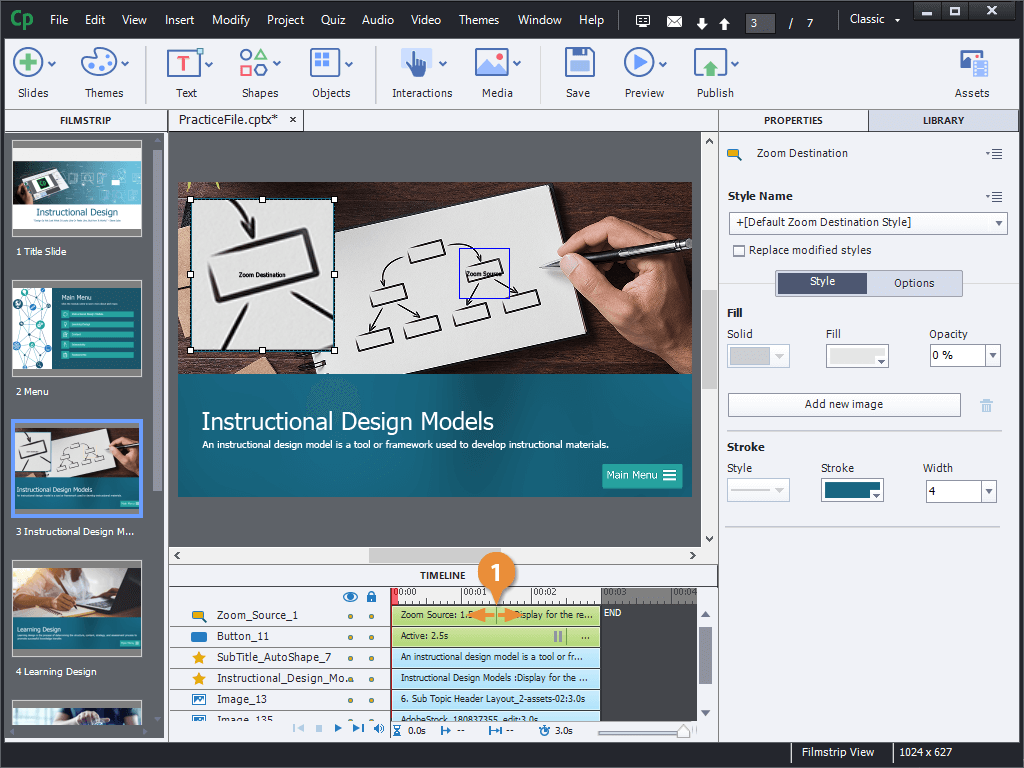
Edit a Zoom Area's Timing
Looking at the zoom area's object on the timeline, you can see this vertical line in the middle. This line shows the time that the zoom animation will finish. In this case, the animation will play for the first one and a half seconds, then remain zoomed in for the rest of the slide.
- Click and drag the vertical line in the zoom area's object on the timeline to adjust the duration of the zoom animation.