Interactive Tutorial
Captivate Timeline
Control object timing and animation flow using the timeline panel in Adobe Captivate
-
Learn by Doing
-
LMS Ready
-
Earn Certificates

Try this Course with a Free Trial
The timeline lets you control when objects appear on a slide, and how long they appear for. You can also control the layer order that objects appear in.
Display the Timeline
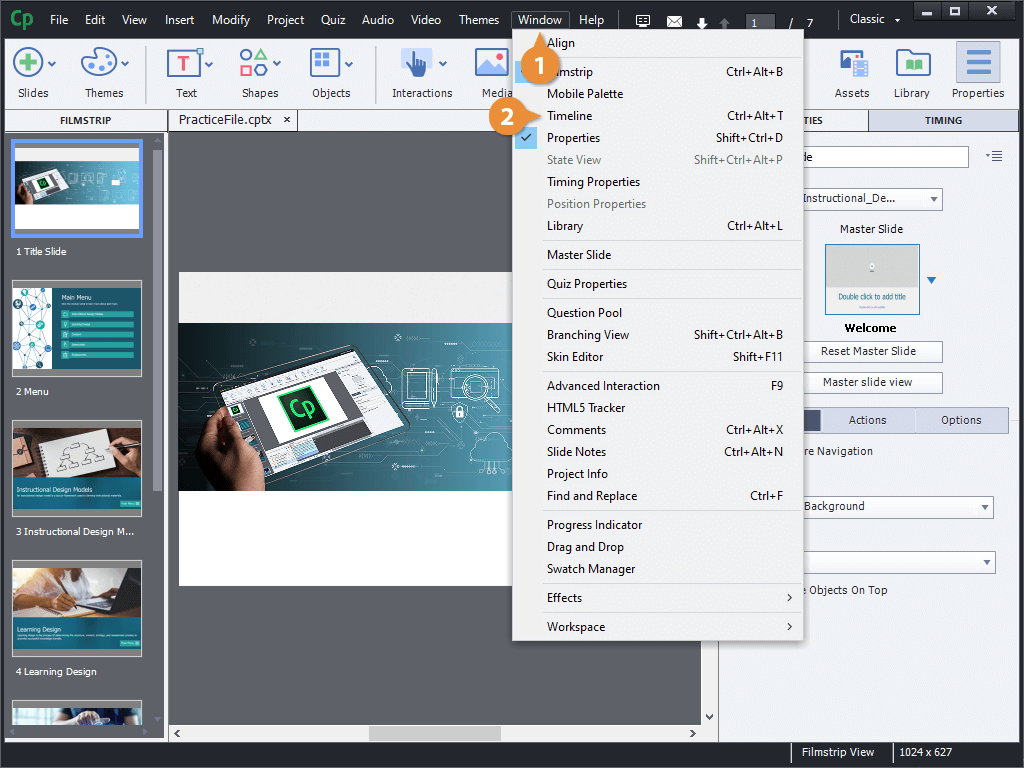
The timeline appears. Every object on the slide is represented as a bar, showing when it appears and for how long.
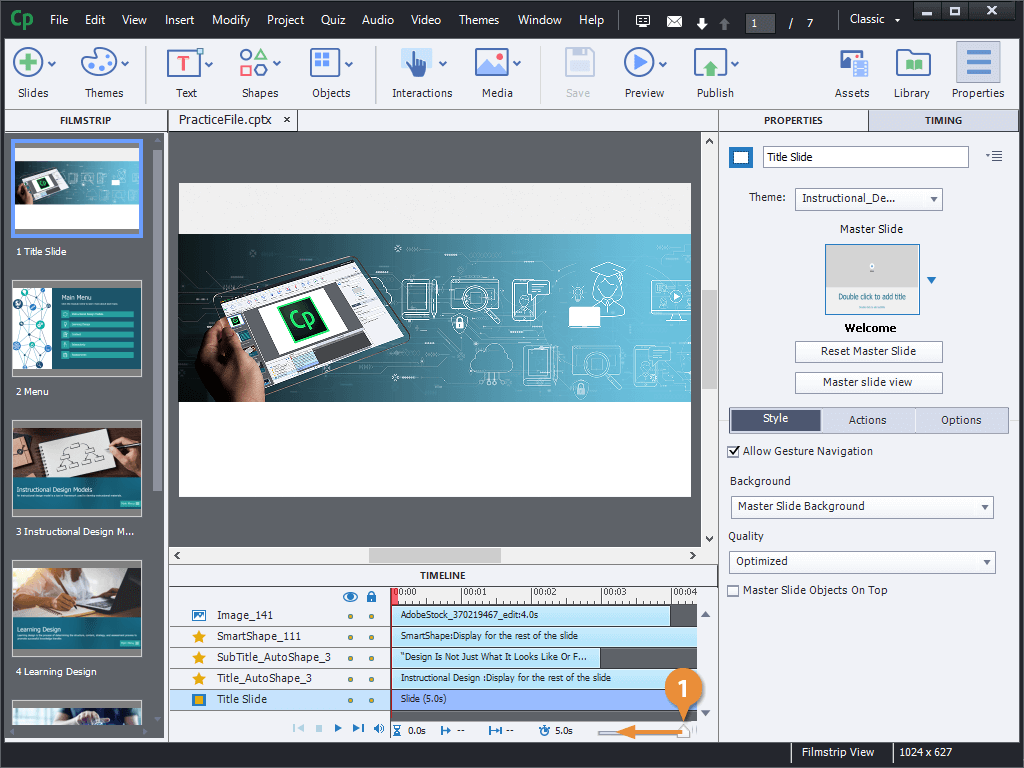
Zoom the Timeline
- Click and drag the zoom slider to display more or less of the timeline.
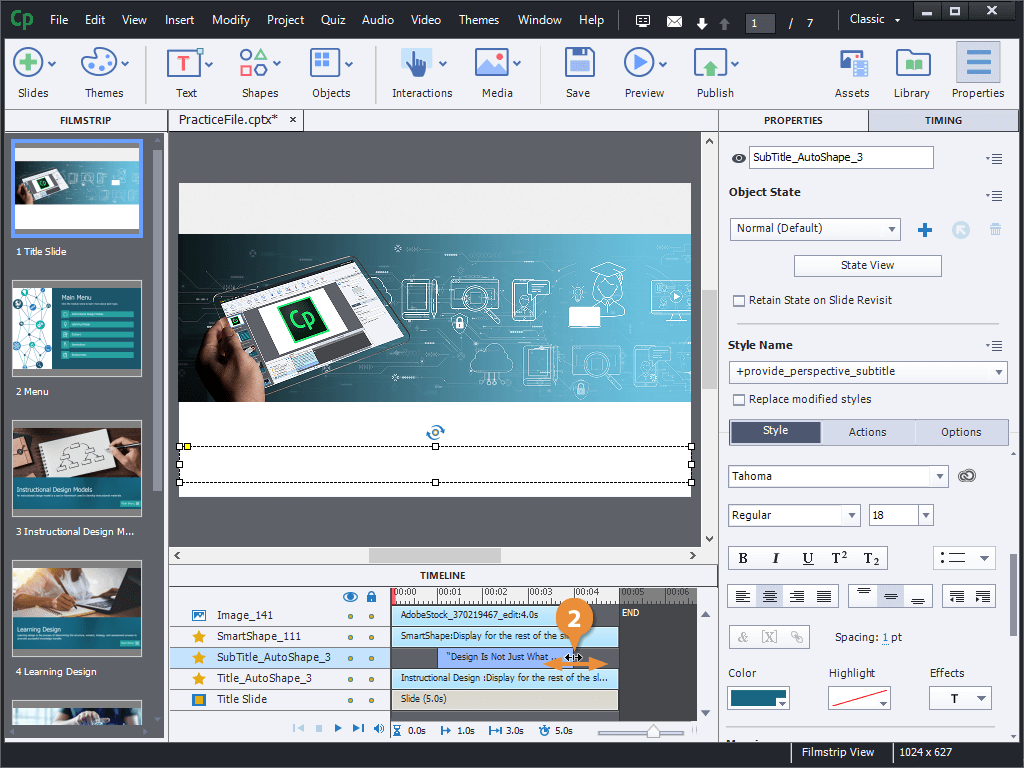
Move Objects on the Timeline
Now that we can see the whole timeline for this slide, let's look at how to move objects around on the timeline.
- Click and drag an object to move it on the timeline.

- Click and drag an object's left or right border to adjust its duration.
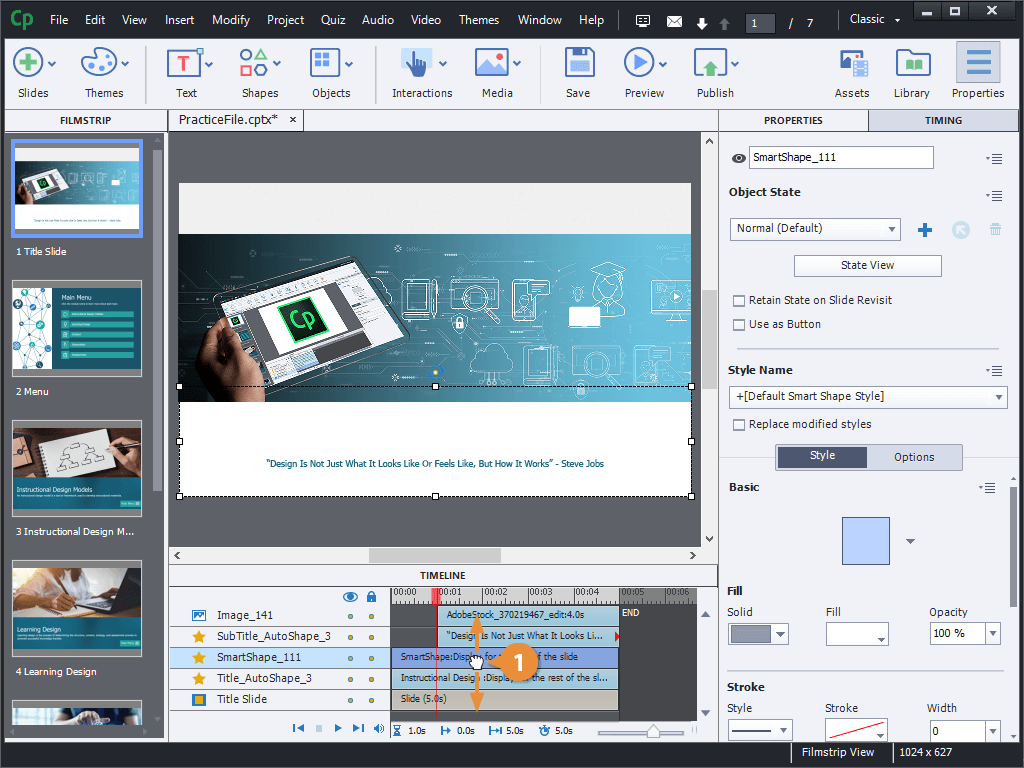
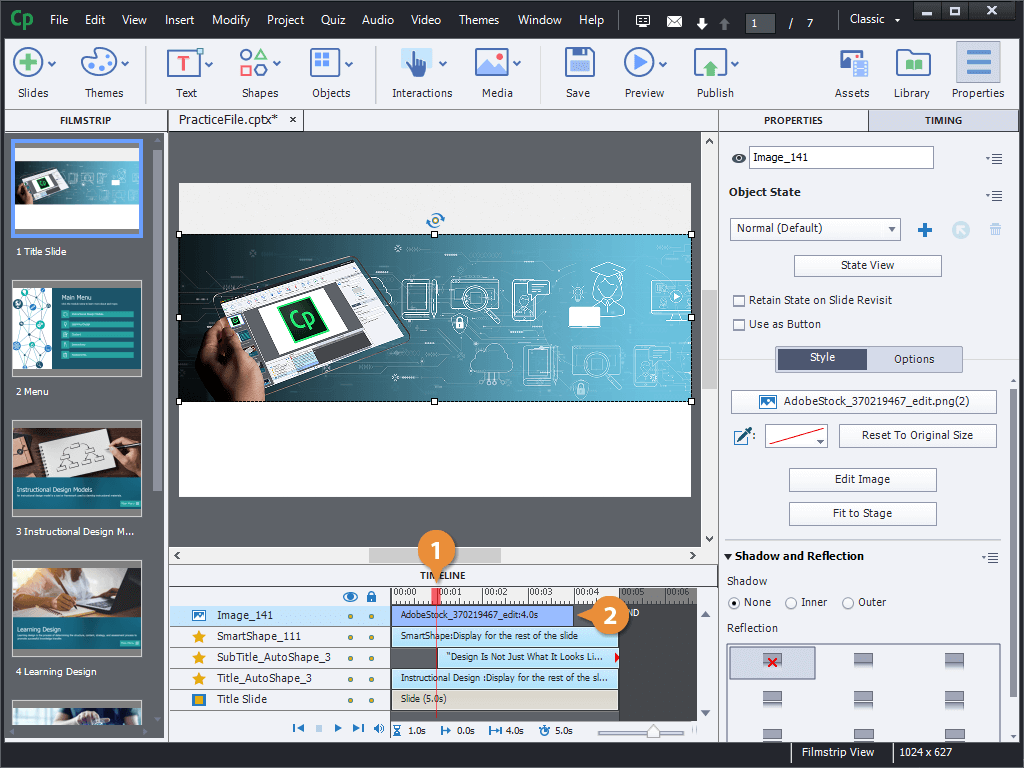
Sync an Object to the Playhead
Another way to change when an object appears on the slide is to align it to the playhead. The playhead is represented by a red box on the timeline, with a red line that descends through all of the objects below.
- Click a spot on the timeline to move the playhead.
- Select an object.
- Click Modify on the menu bar.
- Select Sync with Playhead.
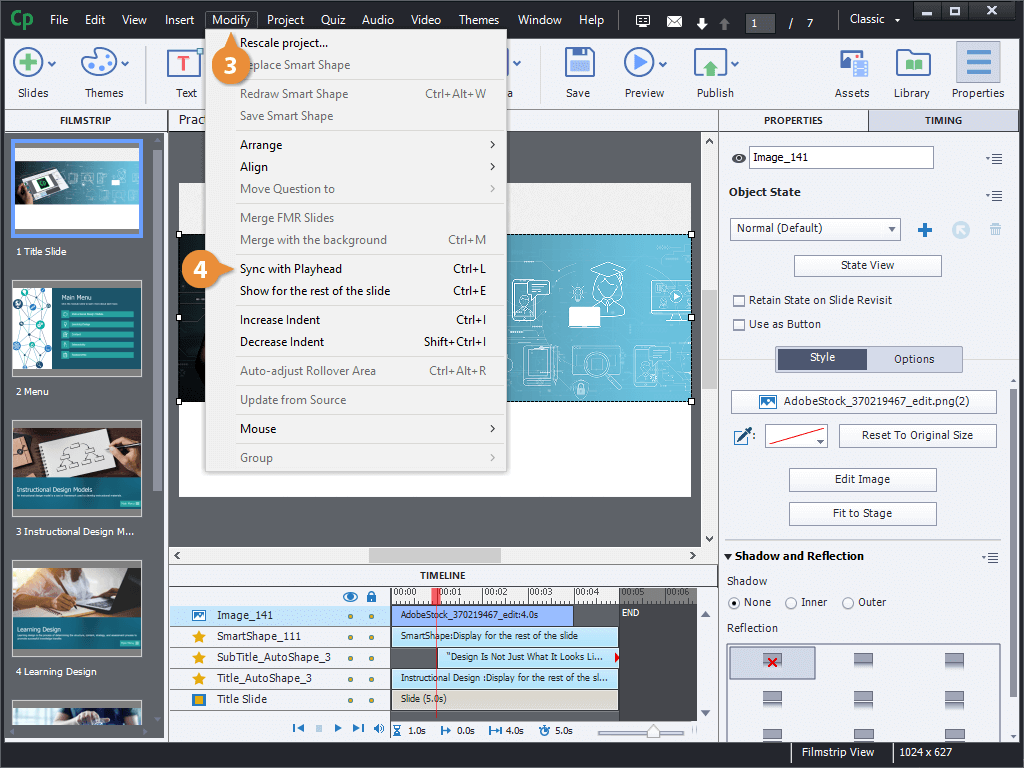
The object moves on the timeline so that it will appear at the time marked by the playhead.
Reorder Objects
You can also change the layer order of objects on the timeline, to control which object appears in front when things overlap.
- Click and drag an object up or down to move it between layers on the timeline.