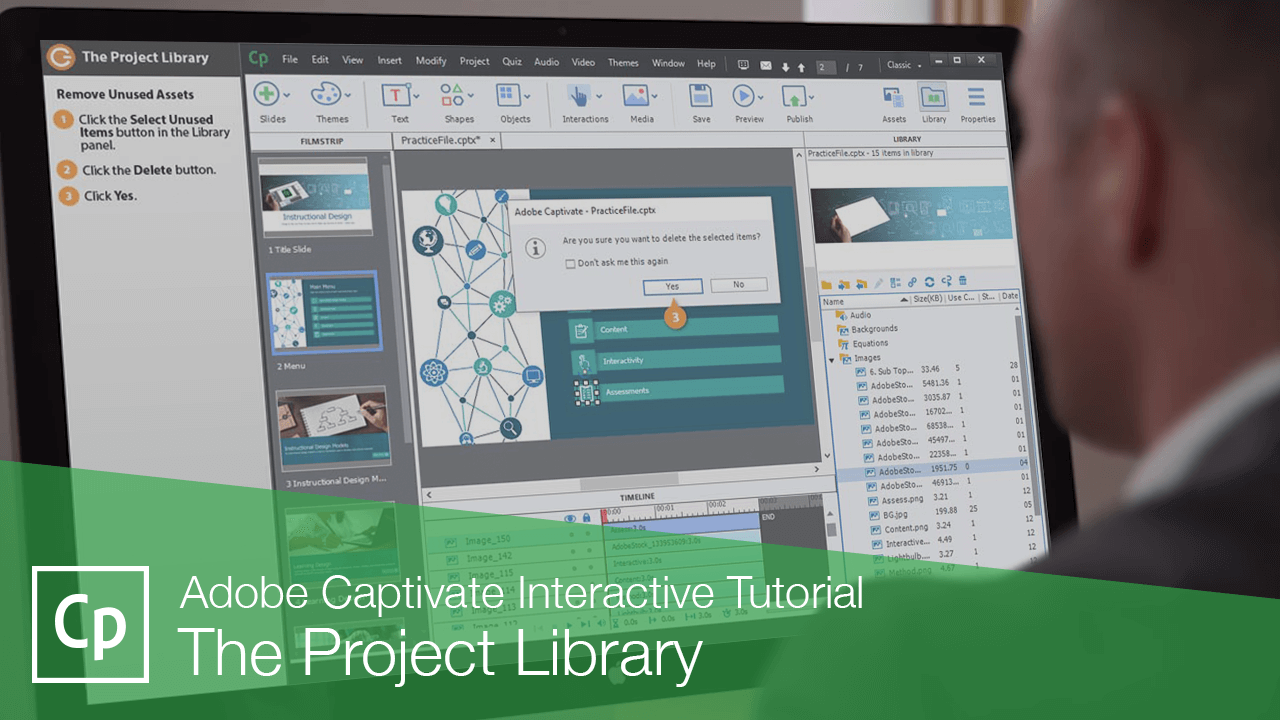
Interactive Tutorial
Adobe Captivate Library
Manage assets, images, and audio efficiently with the Adobe Captivate Library
-
Learn by Doing
-
LMS Ready
-
Earn Certificates

Try this Course with a Free Trial
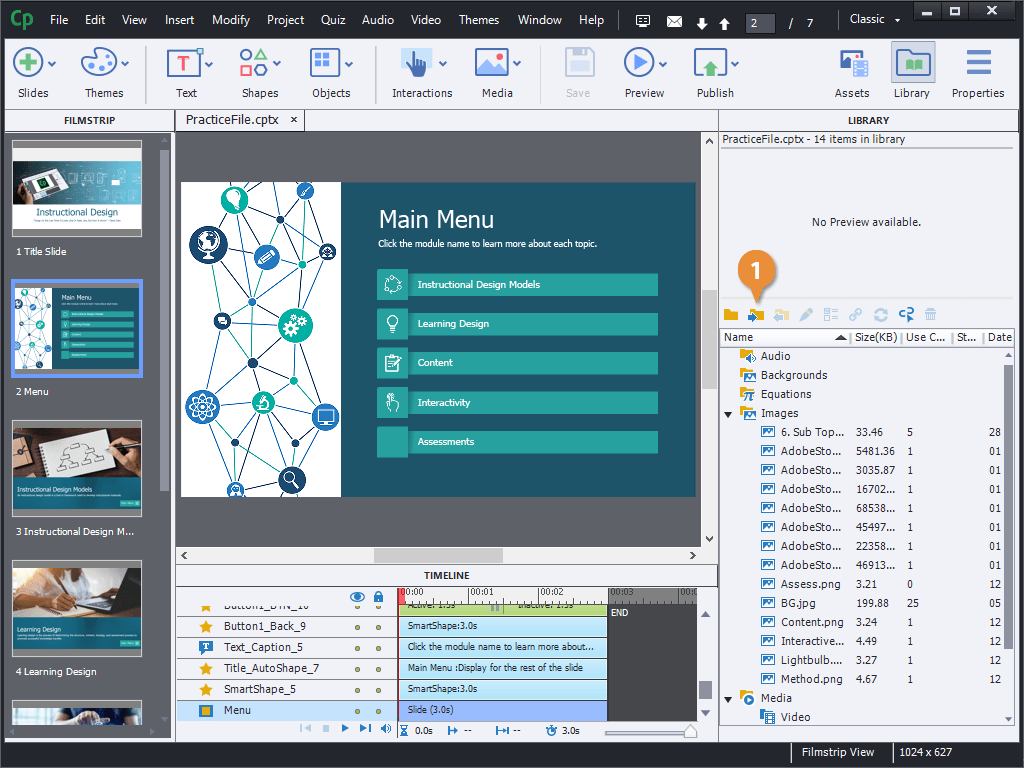
A Captivate project's library is the collection of assets, including images, video, and audio, that have been imported into the project.
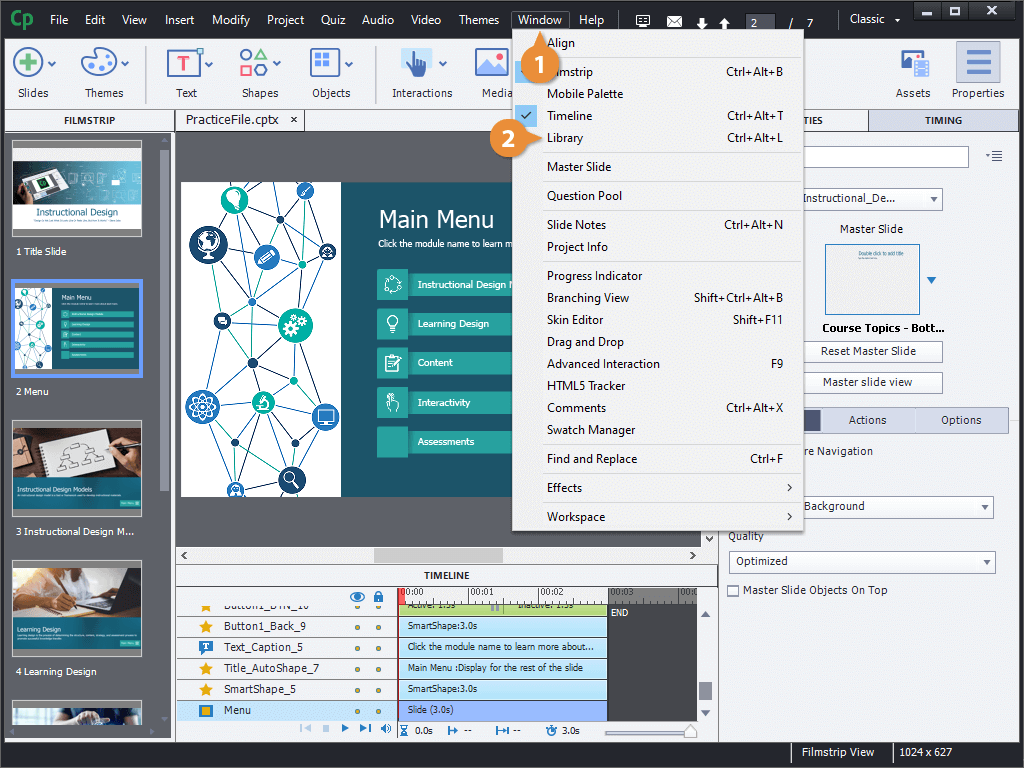
View the Library
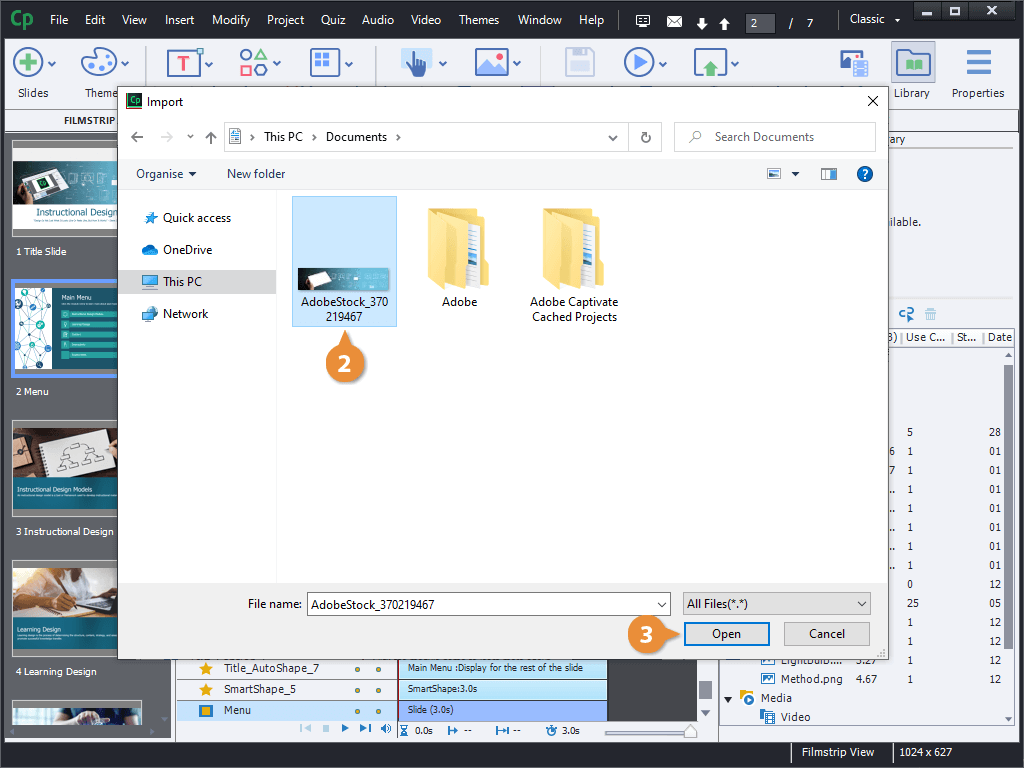
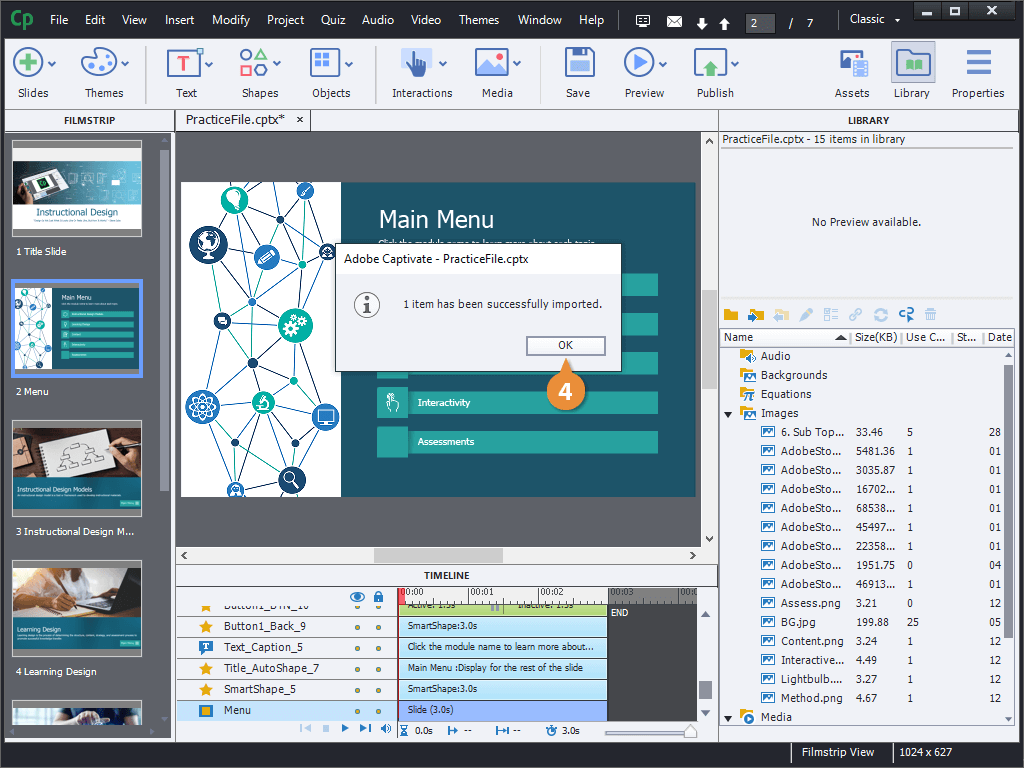
Import Assets into the Library
There are several ways to add an asset to the library. For example, whenever you use the Media button on the toolbar to insert an image, it will also appear in the library.
- Click the Import button in the Library panel.
- Select a file (or multiple files).
- Click Open.
- Click OK.
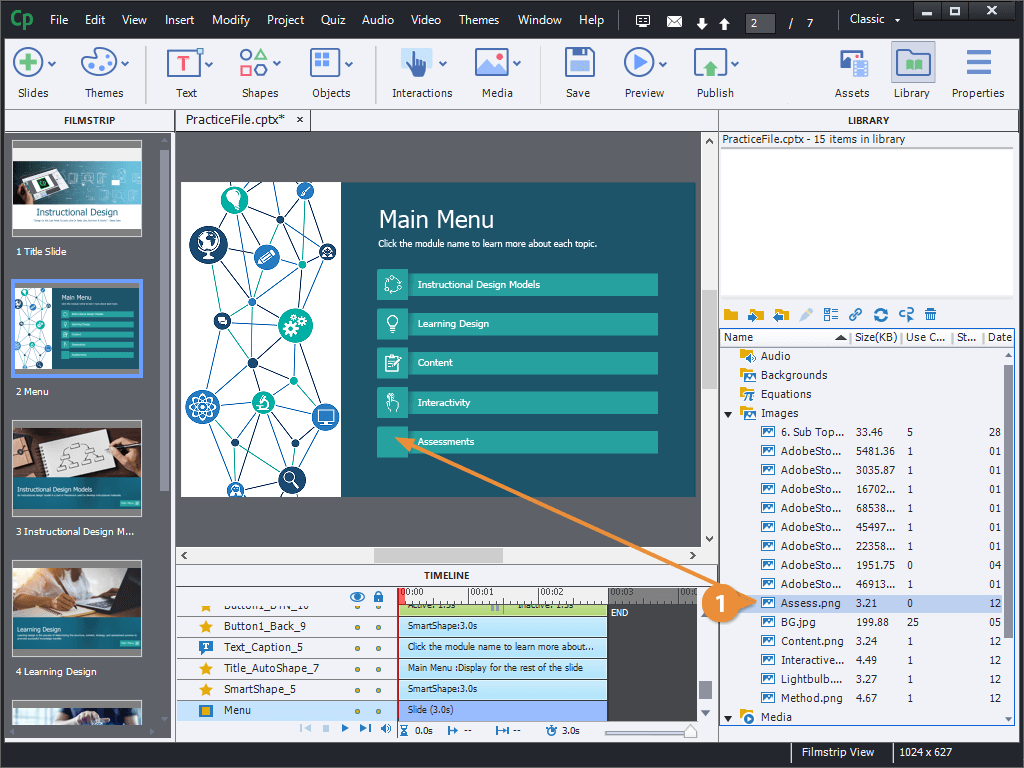
Add Assets to a Slide
- Click and drag an asset from the library onto the stage.
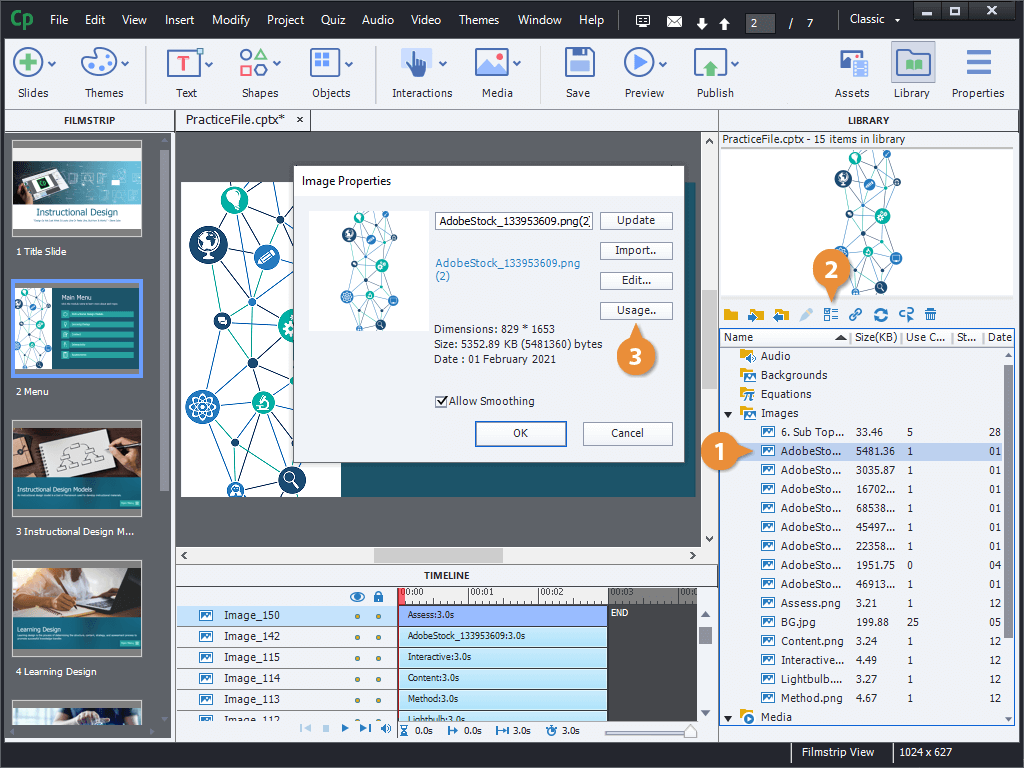
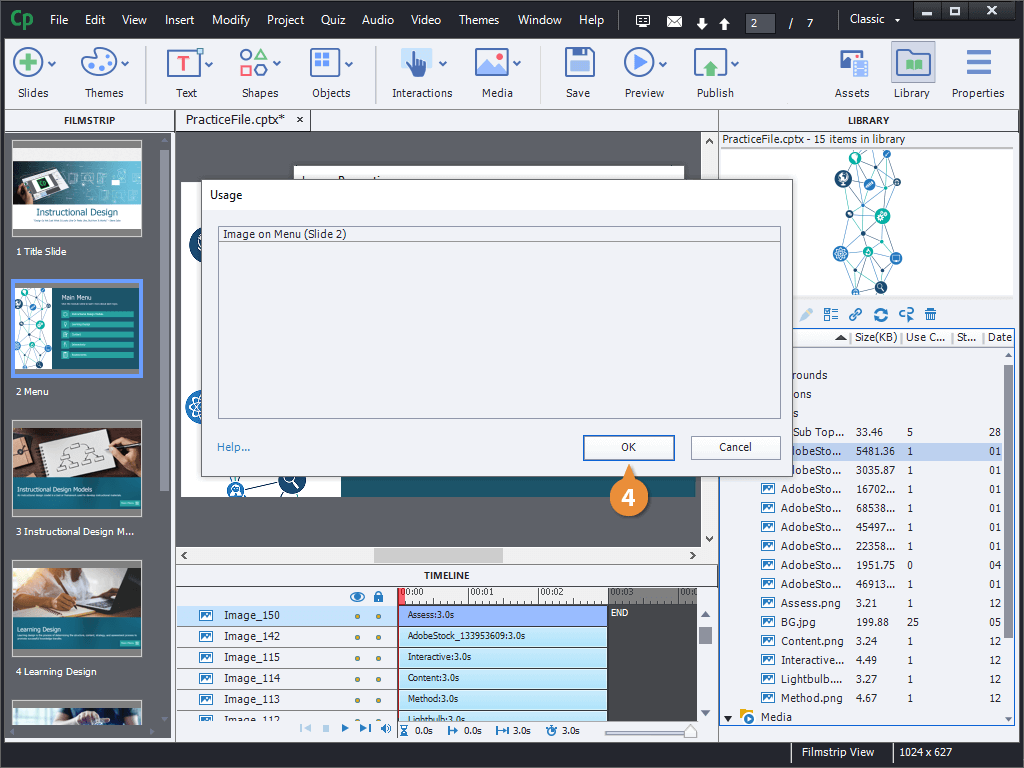
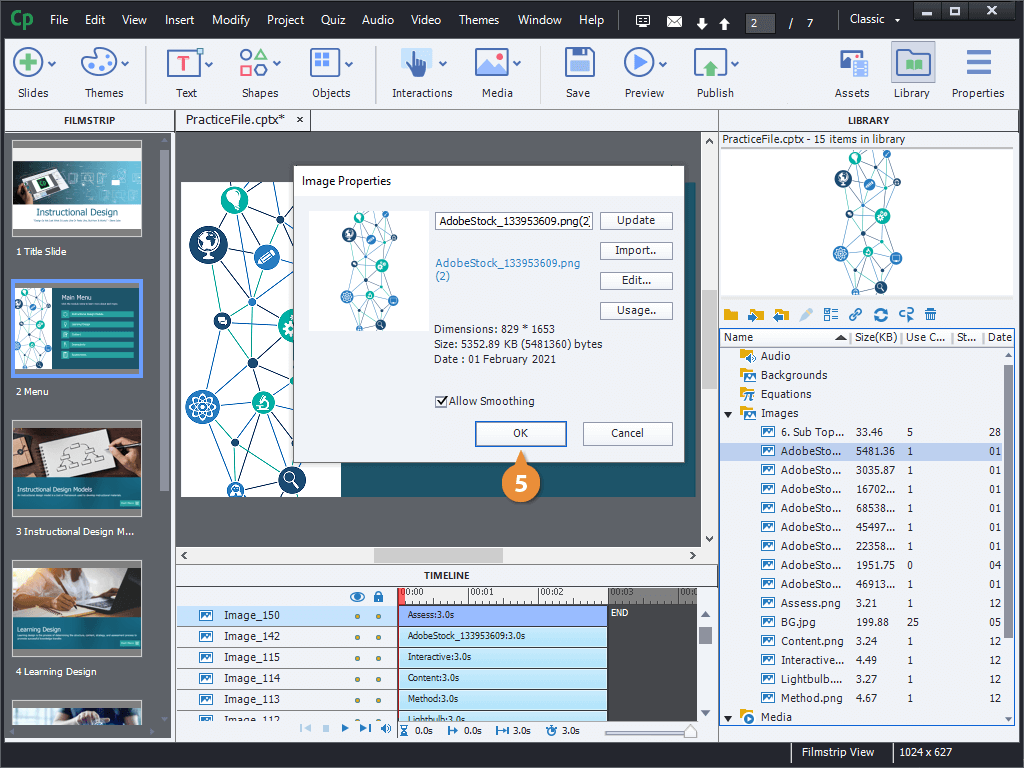
View a File's Properties
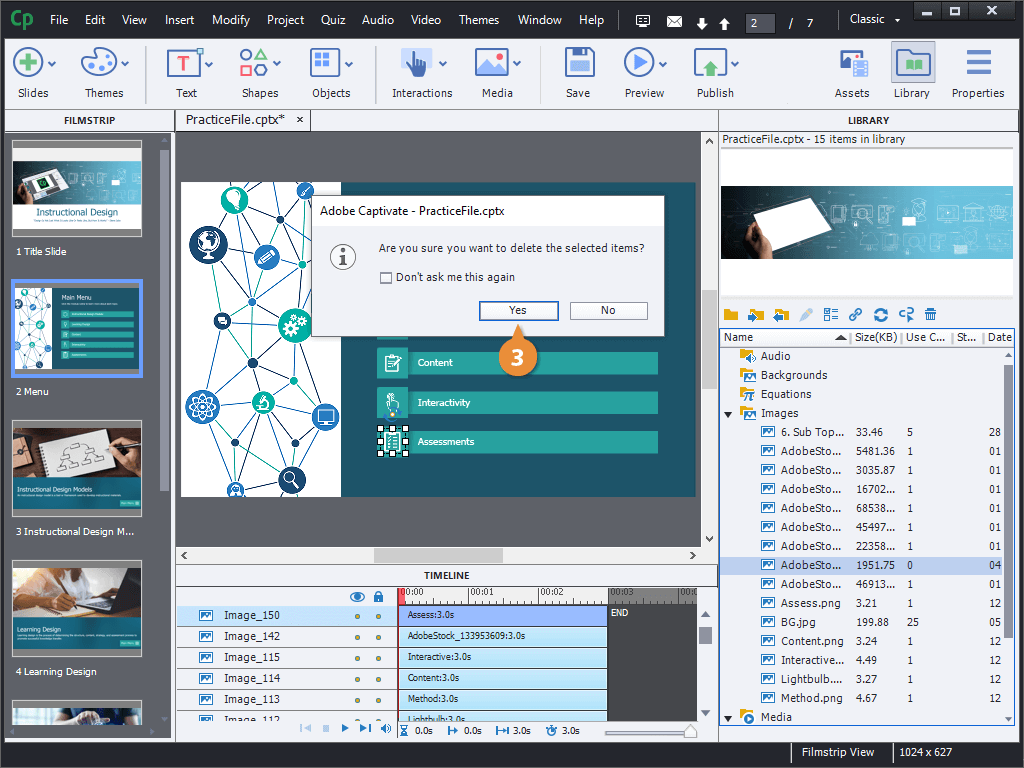
Remove Unused Assets
When you add a file to a project's library, a copy of that file is made within the Captivate project's file. If you have a lot of assets, it can make a project's file size pretty big. Removing assets that you're not using will help keep the project's file size as small as possible.
- Click the Select Unused Items button in the Library panel.
- Click the Delete button.
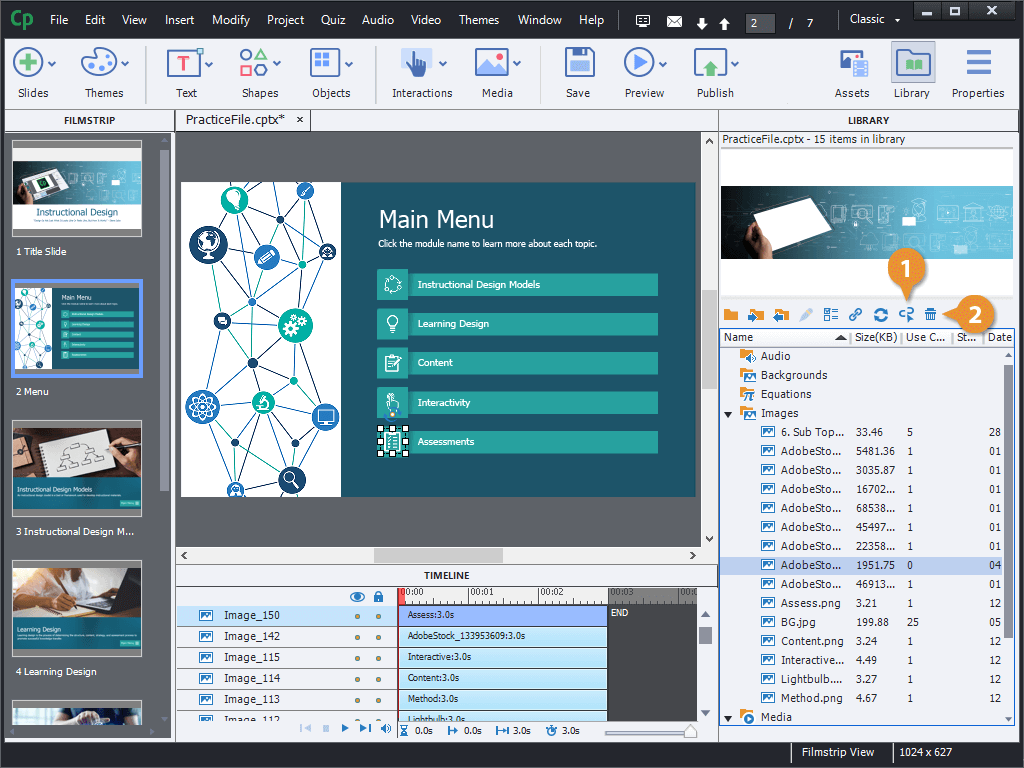
- Click Yes.