Interactive Tutorial
Adobe Captivate Interface
Explore the Adobe Captivate workspace and learn essential interface tools for editing
-
Learn by Doing
-
LMS Ready
-
Earn Certificates

Try this Course with a Free Trial
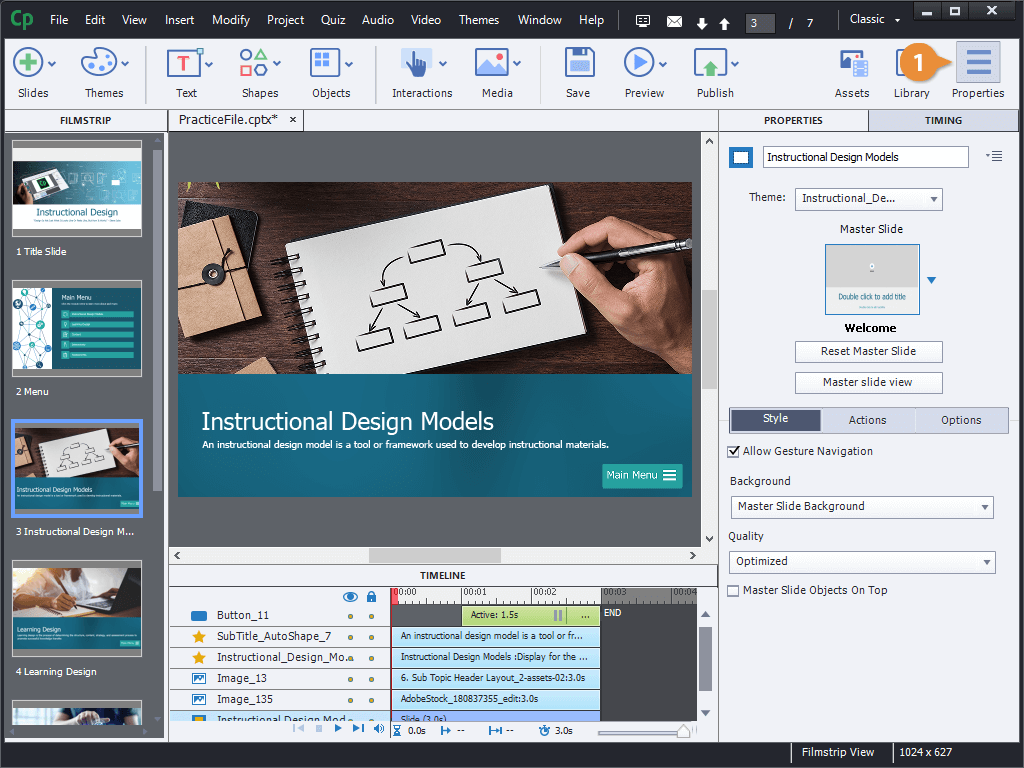
Before we create a learning project in Captivate, let's take a minute to get used to the different parts of the Captivate screen.
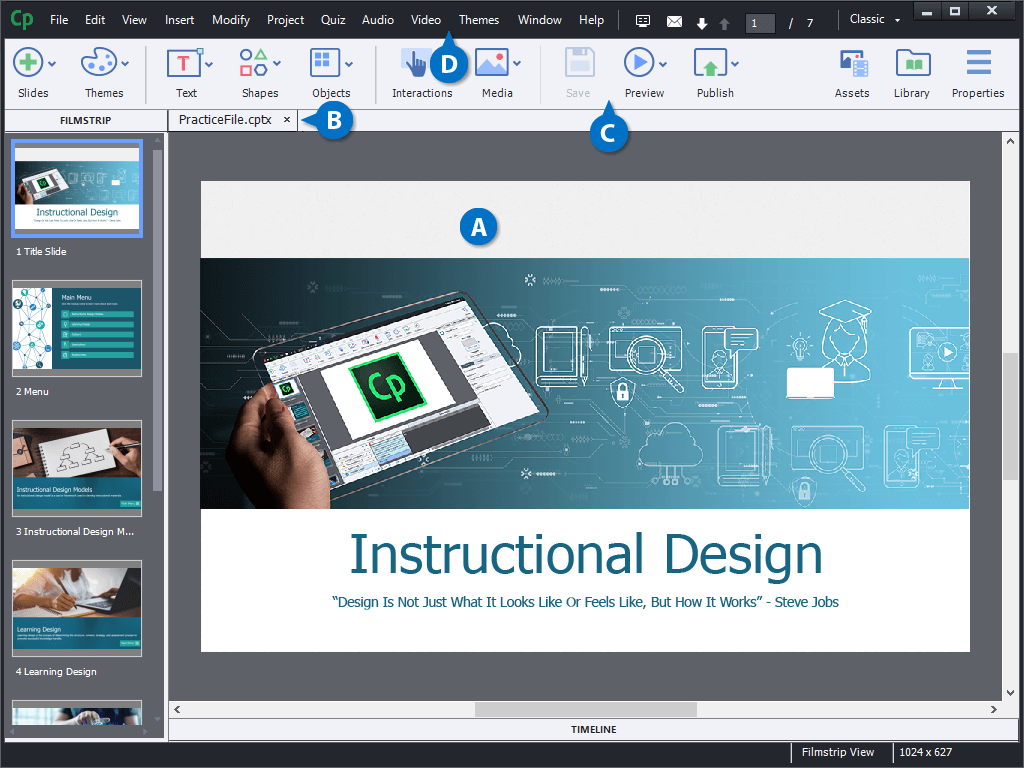
| A | Main Stage: The Main Stage is where you'll do the most work. This is where you'll design the slide, adding and laying out objects, shapes, and text. | C | Main Toolbar: Above that is the main toolbar. You can use the commands here to add slides, objects, text, and interactions. You can also save, preview, and publish your project here. |
| B | Project Tabs: Above the main stage you'll see the current project's file name in a tab. If you have multiple projects open at once, each one will be represented by a tab. Just click a tab to switch to that project. | D | Menu Bar: Above the toolbar is the menu bar. Each menu contains a selection of commands that all relate to the menu's name. |
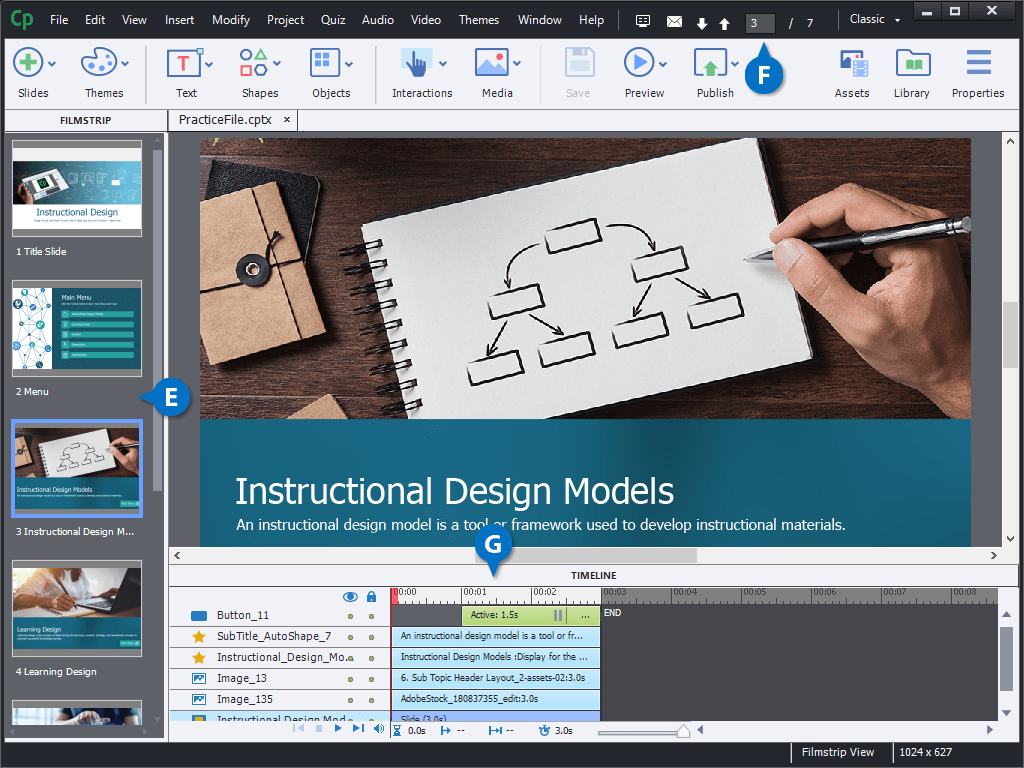
| E | Filmstrip Panel: The Captivate window's left pane includes the Filmstrip, which displays thumbnails of all of a project's slides. It's how you select which slide is displayed on the main stage for editing. | G | Timeline: Below the stage will be the timeline. Each object on the slide appears on the timeline as well. |
| F | Slide Navigation: You can also see which slide you're viewing, and how many slides your project has in total, up next to the menu bar. |
Change the Zoom Level
- Click View on the menu bar.
- Select Magnification.
- Select a zoom level.

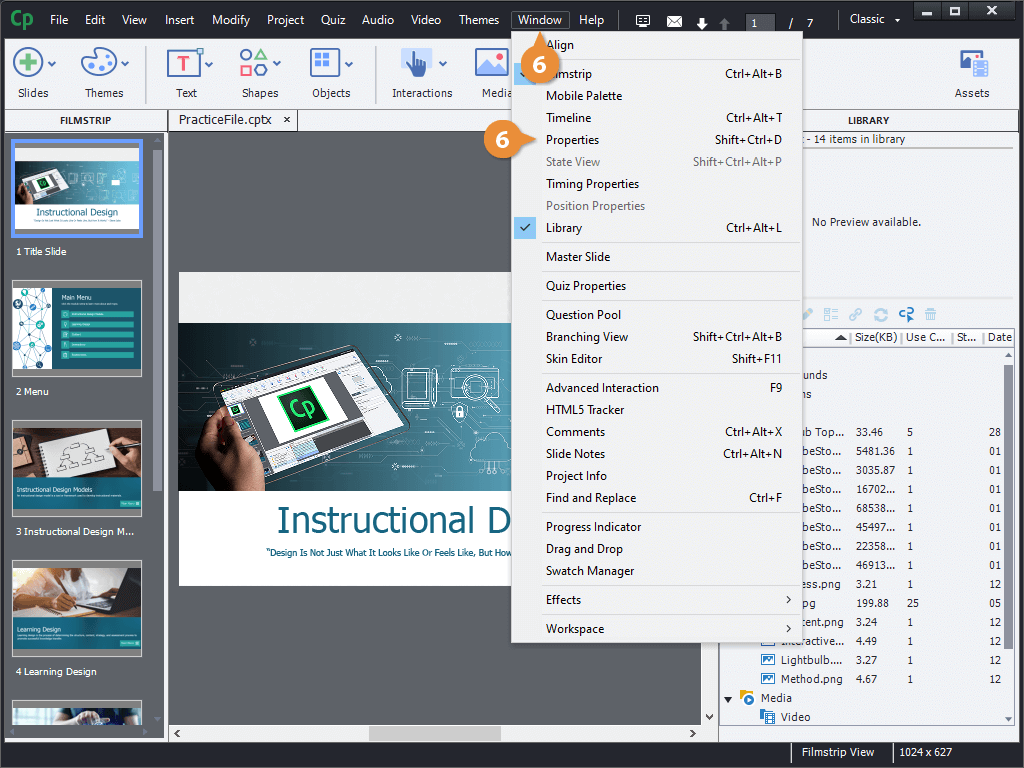
Display the Properties Panel
- Click the Properties button on the toolbar.
The Properties panel shows some information and settings for the current slide or selected object.
Display the Library Panel
- Click the Library button on the toolbar.
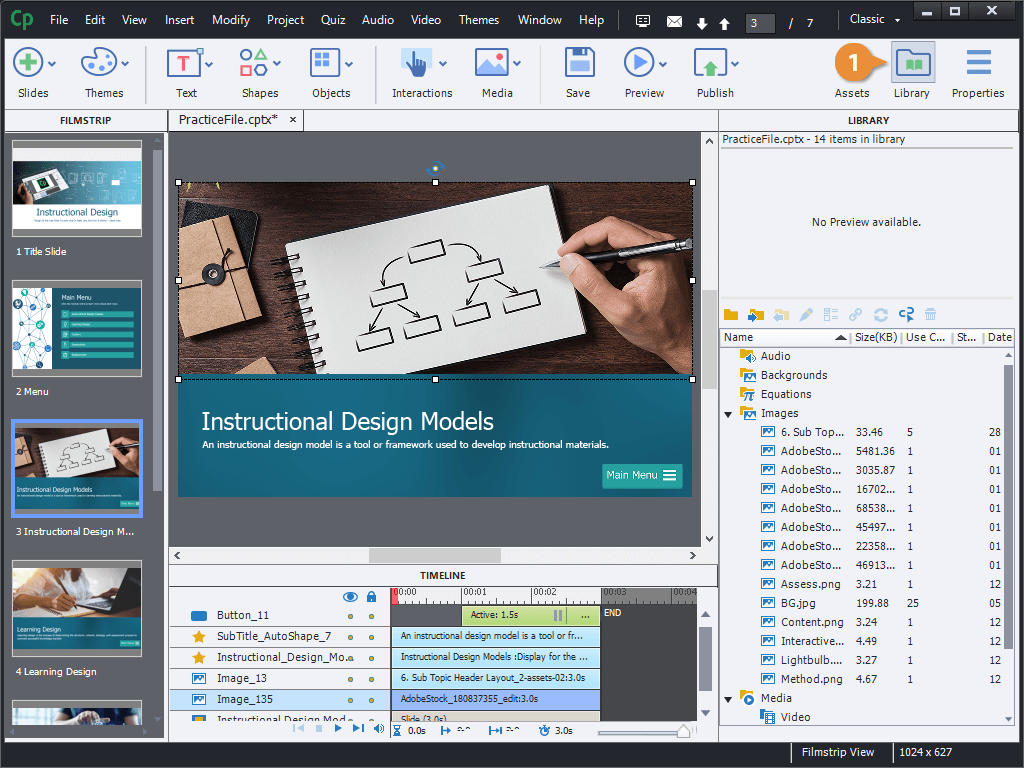
The Library pane shows any assets you've imported into the project.
Unlock and Rearrange Panels
Once you've got a sense of the panels available in Captivate, you can start to rearrange them to fit your preferences.
- Click Edit on the menu bar.
- Select Preferences.
- Check the Enable custom workspaces / panel undocking checkbox.
- Click OK.
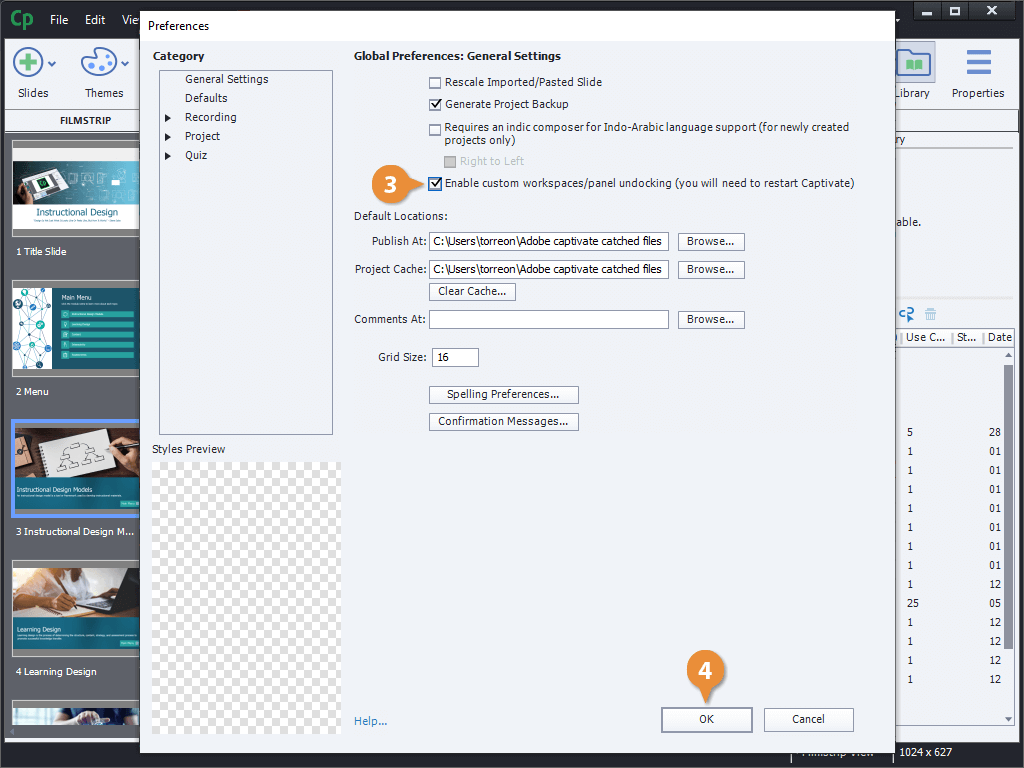
You'll need to restart Captivate for this to take effect, but once you do, you'll have more freedom to change how these panels appear.
- Restart Adobe Captivate.
- Enable a panel.
- Click and drag a panel to a new location.
You can snap a panel to one side of the window, group it with another panel by dragging it to another panel's title bar, or drag it anywhere else to create a free-floating panel.