Interactive Tutorial
Modify the Project Skin
Personalize your Captivate project with custom navigation controls and themes
-
Learn by Doing
-
LMS Ready
-
Earn Certificates

Try this Course with a Free Trial

A project's skin refers to the appearance of a project's playback controls, border, and table of contents. You can customize the appearance and layout of these to change the appearance and functionality of your project.
Open the Skin Editor
- Click Project on the menu bar.
- Select Skin Editor.
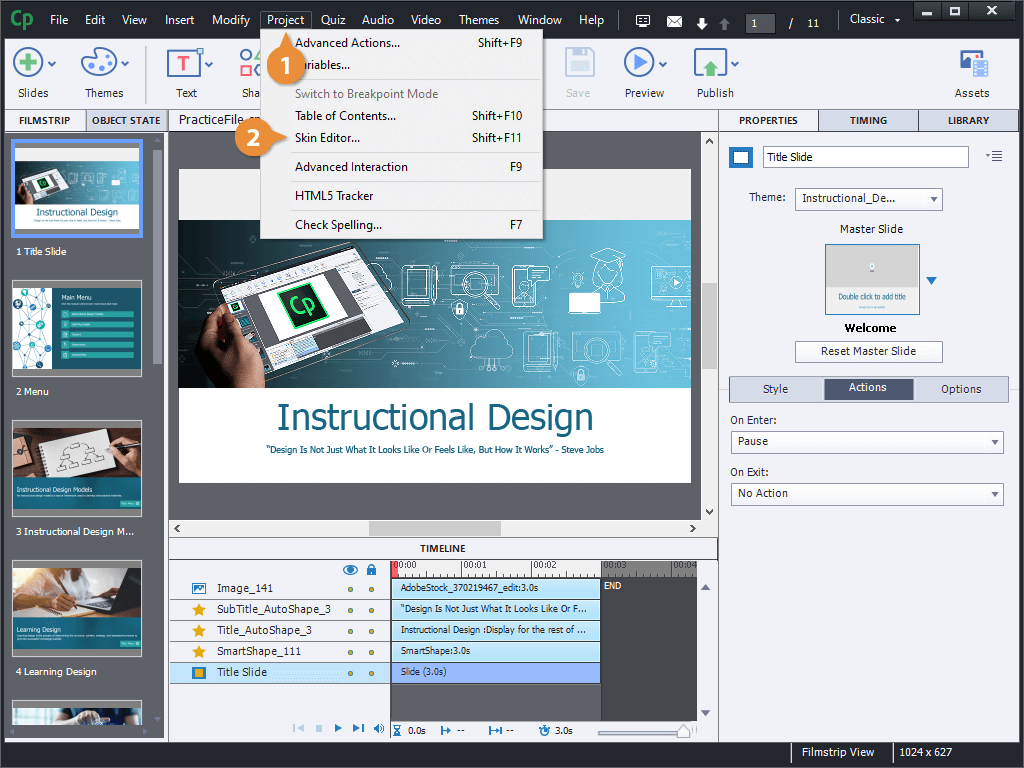
The skin editor opens, showing a preview of how the project will look with its current playback controls and border.
You can select a skin theme from the menu, or set up your own and save it for later use.
Edit the Playback Controls
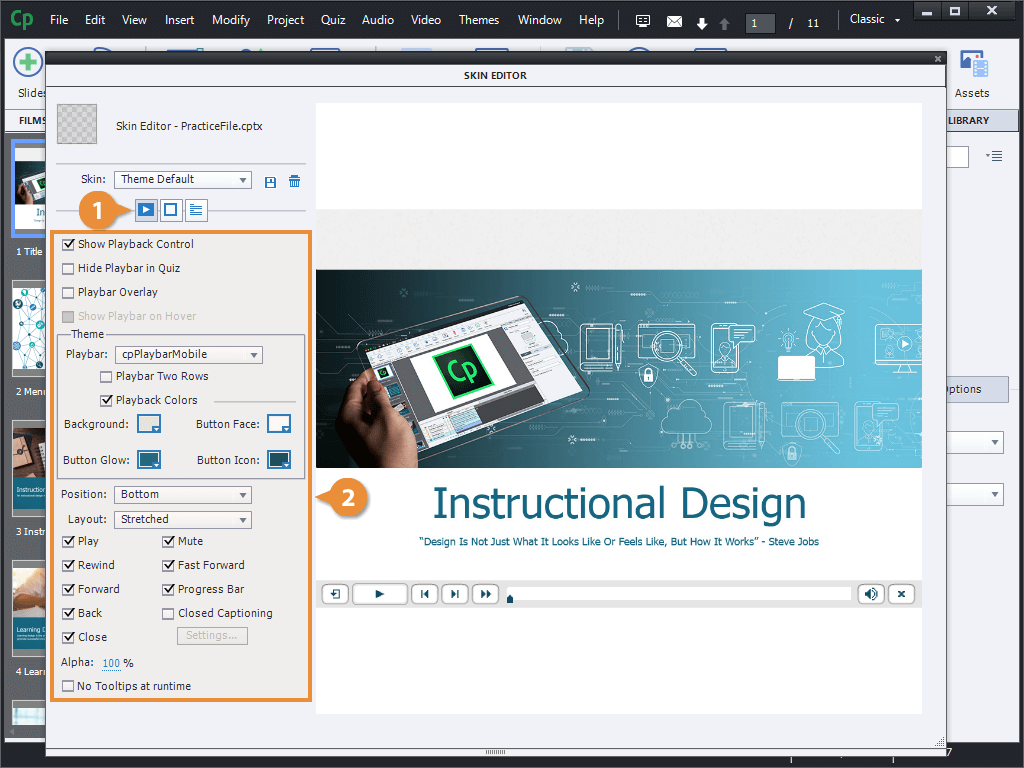
As you can see, you can toggle visibility of the playback controls entirely, hide it during quizzes, and choose whether it overlays the project or not.
You can also choose a design theme for the playback controls bar, or just edit the colors on your own.
Next, you can control the position and layout of the controls bar using these menus.
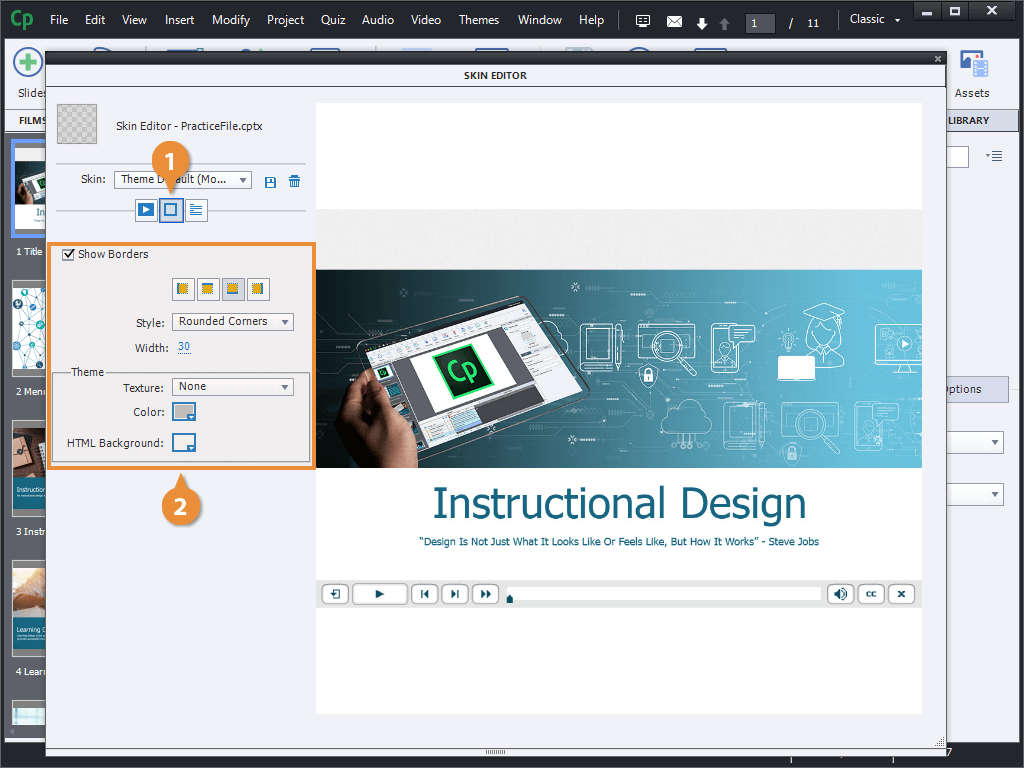
Edit the Project Borders
- In the Skin Editor window, click the Borders button.
- Edit the project's border properties.
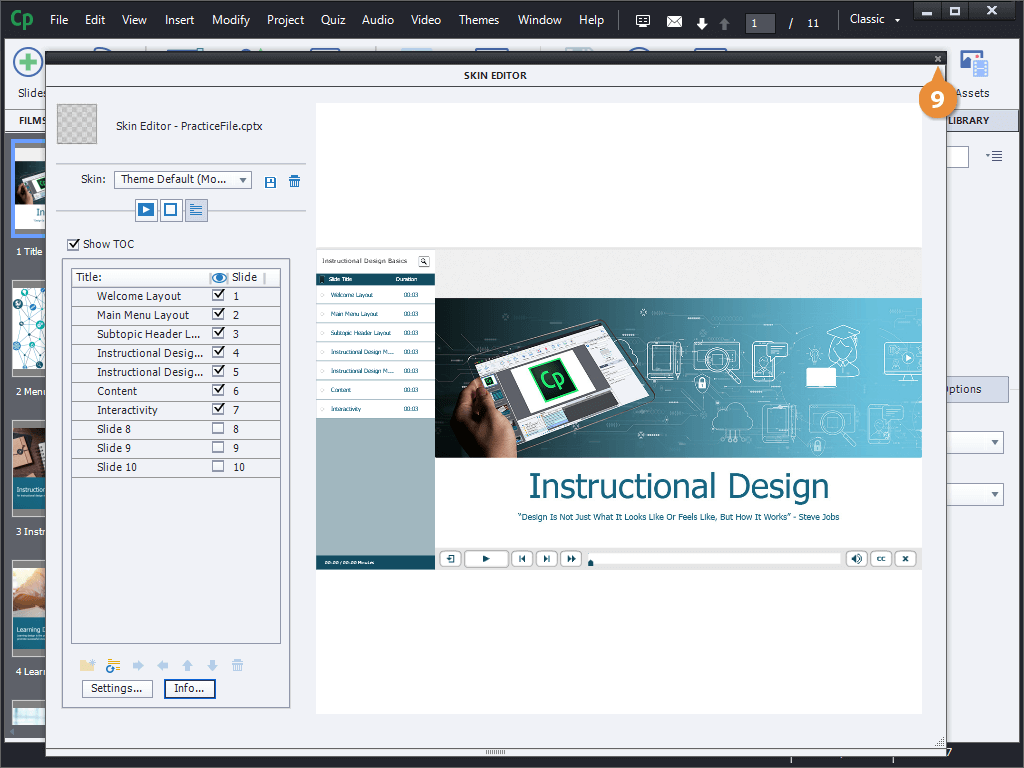
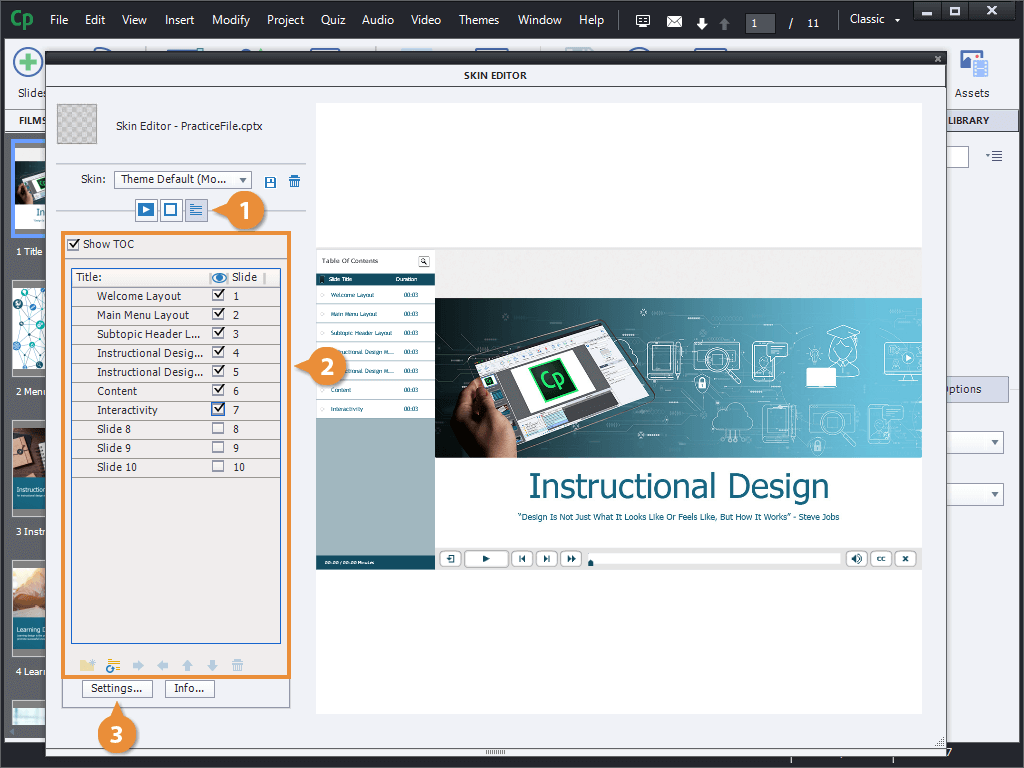
Edit the Table of Contents
- In the Skin Editor window, click the Table of Contents button.
- Edit the Table of Contents properties.
- Click the Settings button.
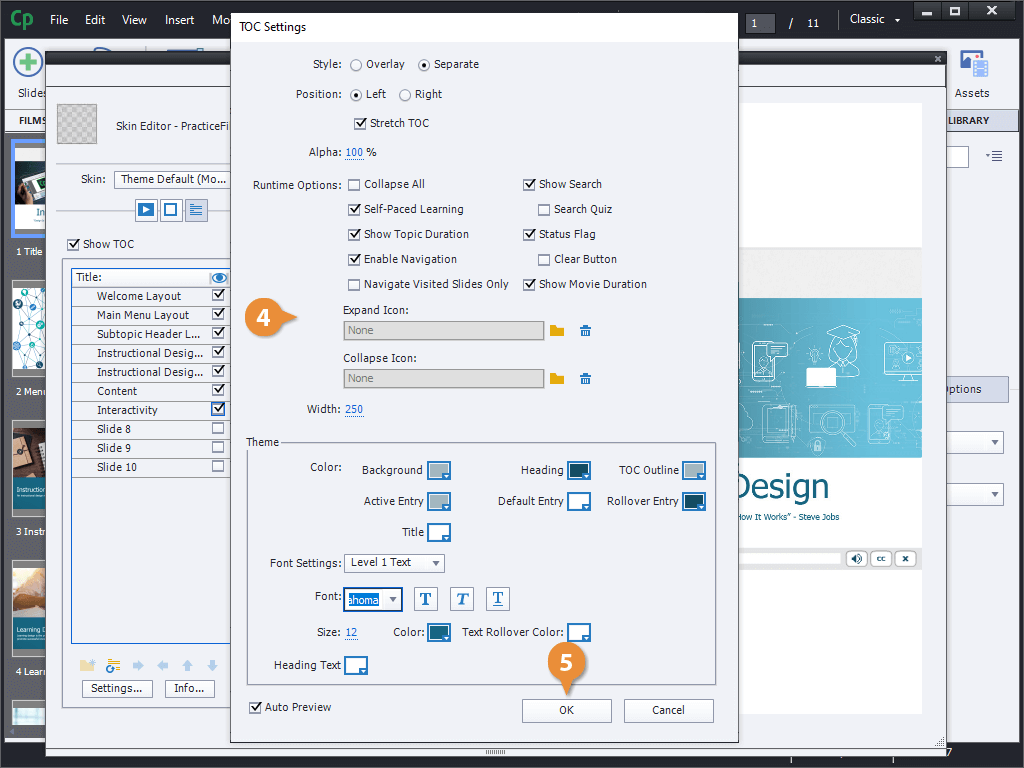
- Edit the Table of Contents advanced settings.
- Click OK.
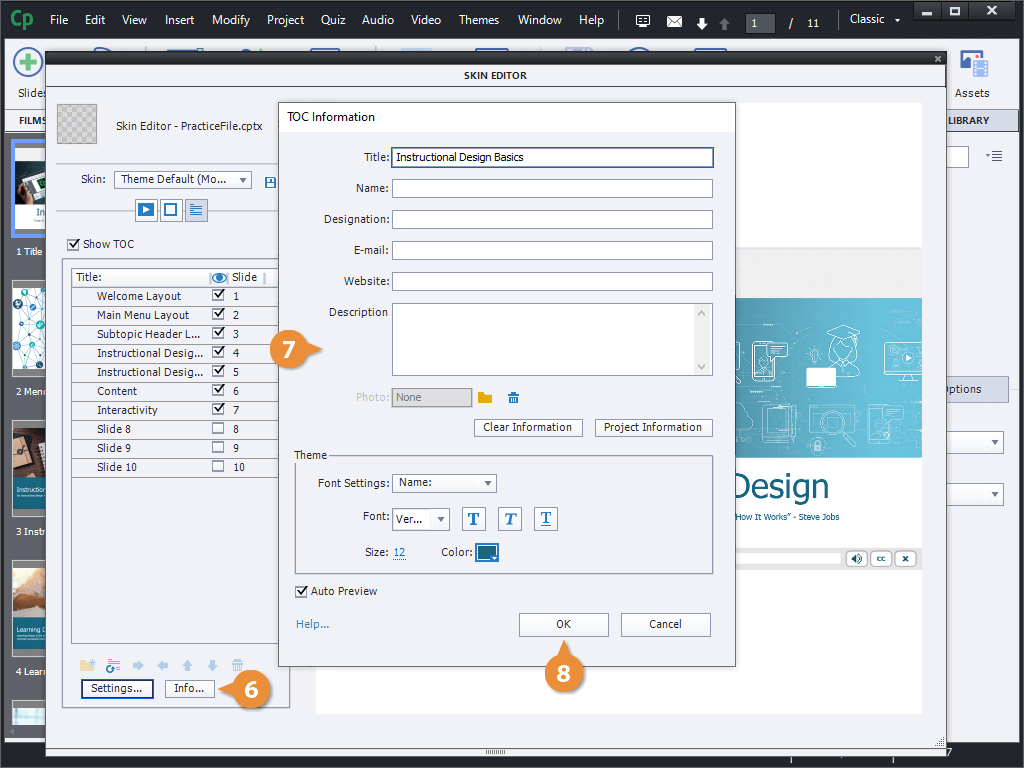
- Click the Info button.
- Edit the Table of Contents information fields.
- Click OK.
- Click the Skin Editor window's Close button.