Interactive Tutorial
Insert and Edit a Picture
Enhance your eLearning slides by inserting and editing images in Adobe Captivate
-
Learn by Doing
-
LMS Ready
-
Earn Certificates

Try this Course with a Free Trial

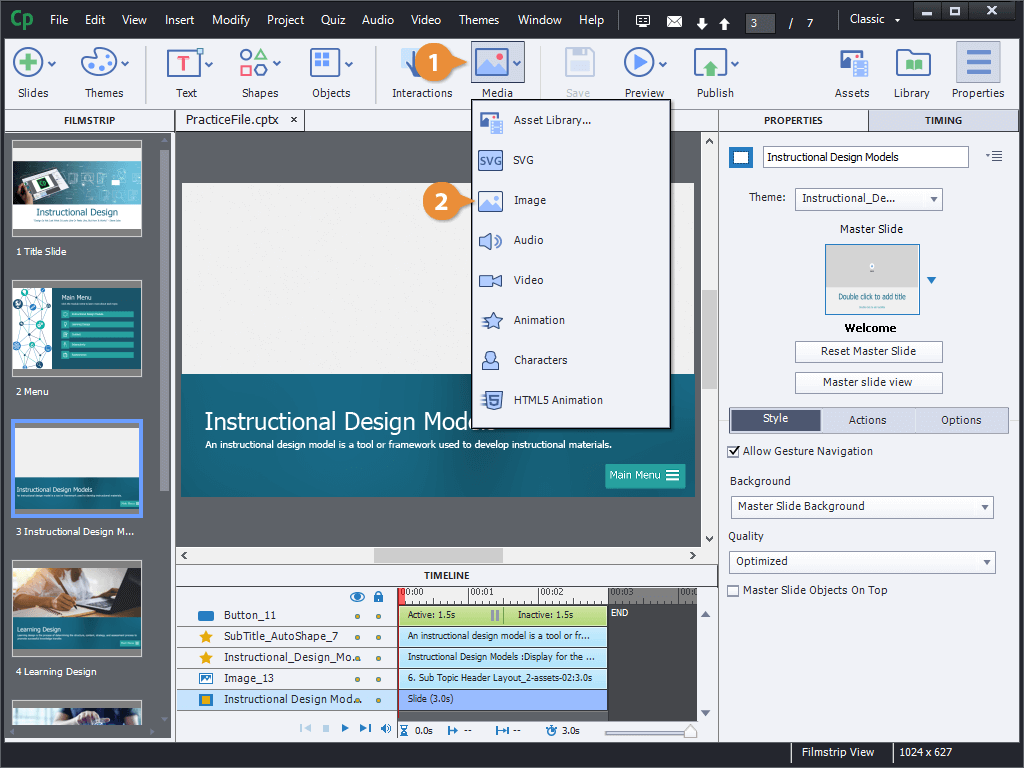
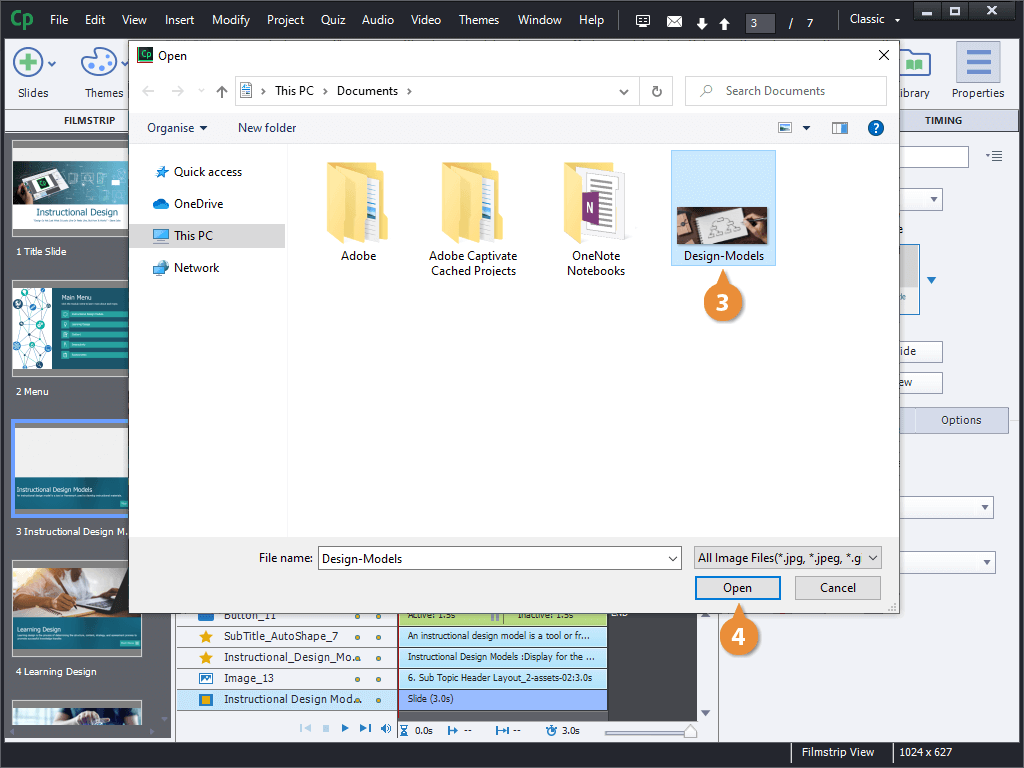
Insert an Image
Resize and Move an Image
- Click and drag an image's resizing handles to resize it.
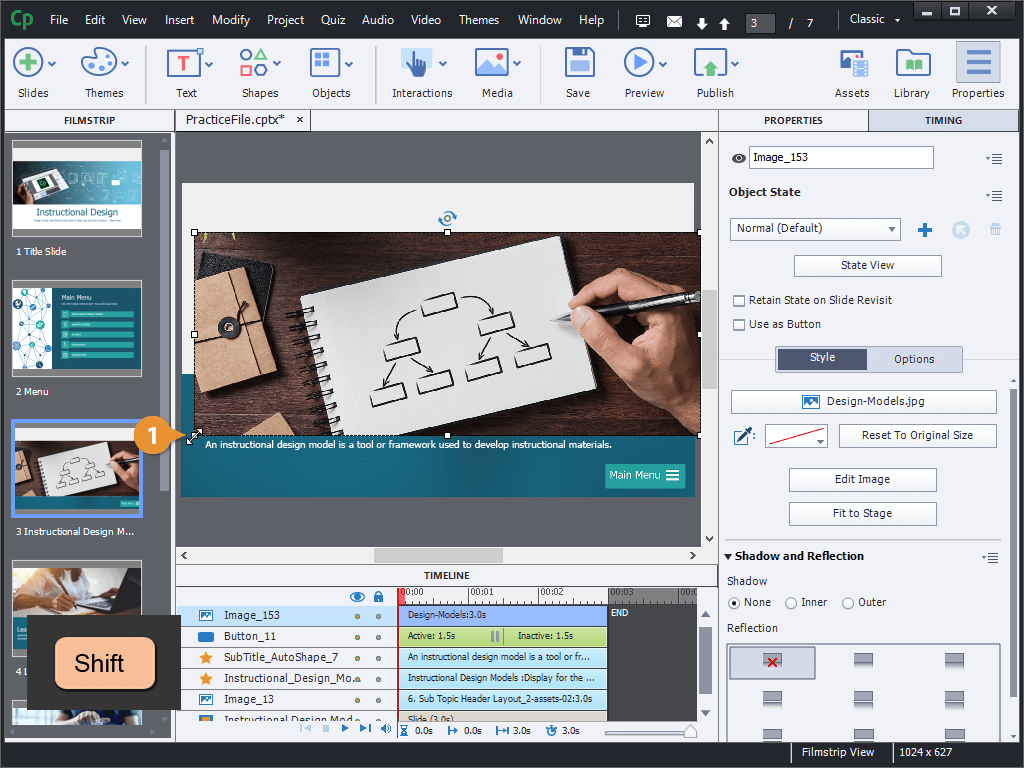
- Click and drag an image to move it.

OR
- Click the Options tab in the Properties panel.
- Adjust the values in the X, Y, W, and H fields to precisely move and resize the image.
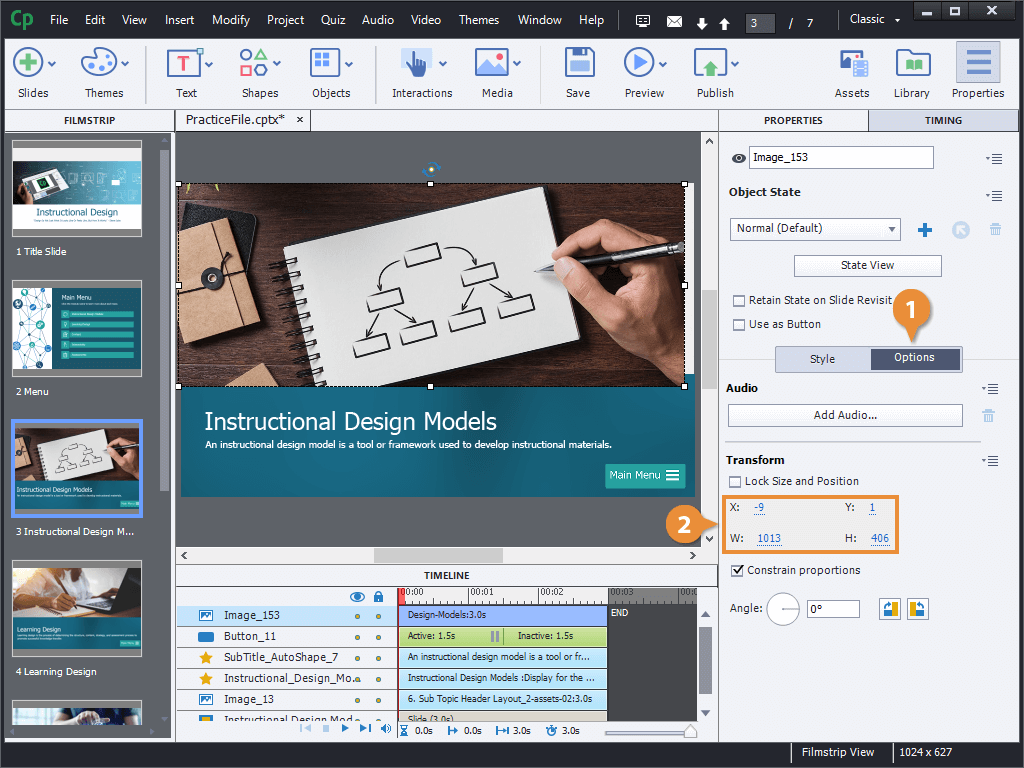
The values in the X and Y fields represent an image's location on the slide, starting from the top left corner.
The values in the W and H fields represent an image's width and height in pixels.
Edit an Image
Finally, you can edit an image after it's been added to a project. You can make small tweaks to color and brightness, flip and rotate it, or even crop it down to a different size.
- Select an image.
- Click the Style tab in the Properties panel.
- Click the Edit Image button.
div class="cw-screenshot-container">
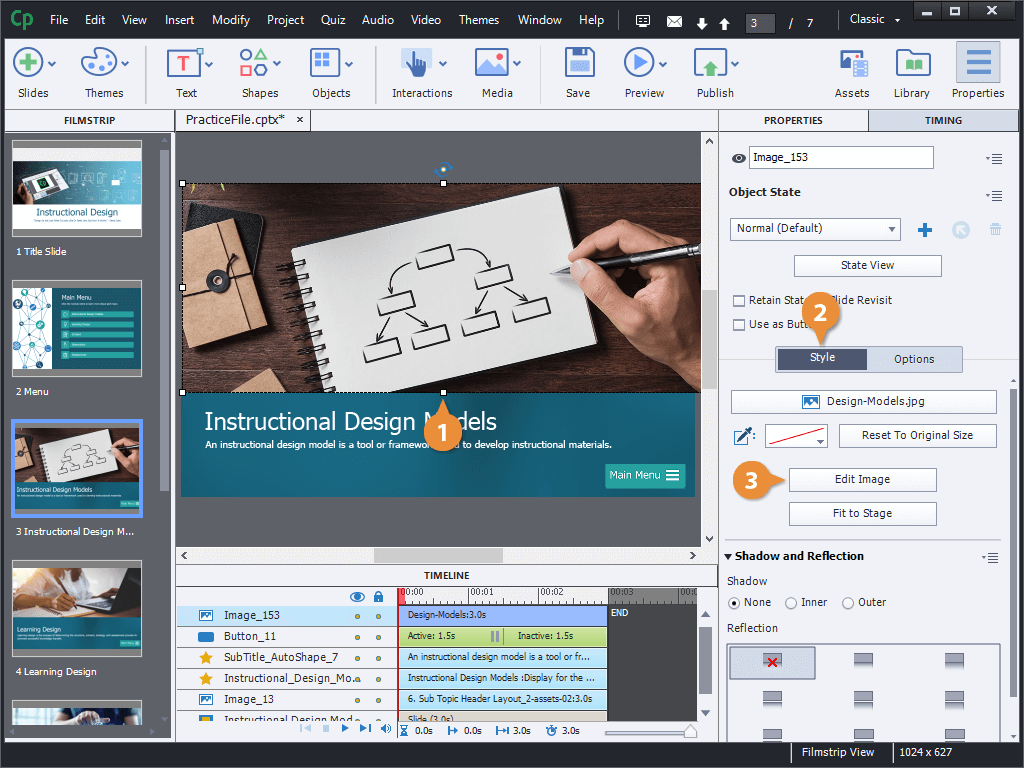
At the top of the Style tab are several options. The top button here shows the image's file name, and clicking it will let you switch it for another image. You can also reset the image to its original size or fit it to the stage.
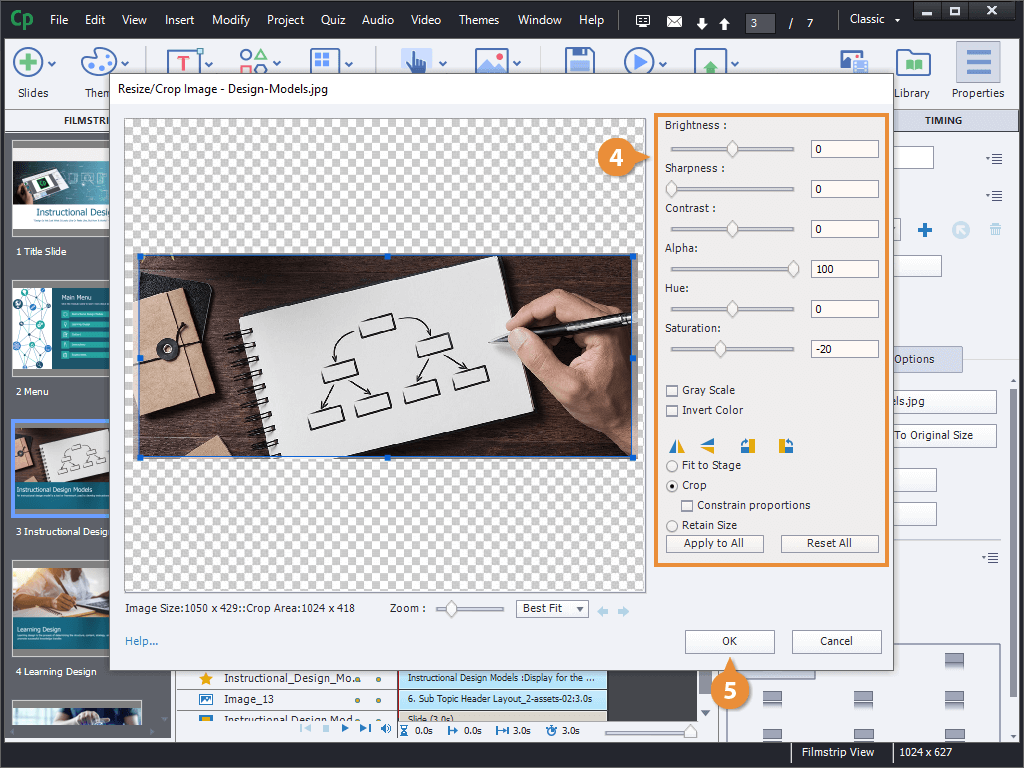
A new window opens up with some tools we can use to edit the image. The first group of tools lets us adjust the brightness, contrast, transparency, and color of the image. We could also make the image gray scale or invert the colors.
The second group of tools lets you flip the image, rotate it 90 degrees in either direction, or crop it.