Interactive Tutorial
Captivate Highlight Box
Draw attention to key elements in your project using highlight boxes in Captivate
-
Learn by Doing
-
LMS Ready
-
Earn Certificates

Try this Course with a Free Trial
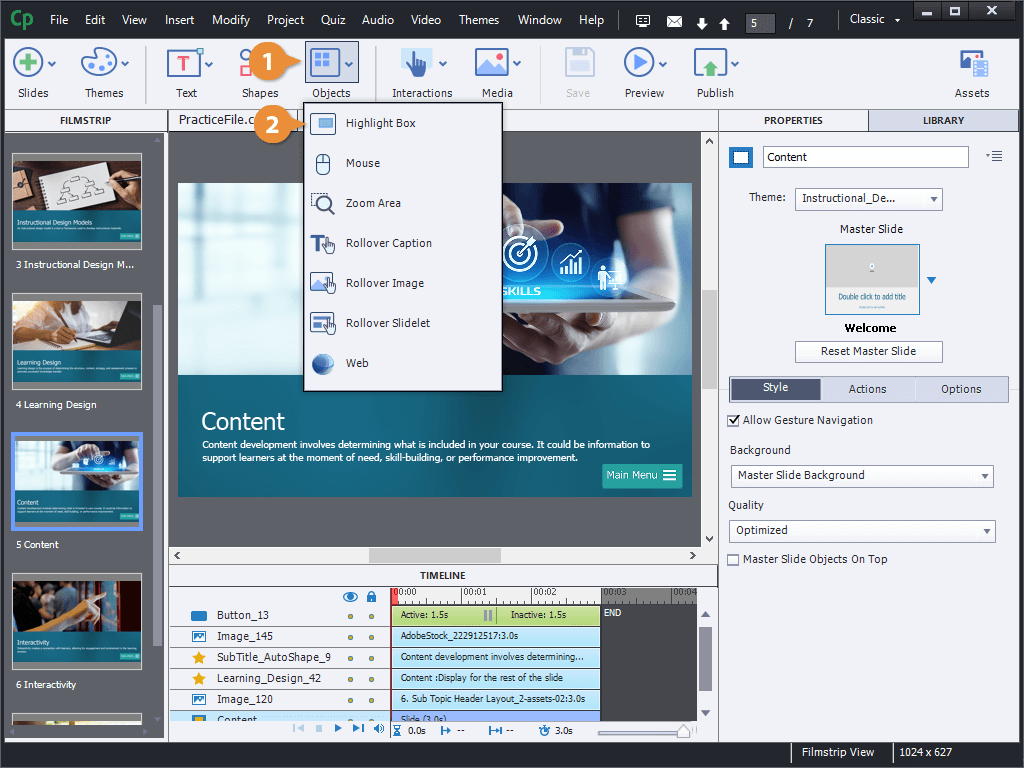
A highlight box is a special type of object that's used to draw attention to a specific part of an image or slide. Let's add a highlight to this slide, drawing attention to the tablet in the image.
Insert a Highlight Box
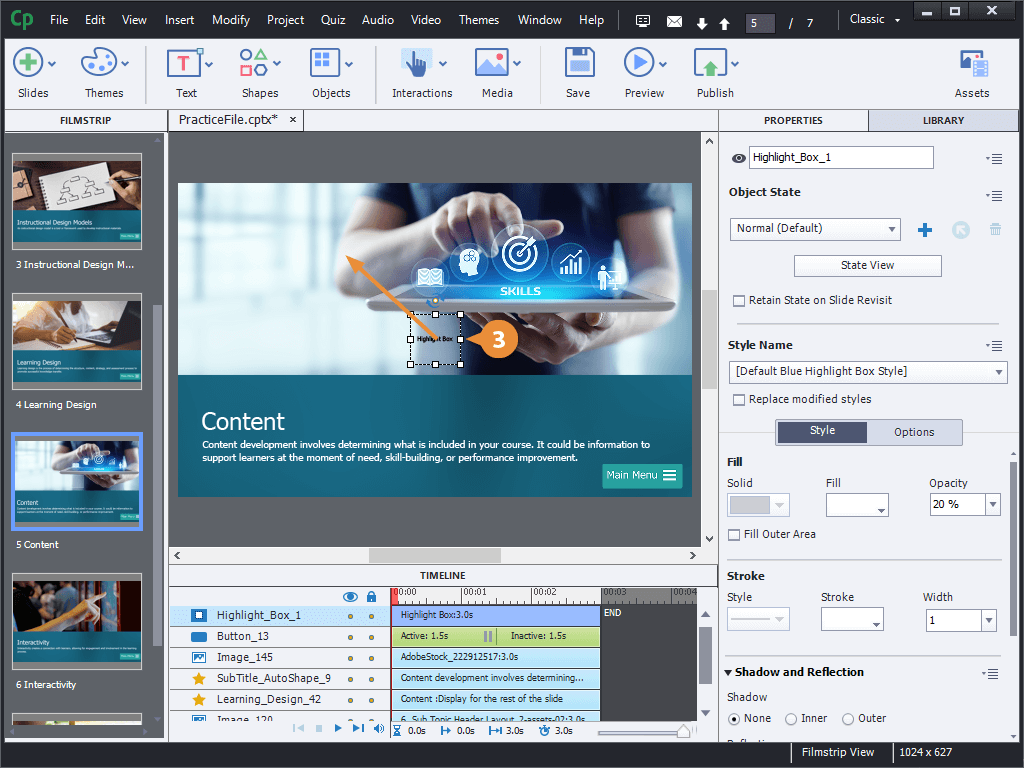

Format a Highlight Box
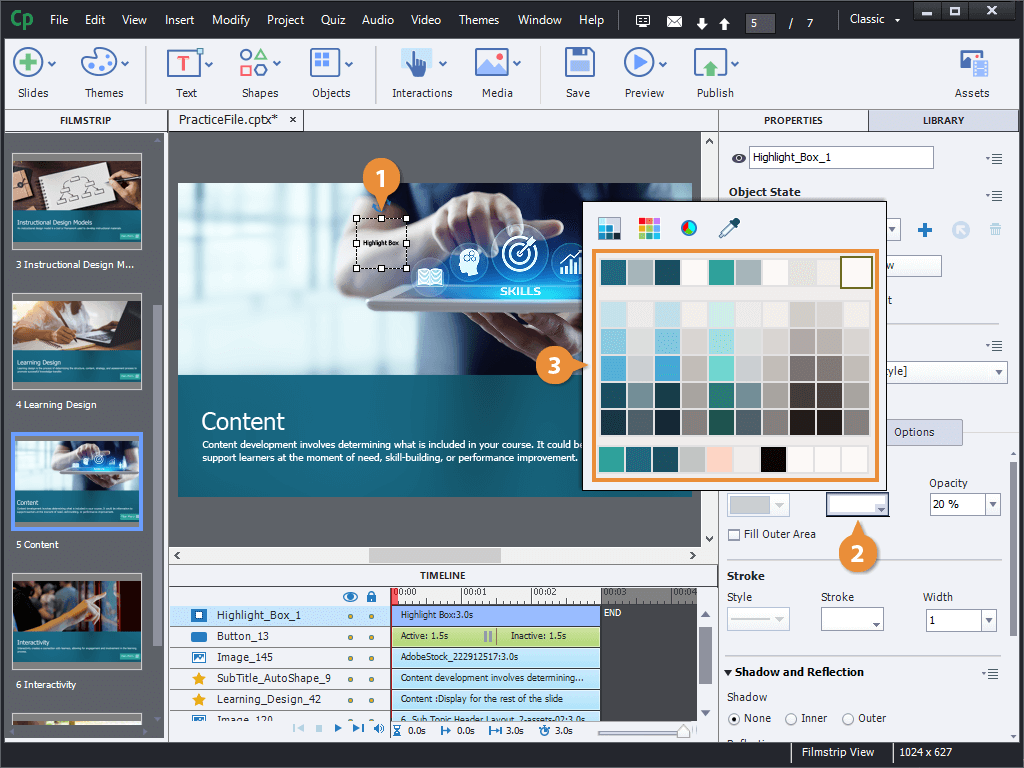
- Select the highlight box.
- Click the Fill color menu arrow.
- Select a fill color.
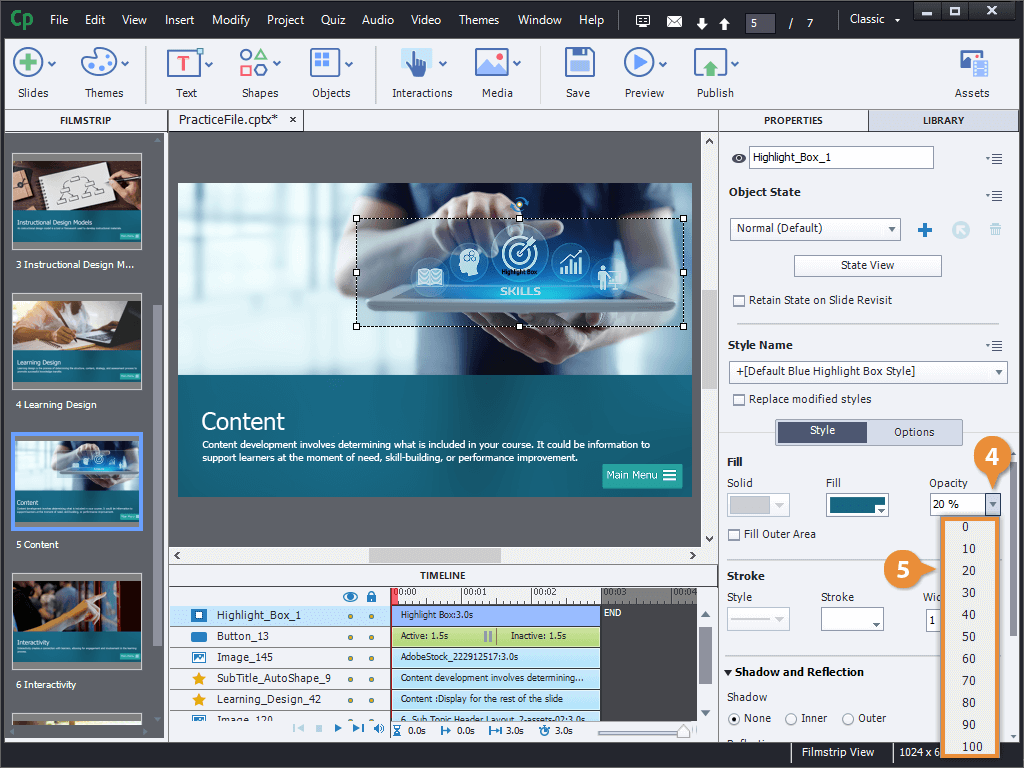
- Click the Opacity menu arrow.
- Select an opacity level.
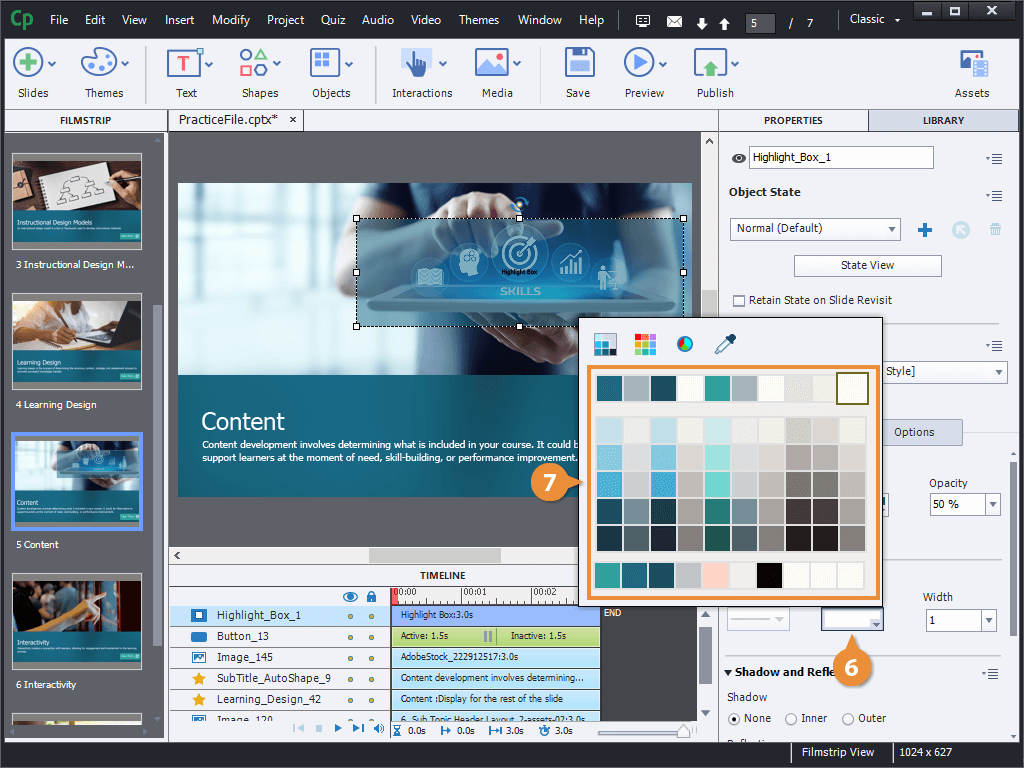
- Click the Stroke color menu arrow.
- Select a stroke color.
- Click the Stroke width menu arrow.
- Select a stroke width.
- (Optional) Check the Fill Outer Area checkbox.
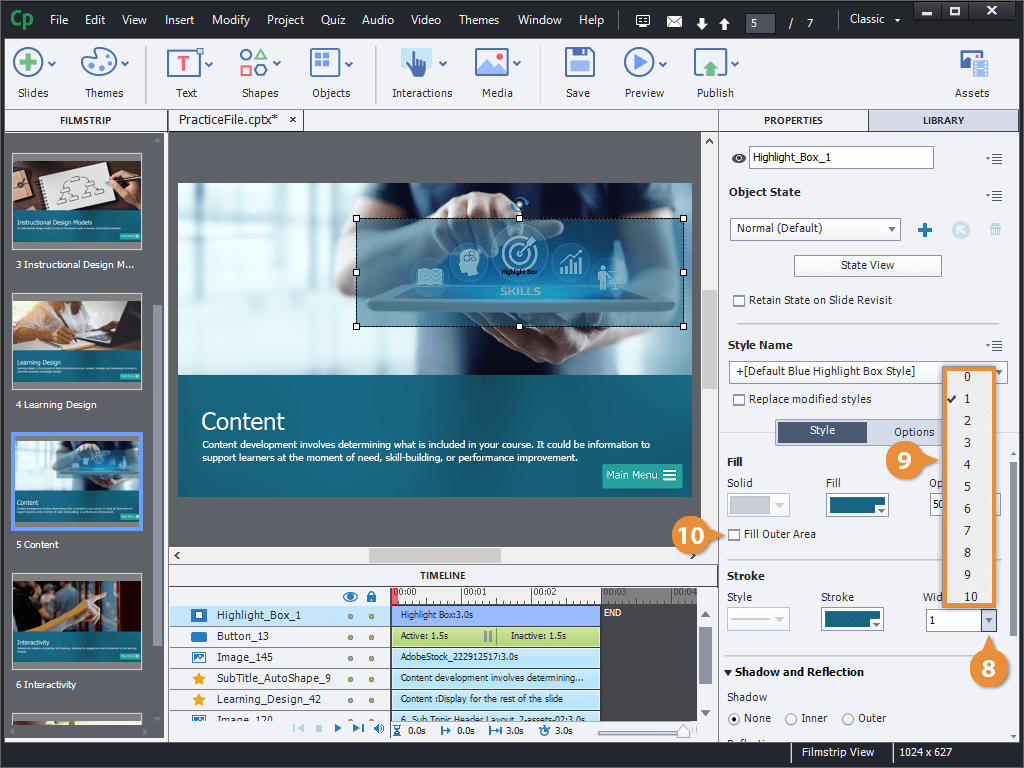
Now that the highlight box's appearance has been customized, we can more easily see the effect of the highlight box on the stage.
By default, the highlight box will dim the area within it using the fill color we set. If you'd rather dim everything except what's inside the highlight box.
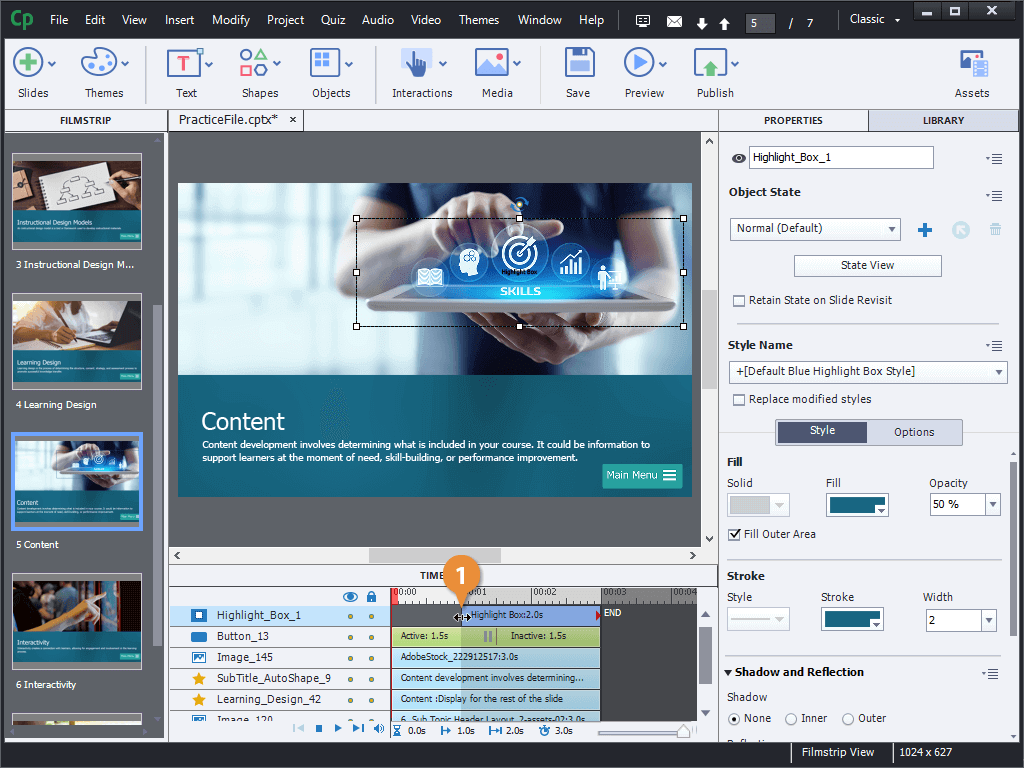
Modify Highlight Box Timing
- Click and drag a side edge of the highlight box bar on the timeline.