
Interactive Tutorial
Report Wizard Access
Build professional reports automatically with the easy-to-use Report Wizard in Access
-
Learn by Doing
-
LMS Ready
-
Earn Certificates

Try this Course with a Free Trial

It's almost always easier to create and modify a report created by the Report Wizard than it is to create one from scratch.
- Click the Create tab on the ribbon.
You can also create a blank report. Click the Create tab on the ribbon and click either the Blank Report button (to create and display the report in Layout View) or the Report Design button (to create and display a blank report in Design View).
- Click the Report Wizard button.
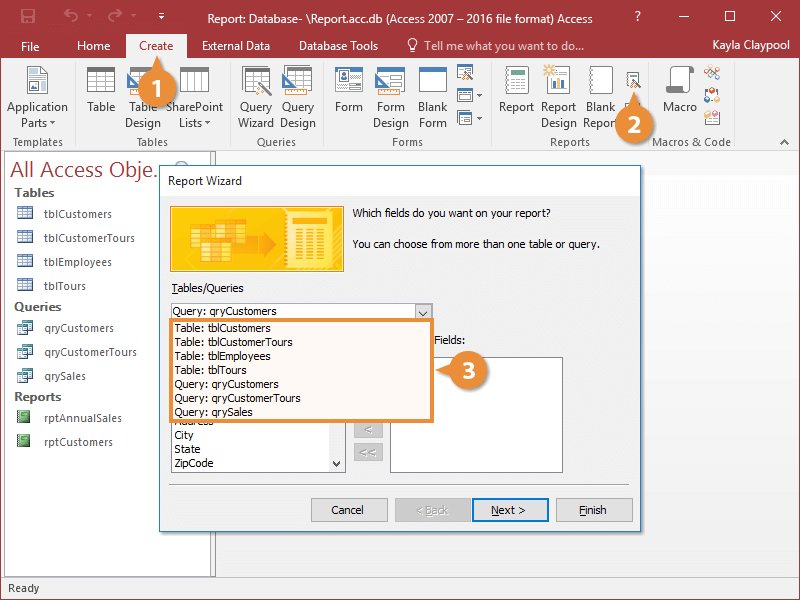
The Report Wizard appears. Here, you need to specify the table or query that you want to use for your report.
- Click the Tables/Queries list arrow and select the table or query you want to use to create your report.
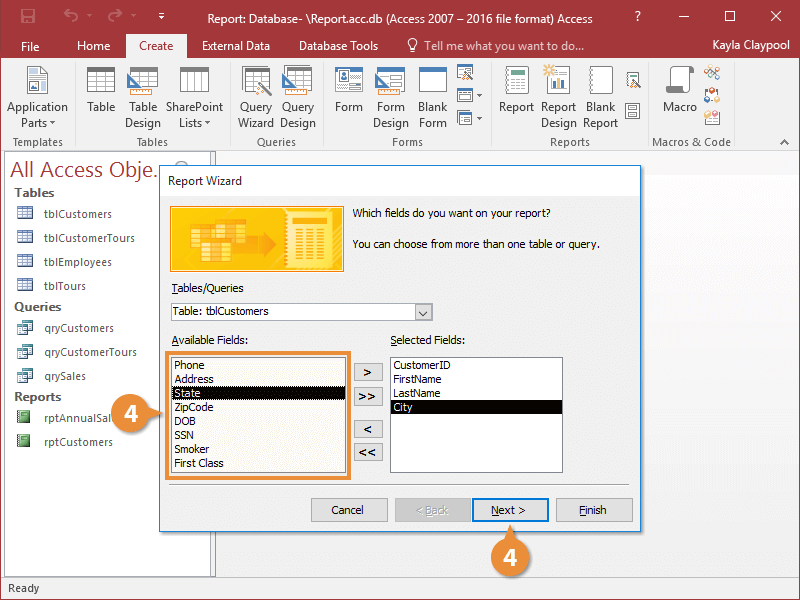
- Double-click the fields that you want to appear on the form and then click Next.
If you selected fields from more than one table, the Form Wizard would ask how you would like to organize the data on your form; just make a selection and click Next.
Now you must specify the fields that you want to use in your reports.
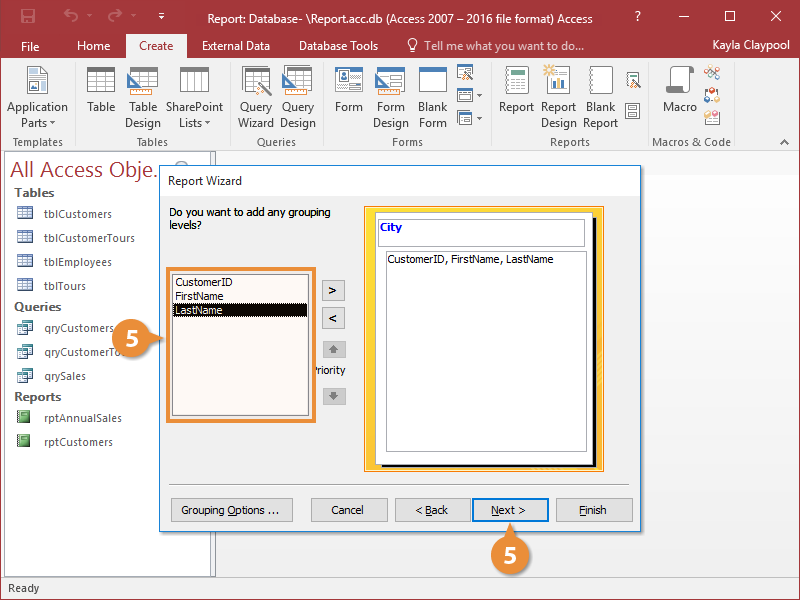
- Double-click any fields you want to group in the order you want to group them. Click Next.
- Select the fields you want to use to sort your report and click Next.
You can click the button to the right of each list to toggle between ascending and descending sort orders.

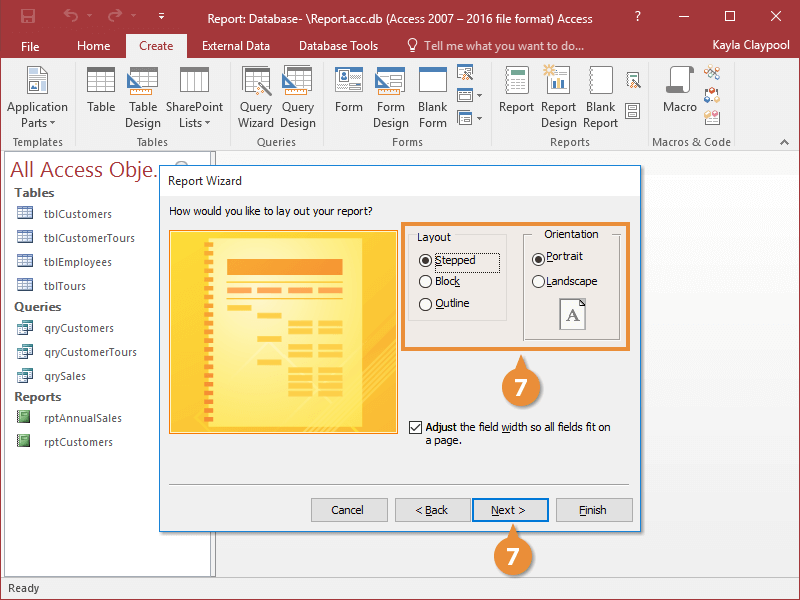
Now you need to specify your report's Layout and Orientation.
- Select a Layout option and an Orientation option for the report, then click Next.
- Give your report a name and click Finish.
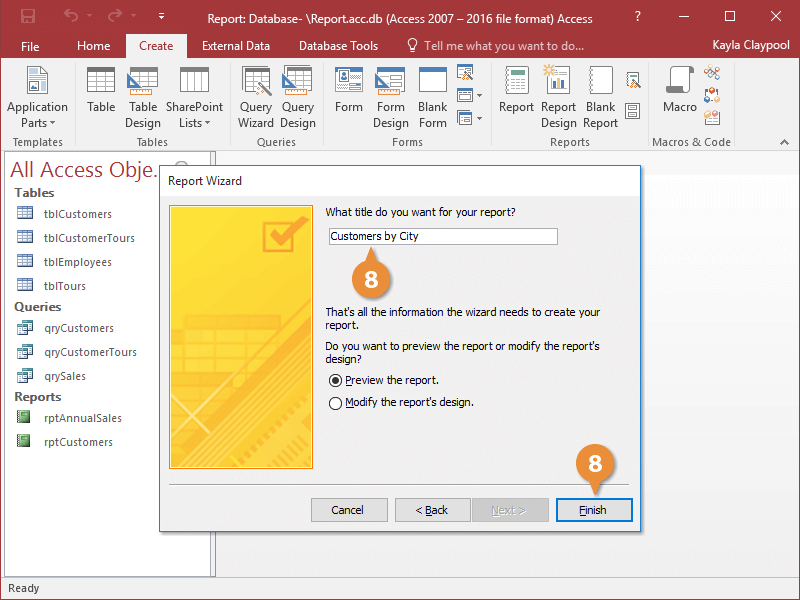
The Report Wizard creates the new report and displays it on the screen.
- Double-click the fields that you want to appear on the form and then click Next.