
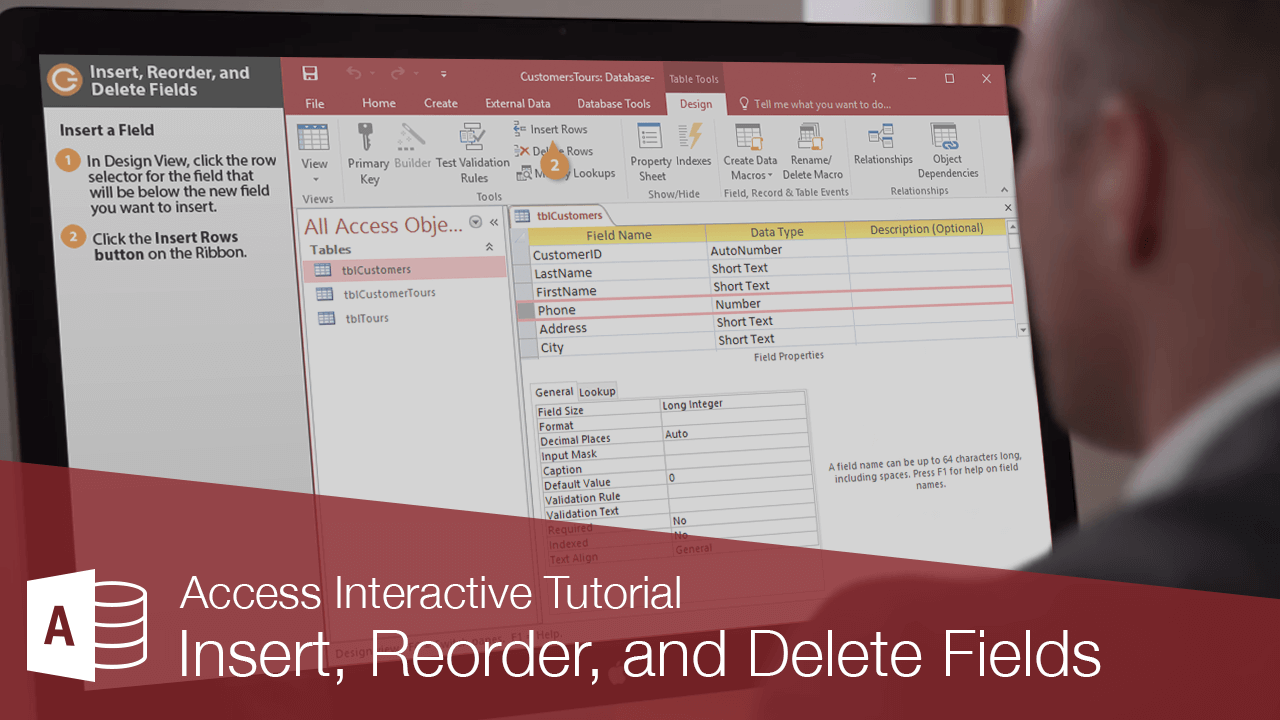
Interactive Tutorial
Insert, Reorder, and Delete Fields
Easily add, move, or remove fields to organize your data in Microsoft Access
-
Learn by Doing
-
LMS Ready
-
Earn Certificates

Try this Course with a Free Trial
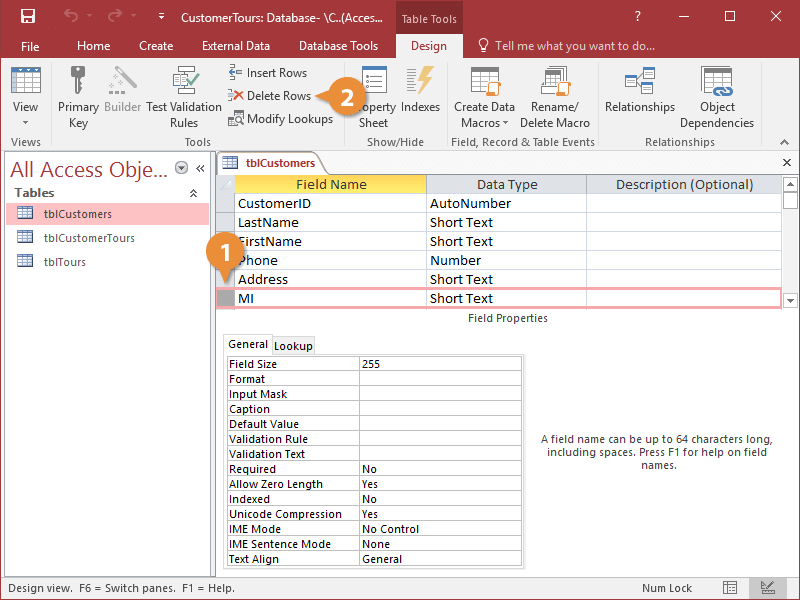
You can insert, delete, and reorder fields in your tables in Design View.
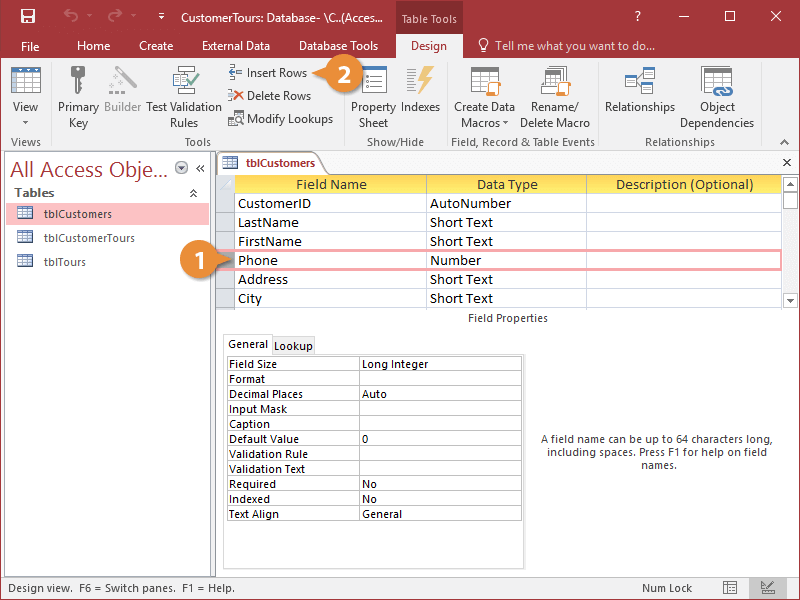
Insert a Field
- In Design View, click the row selector for the field you want to insert above.
- Click the Insert Rows button on the Design tab of the ribbon.
You can also insert a field by right-clicking in the row where you want to insert the new field above and selecting Insert Rows from the contextual menu.
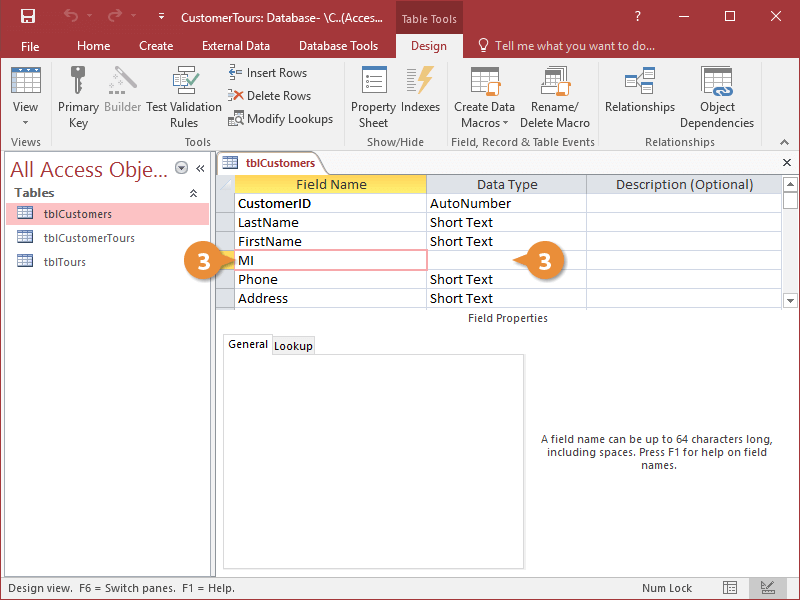
A new row is added.
- Enter a Field Name for the new field, then click the Data Type list arrow and select a data type.
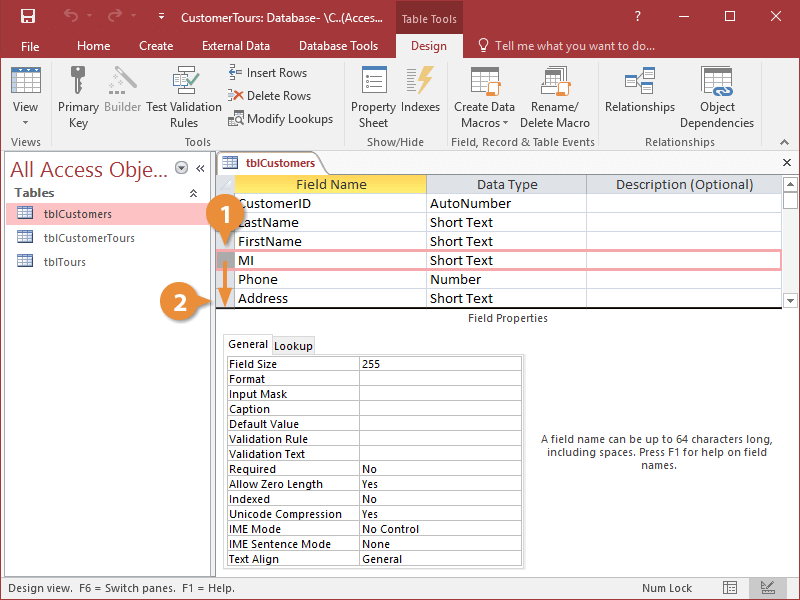
Reorder a Field
- In Design View, click the row selector for the field you want to move.
- Click and drag the selected row up or down to the desired location.
Delete a Field
- In Design View, click the row selector for the field you want to delete.
- Click the Delete Rows button on the ribbon.
You can also delete a field by right-clicking the field’s row and selecting Delete Rows. Then, click Yes.
Access deletes the row from the table.
Once you leave Design View, you’ll need to save the changes you’ve made to the table design.