
Interactive Tutorial
How to Autofit in Access
Adjust column width automatically to display all data clearly in Microsoft Access
-
Learn by Doing
-
LMS Ready
-
Earn Certificates

Try this Course with a Free Trial
Access can usually assess the information and automatically adjust how wide to make the columns of a table or query datasheet, but sometimes, you'll have to manually resize them to see all the information entered.
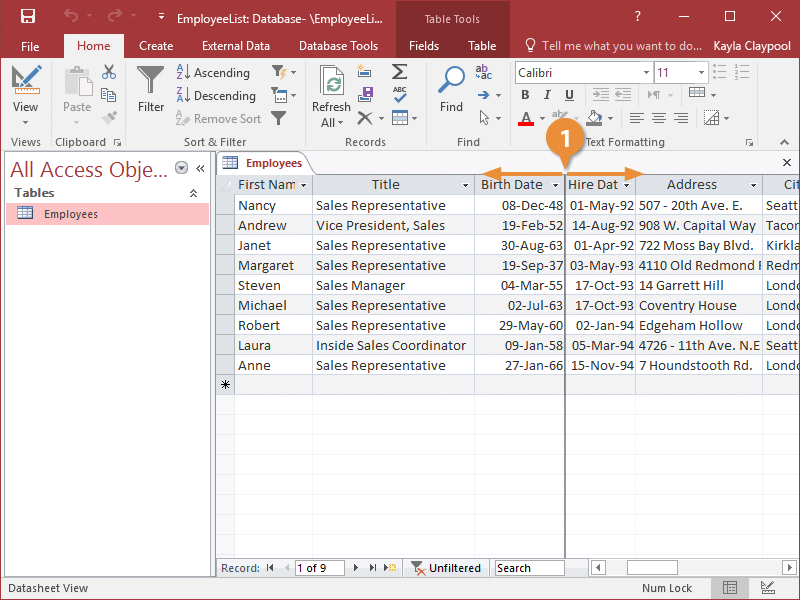
Adjust Column Width
- Drag the column header’s right border to the left or right.
You can also adjust column width by right-clicking the column header(s), selecting Field Width from the contextual menu, entering the column width, and clicking OK. Or, select the column(s) you want to adjust, click the Home tab on the ribbon, click the More button in the Records group, select Field Width, enter the column width and click OK.
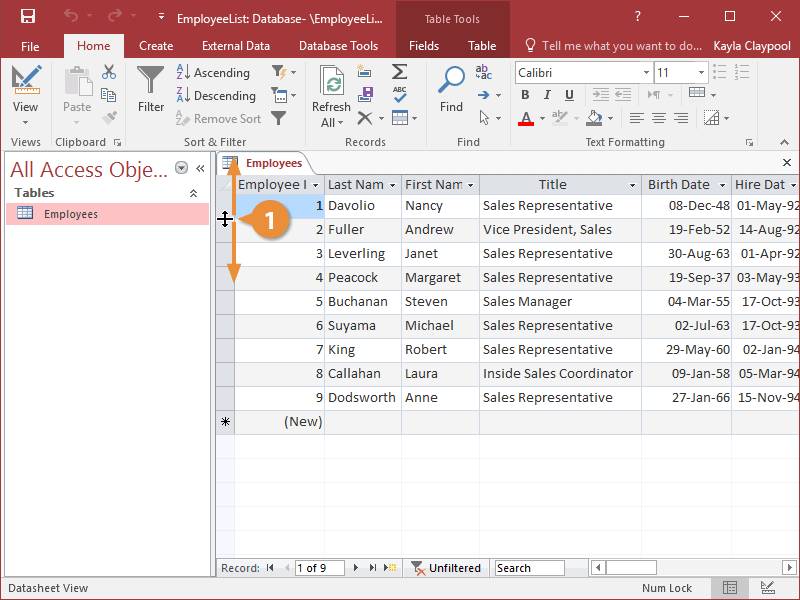
Adjust Row Height
- Drag the row header’s bottom border up or down.
You can also adjust row height by right-clicking the row header(s), selecting Row Height from the contextual menu, entering the row height, and clicking OK. Or, select any row, click the Home tab on the ribbon, click the More button in the Records group, select Row Height, enter the row height and click OK.
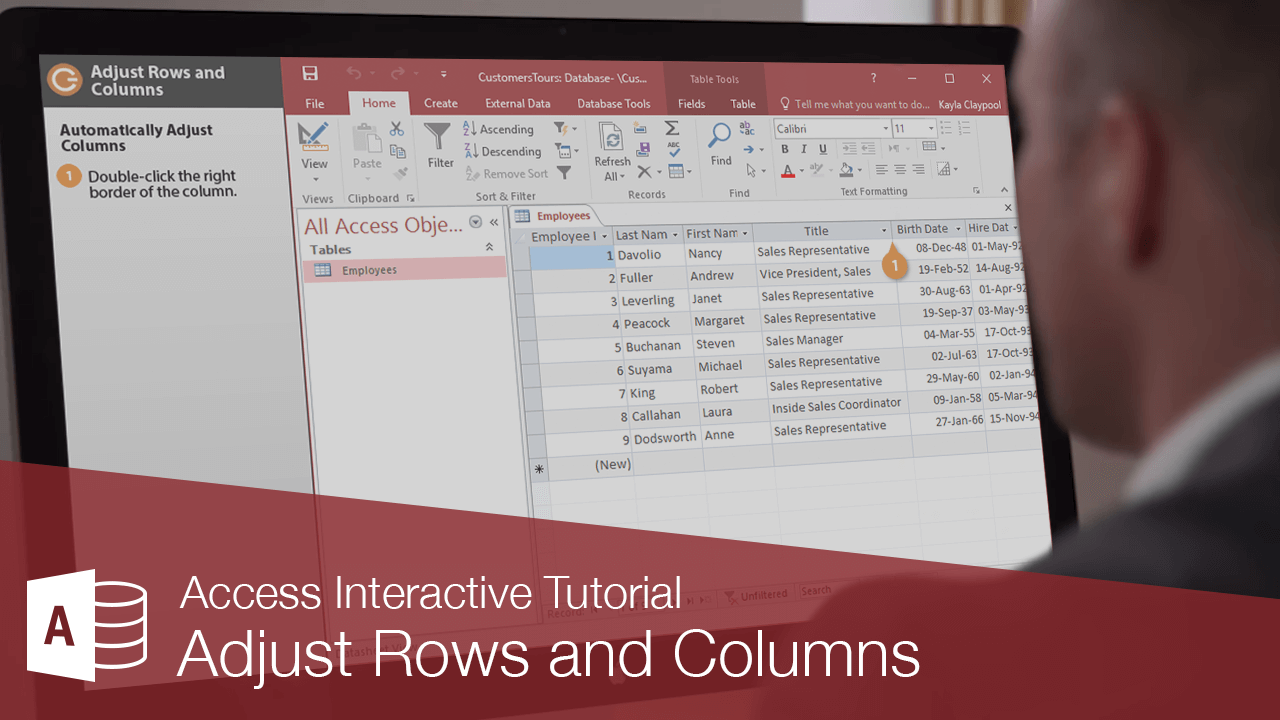
Automatically Adjust Columns
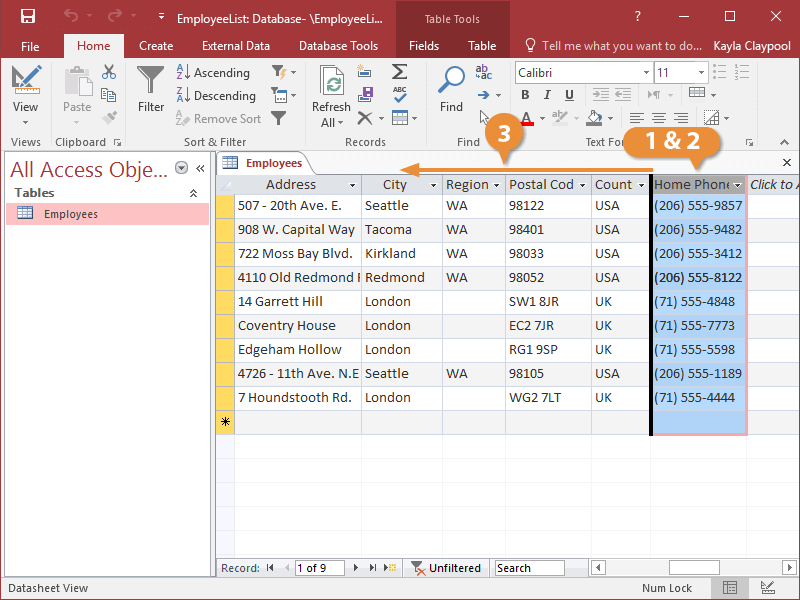
You can also prompt Access to automatically adjust the width of a field or column so that it can hold the widest entry. To do this, simply double-click the right edge of the column.
- Double-click the right border of the column.
Rearrange Columns
Most of the time, your data will appear exactly how you set it up when you created the table, but sometimes you may want to change the column order of a table.
- Click the field name of the column you want to move.
- Click the field name again, this time holding the mouse button down.
- Drag the selected column to its new location.
As you move the column, a bar moves between the columns, showing where the column will go when you release the mouse button.
Don’t worry that altering column order will affect your data—it doesn’t.