
Interactive Tutorial
How to Create an Input Mask in Access
Control how users enter data by setting up input masks in Microsoft Access
-
Learn by Doing
-
LMS Ready
-
Earn Certificates

Try this Course with a Free Trial
An input mask limits the amount and type of information. You have probably already seen an example of an input mask on an ordinary paper form—the type of form that wants you to write down your phone number or Social Security Number a certain way and thus provides you with a guide like (___) ___ - _____ or ____-___-______. Look familiar? That’s an input mask, pure and simple.
There are two ways to create an input mask:
- Use the Input Mask Wizard to create the input mask for you (the fast and easy way). The only problem with the Input Mask Wizard is that it can only help you create input masks for phone numbers, Social Security Numbers, ZIP codes, and date and time fields.
- Create the input mask yourself by typing a series of characters in the Input Mask box (the more difficult way). If you want to use this method, refer to the table at the end of this lesson to see what you have to enter in order to create an input mask.
Use the Input Mask Wizard
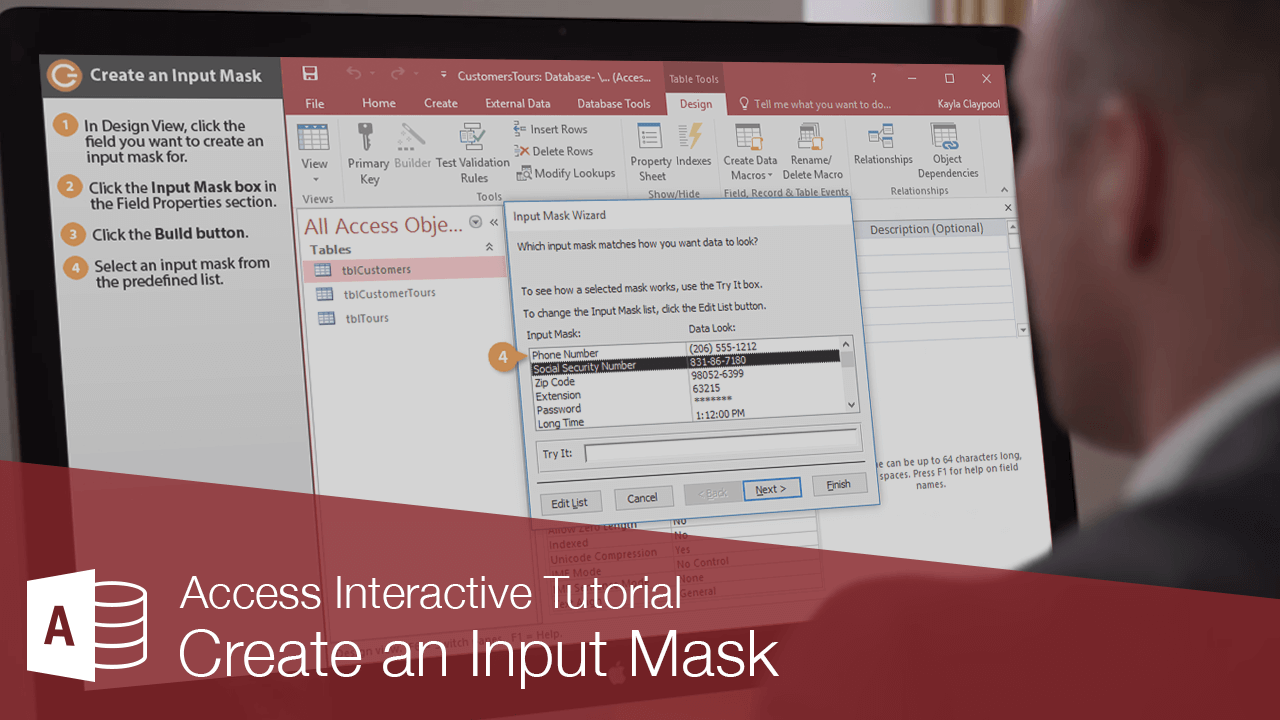
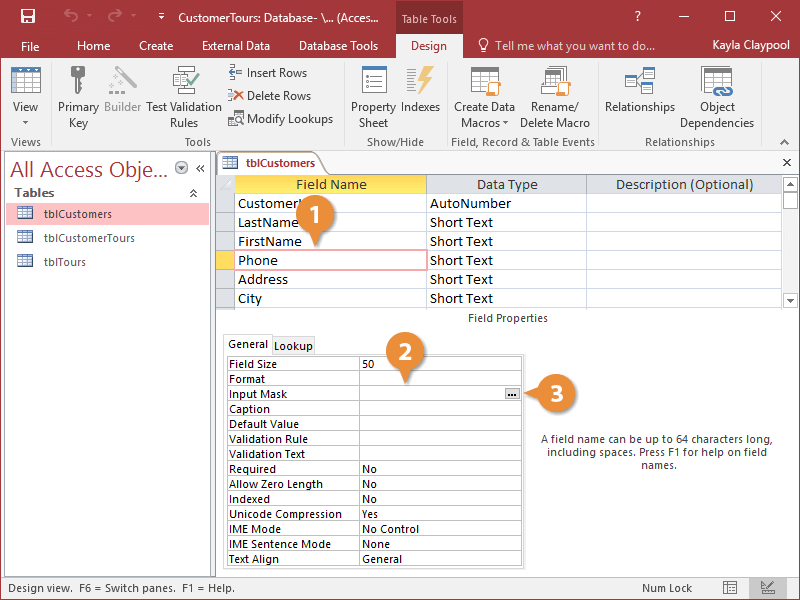
- In Design View, click the field you want to create an input mask for.
- Click the Input Mask box.
You can also create an Input Mask by entering characters directly into the Input Mask box in the Field Properties area.
- Click the Build button.
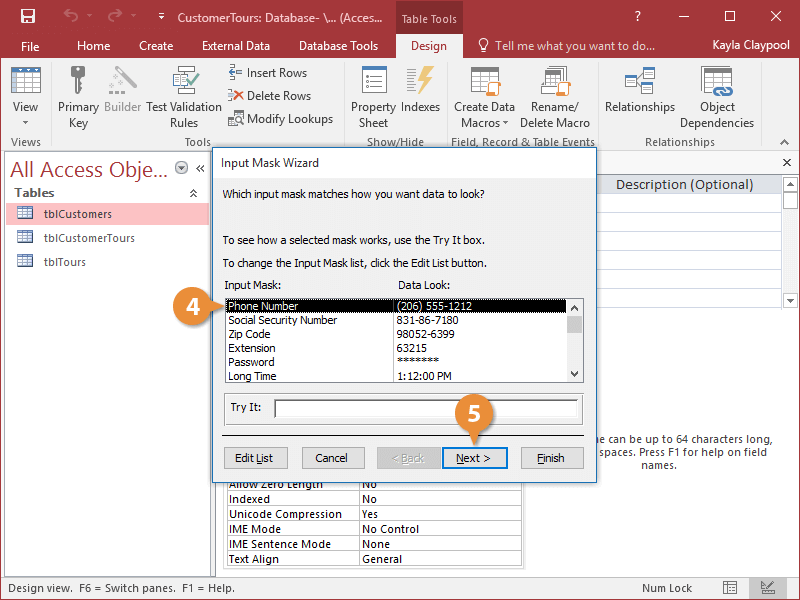
The first step of the Input Mask Wizard appears. All you need to do here is select the input mask you want to use.
If you want to try an input mask to see how it works, click the input mask you want to use and then type some sample text in the Try It box.
- Select an input mask from the predefined list.
- Click Next.
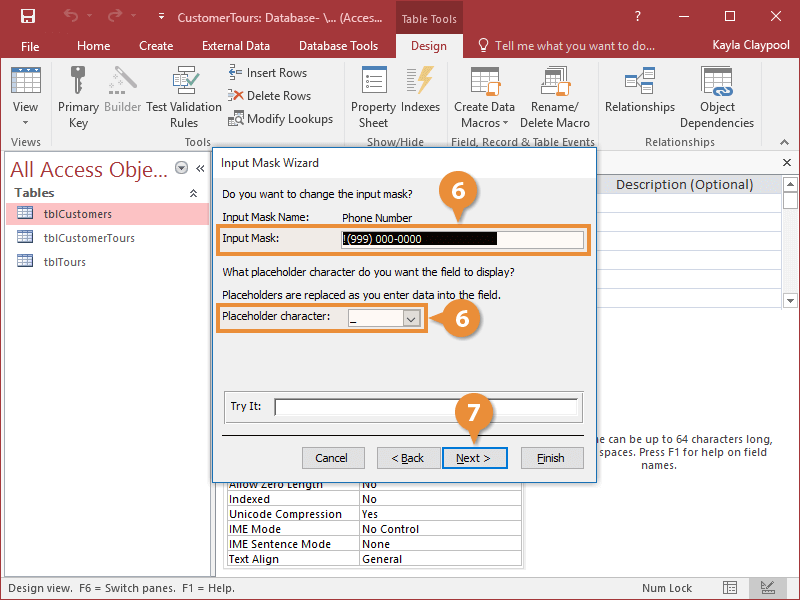
Here you can customize the input mask to your specifications.
- Make modifications to the characters in the Input Mask box. Click the Placeholder character list arrow to select a different placeholder.
- Click Next.
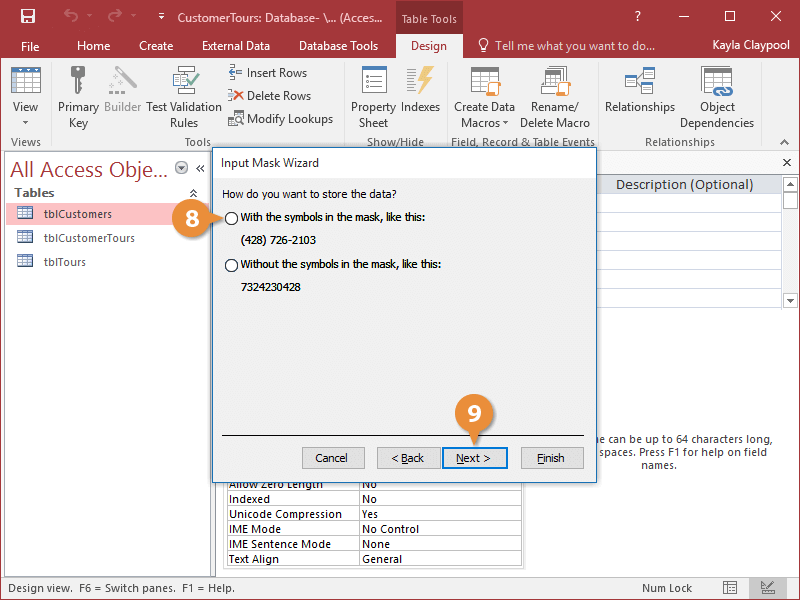
The next step of the Input Wizard is very important—specifying how Access should store your data. You have two choices:
- With the symbols in the mask: This will store the text you type in the field and the input mask symbols. For example, if you enter 5555555555 in a Phone field, Access will save the input mask symbols with the text you enter, so (555) 555-5555 would be saved.
- Without the symbols in the mask: This will store only the text you type in the field. For example, if you enter 5555555555 in a Phone field, Access will display (555) 555-5555 but only store the numbers you typed (5555555555).
- Select an option for storing your data.
- Click Next.
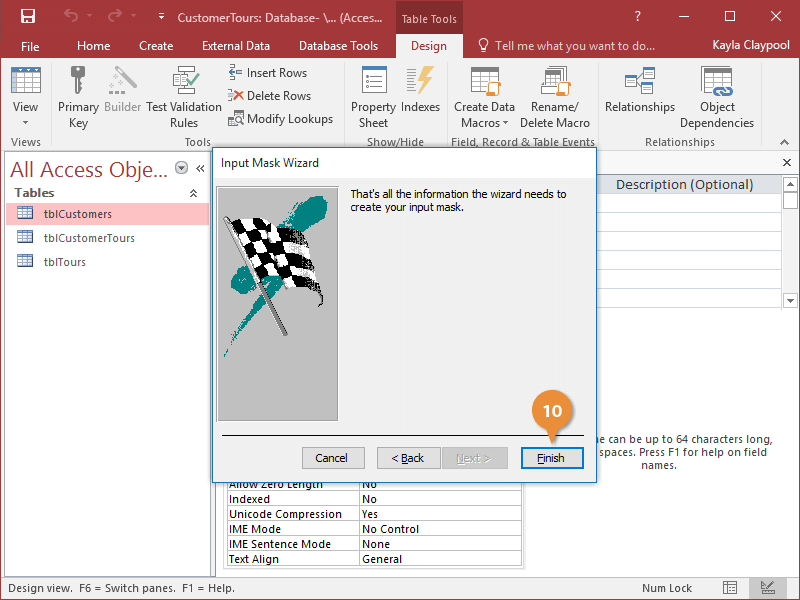
- Click Finish.
Now, whenever you enter data into the Phone field, the input mask will appear to guide you.
| Input Mask Characters | |||
|---|---|---|---|
| Character | Description | Character | Description |
| 0 | Numbers 0 to 9 required; plus and minus signs not allowed. | & | Character or space required. |
| 9 | Numbers 0 to 9 optional. | C | Character or space optional. |
| # | Number, space, plus or minus sign optional. | < | Converts the following characters to lowercase. |
| . , : ; - / | Decimal point, thousands, date, and time separators. | > | Converts the following characters to uppercase. |
| A | Letter or number required. | ! | Displays characters from right to left, rather than left to right. |
| a | Letter or number optional. | \ | Displays the following input mask character. For example, \* would display *. |
| L | Letters A to Z required. | Password | Displays an asterisk ( * ) for each character you type. |
| ? | Letter or number optional. | ||