
Interactive Tutorial
Print Preview in Access
Check page layout, margins, and formatting before printing reports in Access
-
Learn by Doing
-
LMS Ready
-
Earn Certificates

Try this Course with a Free Trial
Sometimes it’s a good idea to use Print Preview to look at a database object on screen to see if something needs to be changed before sending it to the printer.
Print Preview a Database Object
- Display the object you want to preview and click the File tab.

- Select Print.
- Click Print Preview.
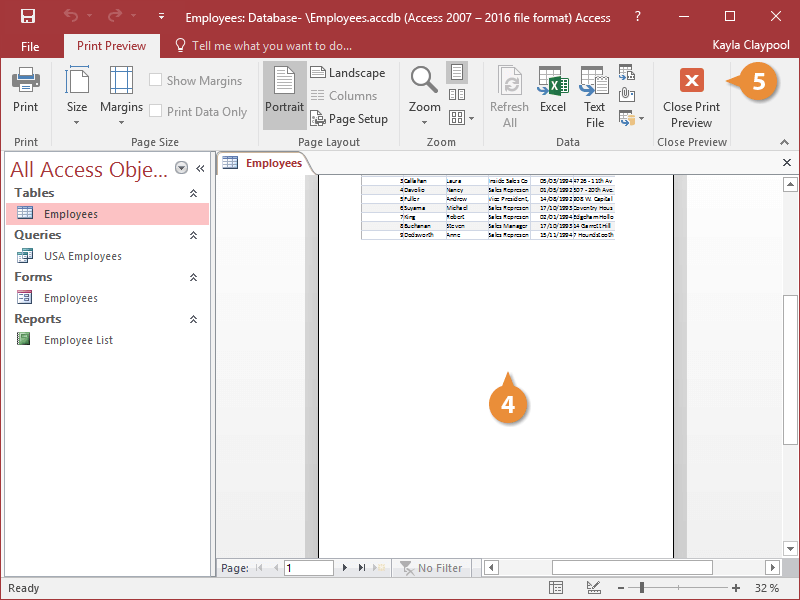
The object appears in the window as it will look when printed. You can zoom in or out on the previewed object by clicking the mouse.
- Click the mouse to zoom in or out on the previewed object.
- Click the Close Print Preview button.
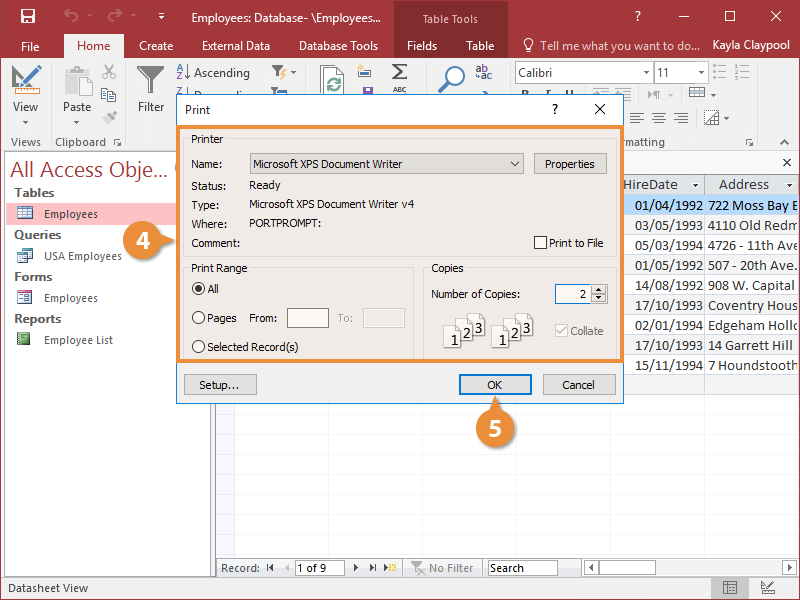
Print a Database Object
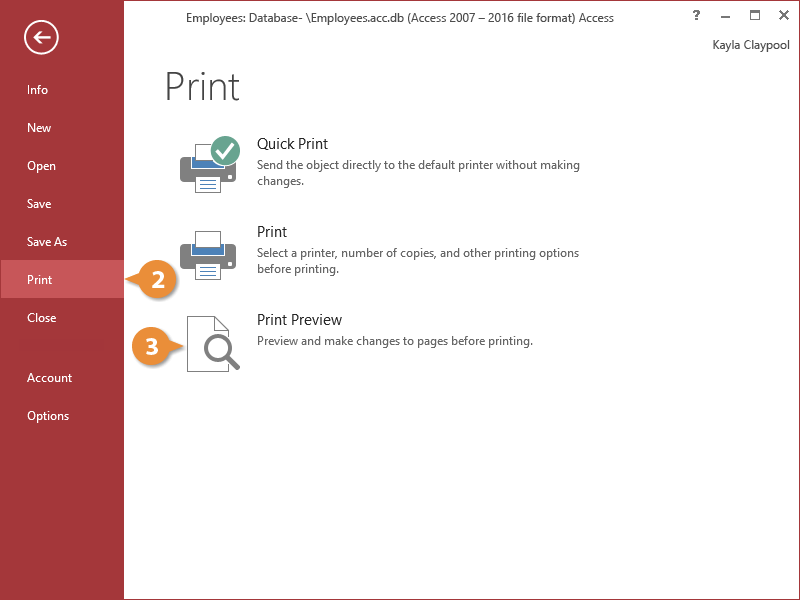
- Display the object you want to print and click the File tab.
- Select Print.
- Click Print.
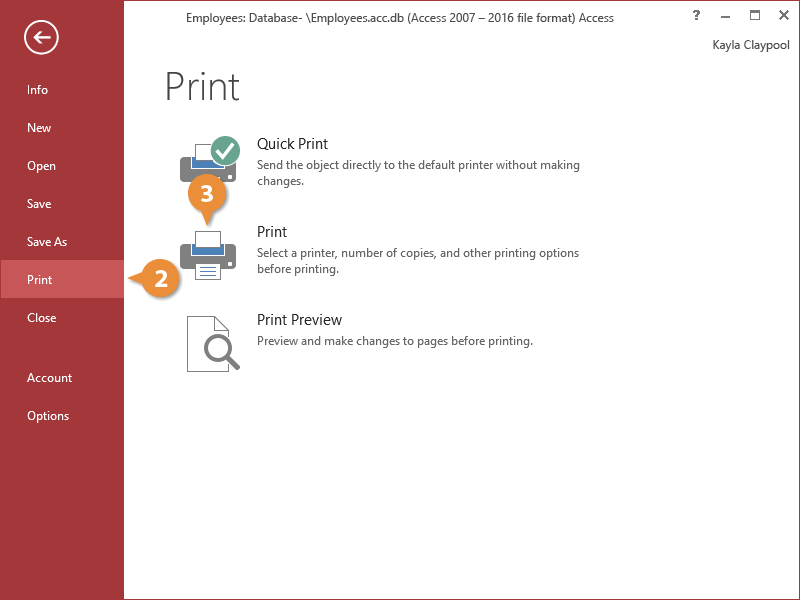
The Print dialog box appears.
- Specify printing options.
- Click OK.
You can also print an object by viewing the object in Print Preview View and clicking the Print button on the Print Preview tab. Then, adjust settings and click OK.
| Print Dialog Box Options | |||
|---|---|---|---|
| Name | Used to select what printer to send your file to when it prints (if you are connected to more than one printer). The currently selected printer is displayed. | ||
| Properties | Clicking on the Properties button displays a dialog box with options available to your specific printer, such as the paper size you want to use, if your document should be printed in color or black and white, etc. | ||
| Page Range | Allows you to specify which pages you want printed. There are several options: All: Prints the entire document. Pages: Prints only the pages of the file that you specify. Select a range of pages with a hyphen (like 5-8) and separate single pages with a comma (like 3,7). Selected Record(s): Prints only the text you have selected (before using the print command). |
||
| Number of Copies | Specify the number of copies you want to print. | ||