
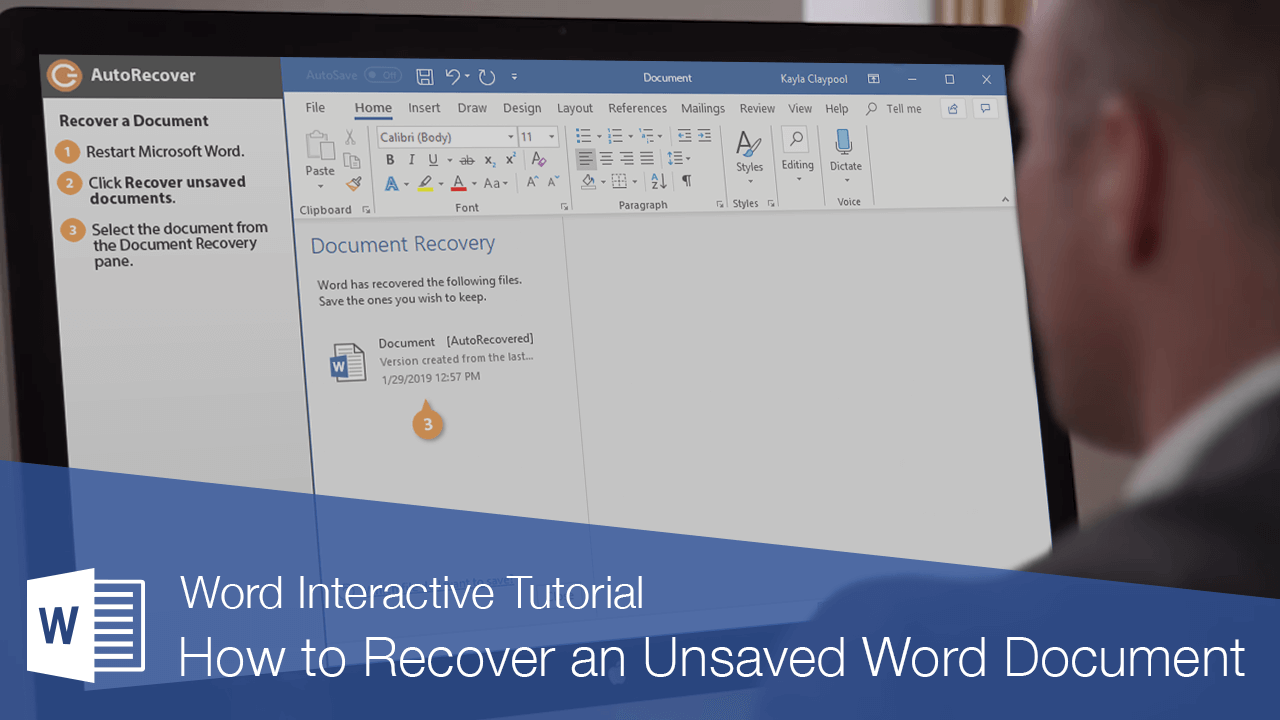
How to Recover an Unsaved Word Document
How to Recover a Document in Word
Computers don’t always work the way they’re supposed to. Nothing is more frustrating than when a program, for no apparent reason, decides to take a quick nap, locks up, and stops responding to your commands—especially if you lose the precious document that you’re working on!
Fortunately, Word keeps temporary versions of your documents as you work. If it encounters a problem and stops responding, you can restart Microsoft Word or your computer and try to recover your lost documents.
Recover a Document
- Restart Microsoft Word.
If an unsaved document can be recovered, the Recovered header will appear.
- Click Recover unsaved documents.

The Document Recovery pane appears, listing all recovered documents that were found.
- Select the document from the Document Recovery pane.
The last Autosaved version of the document opens.
- Click Close.
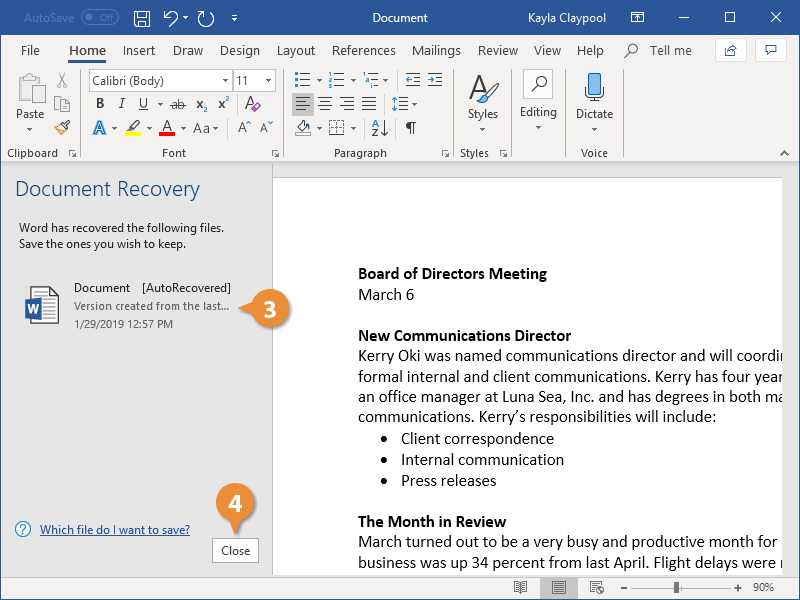
The Document Recovery pane closes, and you can get back to work.
AutoRecover Settings
You can further protect your work by adjusting the AutoRecover settings. You can change the AutoRecover save interval so that it saves more frequently than the default setting of every 10 minutes.
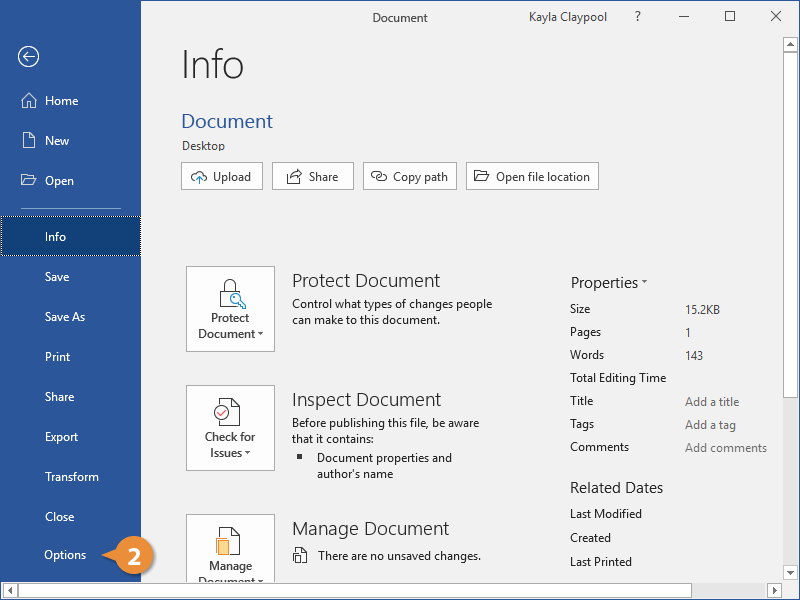
- Click the File tab.
- Select Options.
- Click Save.
- Make sure the Save AutoRecover information every check box is checked and adjust the time interval.
You can’t specify the interval if the check box is not selected.
- Click OK.
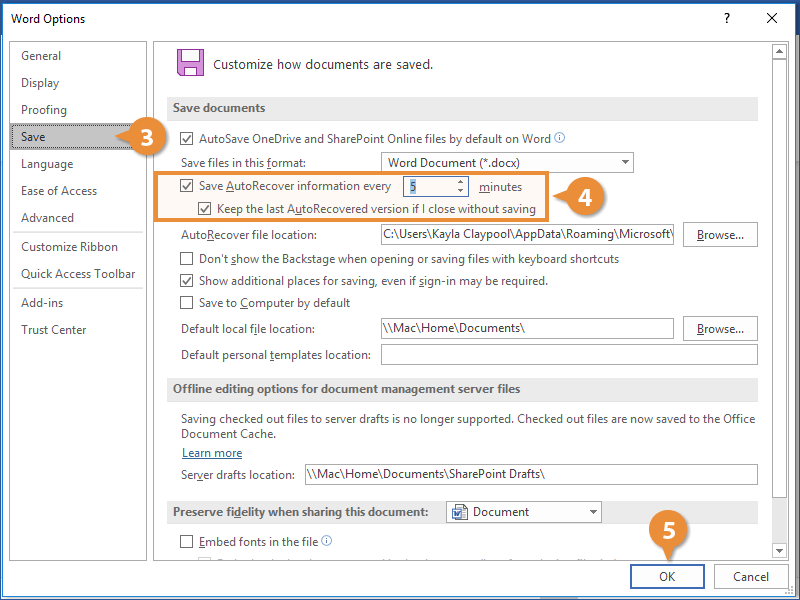
The AutoRecover settings are updated.
Even with Word’s document recovery features, the best way to ensure that you don’t lose much information if your computer freezes up is to save your work frequently.

FREE Quick Reference
Click to DownloadFree to distribute with our compliments; we hope you will consider our paid training.
- LinkedIn-ready certificate
- Skill assessments
- Bite-sized, interactive lessons
- Saved progress