
Compress Pictures in PowerPoint
How to Compress Pictures in PowerPoint
PowerPoint 2019 has expanded the tools available to alter the appearance of pictures and graphics. You can easily sharpen or soften an image, change the brightness and contrast, adjust coloring, and apply artistic effects.
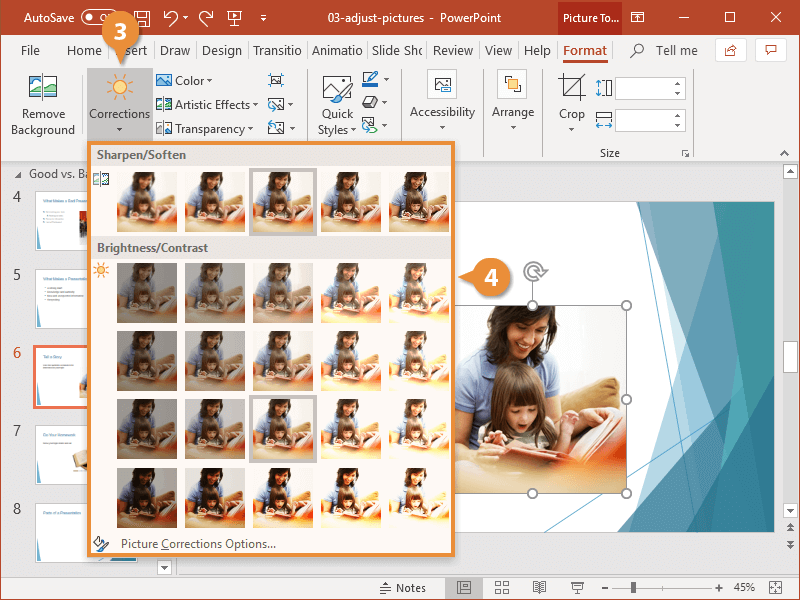
Picture Corrections
Corrections that can be applied to pictures include sharpening or softening and adjusting the brightness and contrast.
- Select a picture.
- Click the Format tab under Picture Tools.
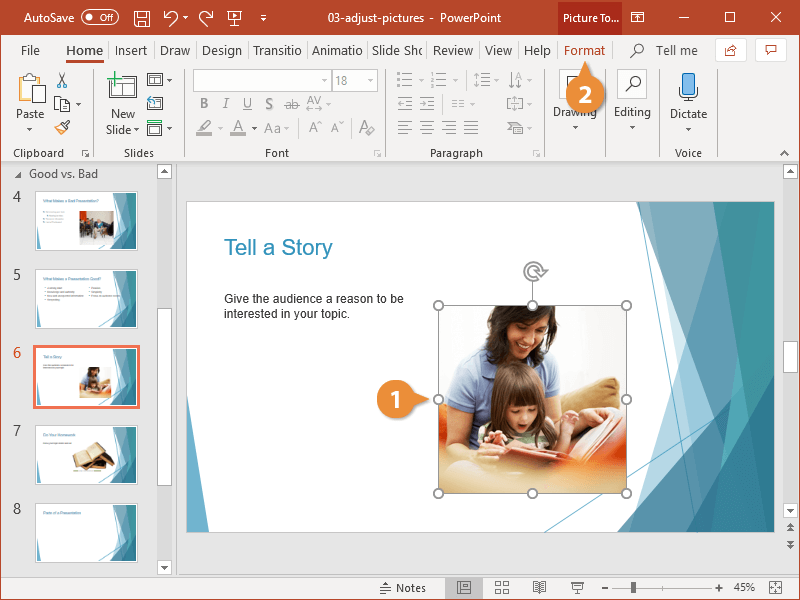
- Click the Corrections button.
To preview how the correction will change your picture or graphic, briefly hover over the correction option.
- Select a correction option.
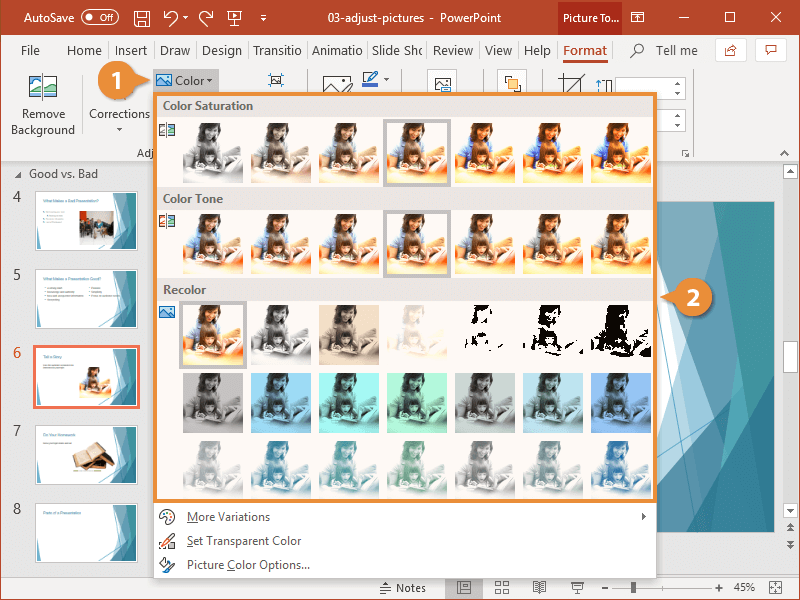
Picture Colors
When you adjust a picture’s color, you can change the color saturation, color tone, or simply recolor the image.
- With the picture selected, click the Color button on the Format tab.
A gallery of color options appears.
To preview how the color adjustment will change your picture or graphic, briefly hover over the color option.
- Select a color option.
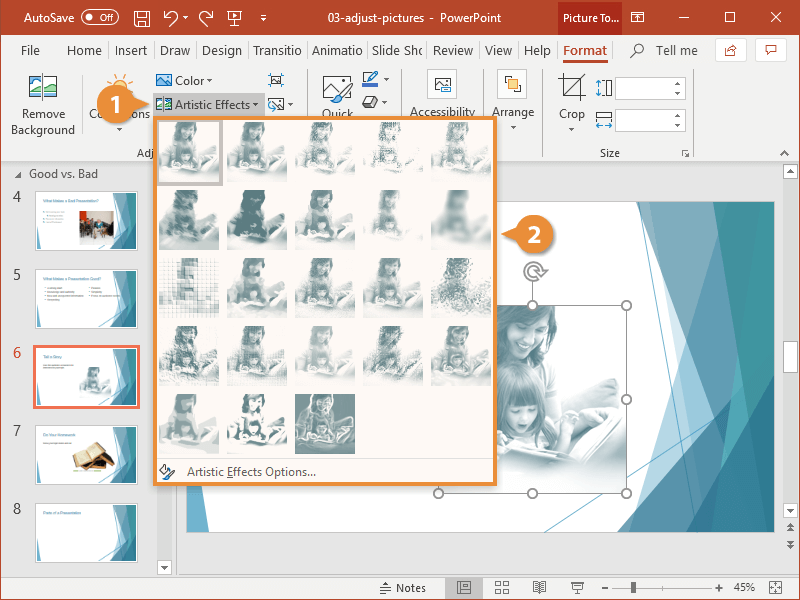
Artistic Effects
In addition to applying image corrections and color modifications, you also have the ability to apply artistic effects. For example, you can instantly make your picture or graphic appear as if it were painted or drawn.
- With the picture selected, click the Artistic Effects button on the Format tab.
To preview how the artistic effect will change your picture or graphic, briefly hover over the effect.
- Select an option.
Reset Formatting
If you find that you no longer like the adjustments you've made to a picture, you can simply start over by resetting the formatting.
- Select a picture.
- Click the Reset Picture button on the Format tab.

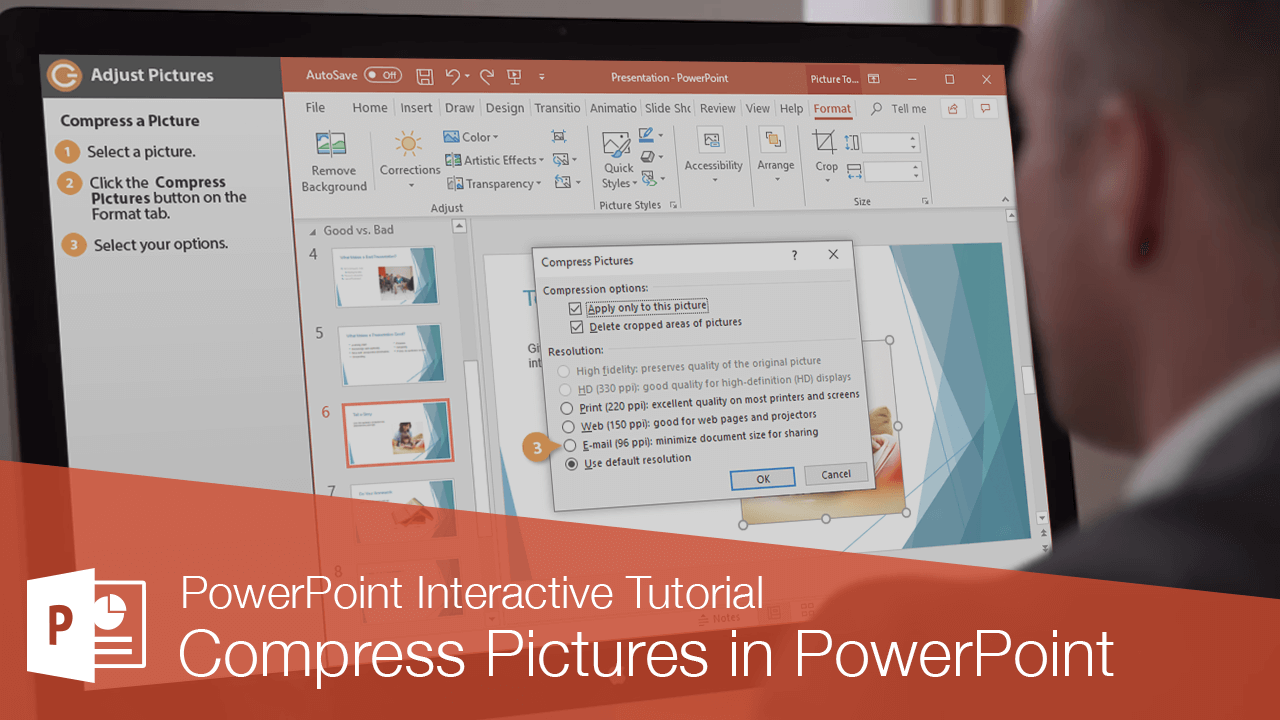
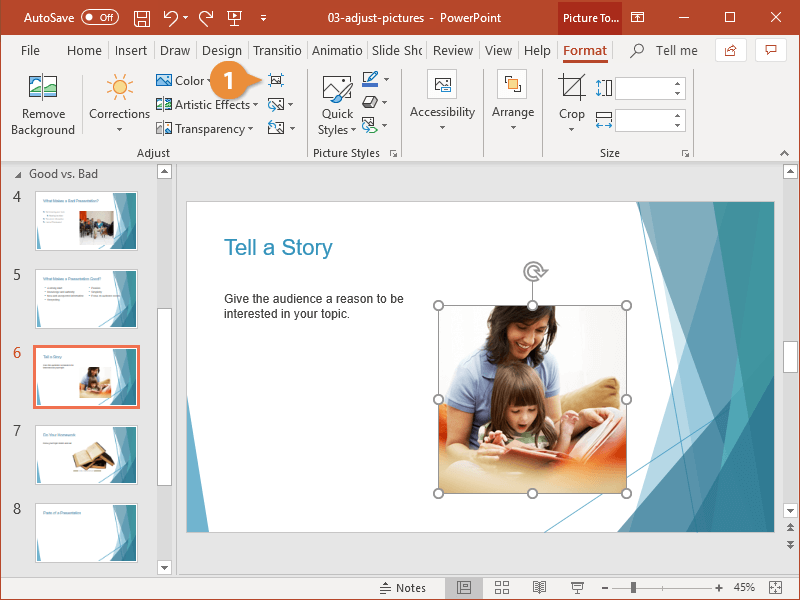
Compress a Picture
Using photos greatly improves the quality of your presentation, but the downside is that they add a lot to the presentation's file size. Luckily, you can change the picture compression settings to reduce the overall file size. Compressing pictures is especially helpful if you want to email a presentation.
- With the picture selected, click the Compress Pictures button on the Format tab.
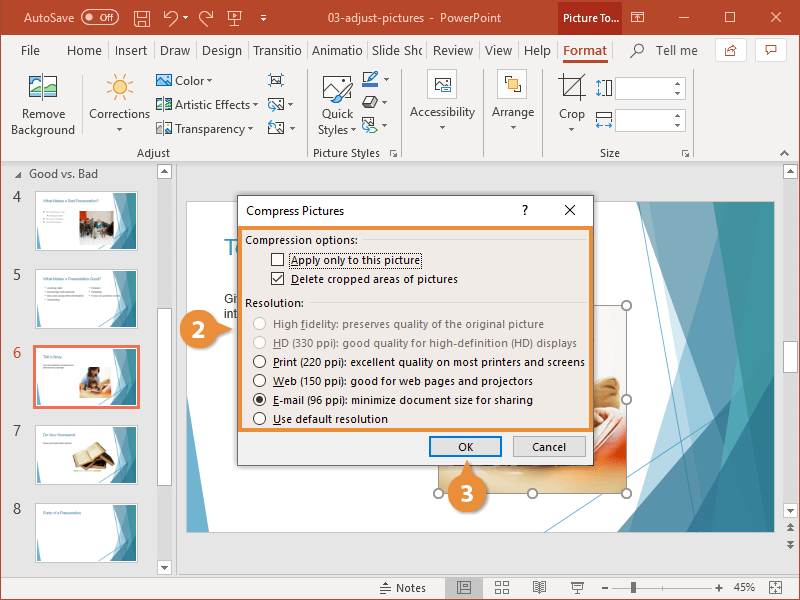
- Select your compression options.
- Apply only to this picture: The output resolution setting you choose will only be applied to the selected picture. If not checked, it will be applied to all pictures.
- Delete cropped areas of pictures: Cropped out areas of pictures will be deleted to reduce the size of the image.
- Print: Sets the image resolution to 220 pixels per inch (ppi), resulting in high quality images with a larger presentation file size.
- Web: Sets the image resolution to 150 pixels per inch (ppi), resulting in good quality images with a medium presentation file size.
- Email: Sets the image resolution to 96 pixels per inch (ppi), resulting in fair quality images with a smaller presentation file size.
- Use default resolution: Doesn’t apply any picture compression.
- Click OK.

FREE Quick Reference
Click to DownloadFree to distribute with our compliments; we hope you will consider our paid training.
- LinkedIn-ready certificate
- Skill assessments
- Bite-sized, interactive lessons
- Saved progress