
Excel Macros
How to Create Macros in Excel
There are two ways to create a macro: by recording them or by writing them in Excel’s Visual Basic programming language. This lesson explains the easy way to create a macro—by recording the task(s) you want the macro to execute for you.
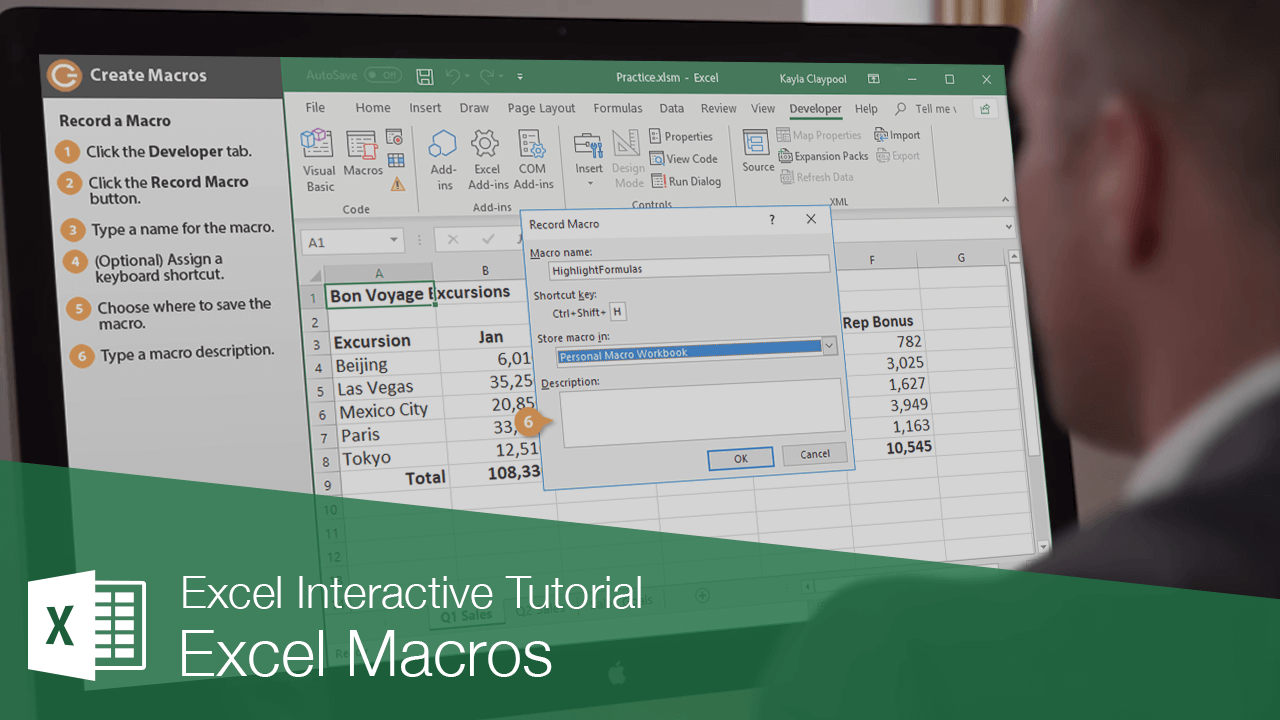
Record a Macro
When you create a macro, imagine you’re being recorded; every step you make is being tracked—all your commands, the data you enter, even any mistakes you make. Before recording a macro, it’s helpful to write down a script that contains all the steps you want the macro to record. Practice or rehearse your script a couple times, to make sure it works, before you actually record it. If you do make a mistake while recording a macro, don’t worry—you can always delete the existing macro and try again or edit the macro’s Visual Basic source code to fix the mistake.
- If necessary, turn on the Developer tab.
- Click the Developer tab.
- Click the Record Macro button.
The Record Macro window opens, where you can set up the macro’s name, description, and shortcut keys before you record it.
- Type a name for the macro.
The name must start with a letter and can’t have any spaces, symbols, or punctuation marks.
You may have quite a few macros in a file, so you’ll want to give it a descriptive name to easily identify what it does.
- (Optional) Assign a keyboard shortcut.
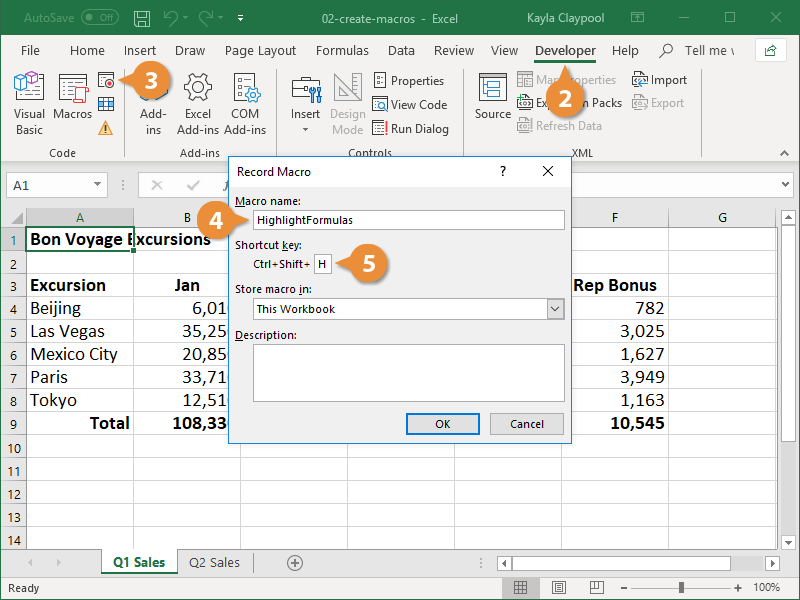
Make sure it's not something you commonly use, like Ctrl + C, which is copy.
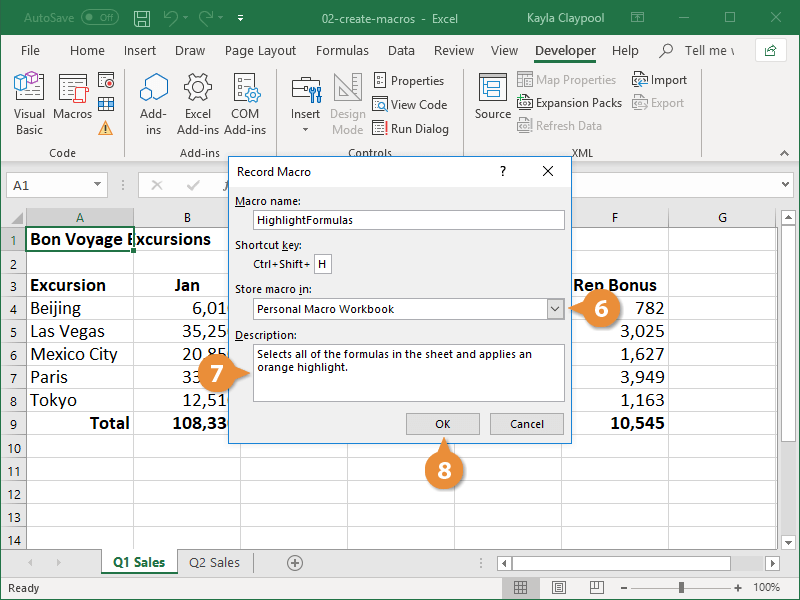
- Choose where to save the macro.
- Personal Macro Workbook: The macro will be available in any Excel file you work in.
- New Workbook: Creates a new Excel file and stores the macro there.
- This Workbook: Stores the macro in the current file. It will not be accessible in any other Excel files you work in.
- (Optional) Type a macro description.
- Click OK to start the recording.
The macro immediately begins recording.
- Complete all the actions for the process you want to automate.
While recording, the macro captures all the actions you perform. This includes clicking cells, typing cell data and formulas, and applying formatting, among other tasks.
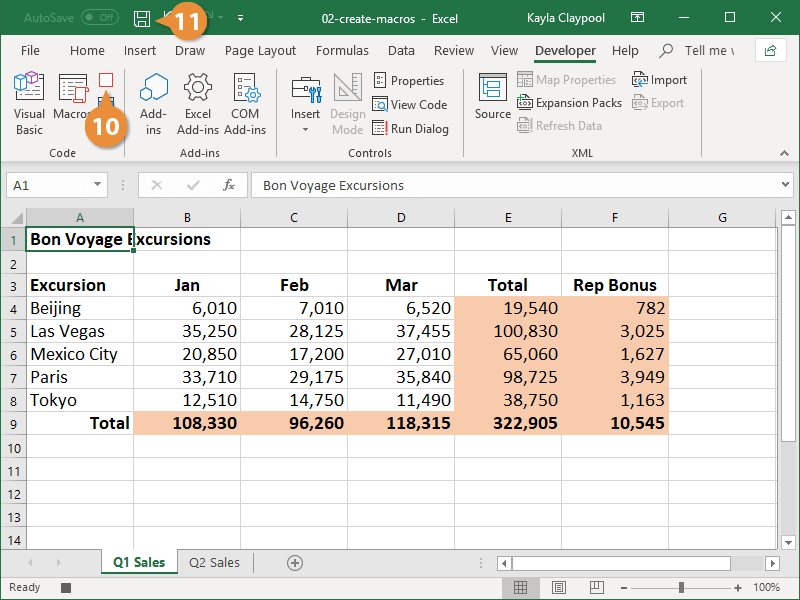
- Click the Stop Recording button, either on the Developer tab or in the status bar.
- Click the Save button.
While you don’t need to add a description, if you have a workbook that contains a number of macros, a description can be really helpful.
The workbook is saved, and the macro will be available next time the workbook is opened.
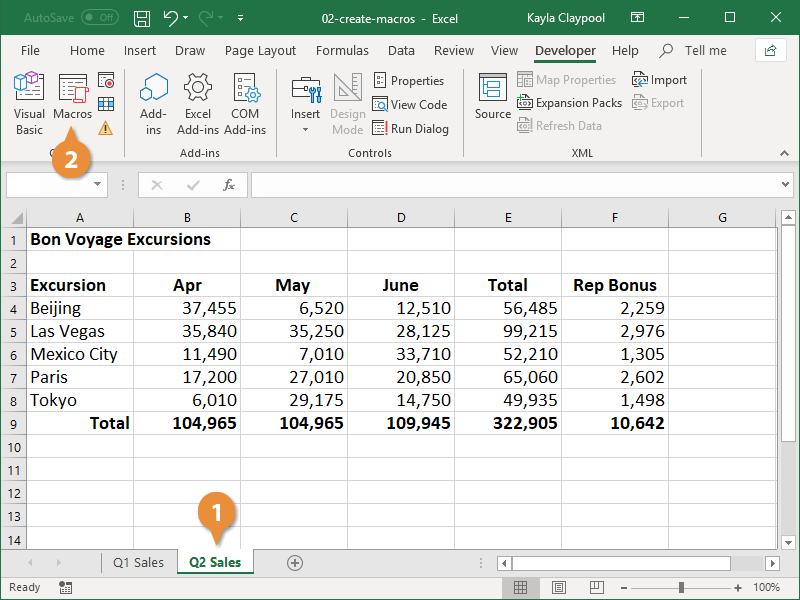
Run a Macro
Once you’ve recorded and saved a macro into a workbook, you can run it using the keyboard shortcut or view all the macros in a workbook and choose one to run directly.
- Select the sheet where you want to run a macro.
- Click the Macros button on the Developer tab.
All the available macros are listed in the Macros dialog box. From here, you can run a macro, edit it, create a new one, or delete macros that you no longer need.
- Select the macro you want to run.
- Click the Run button.
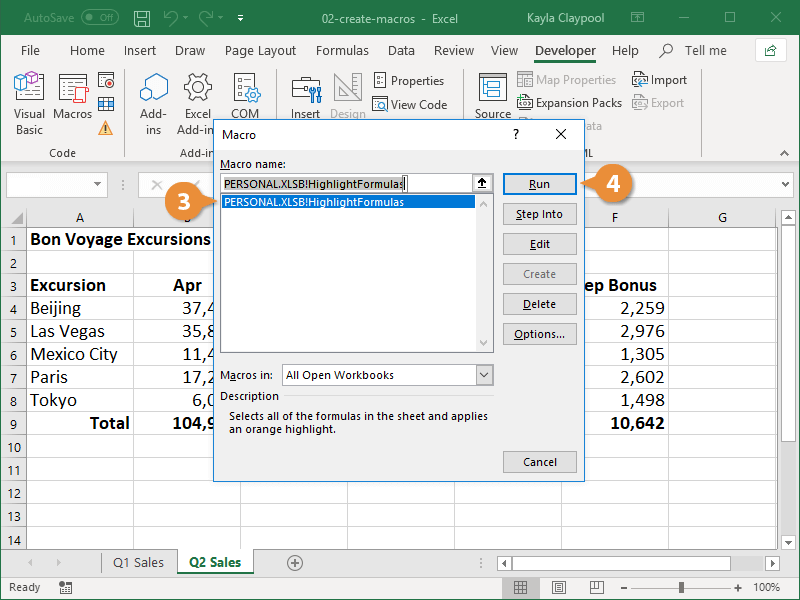
The selected macro is run.

FREE Quick Reference
Click to DownloadFree to distribute with our compliments; we hope you will consider our paid training.
- LinkedIn-ready certificate
- Skill assessments
- Bite-sized, interactive lessons
- Saved progress