
Password Protection
How to Use Password Protection in OneNote
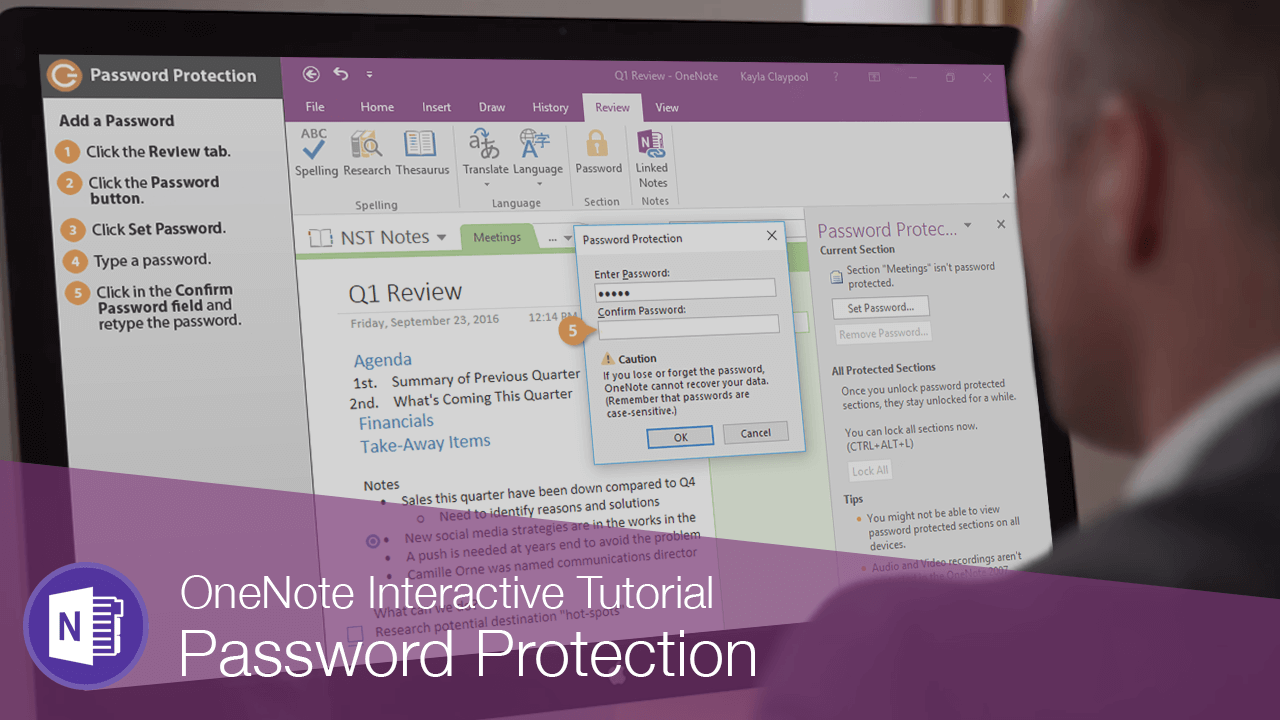
If you need to add some protection to your notebook, add a password to one or all of its sections.
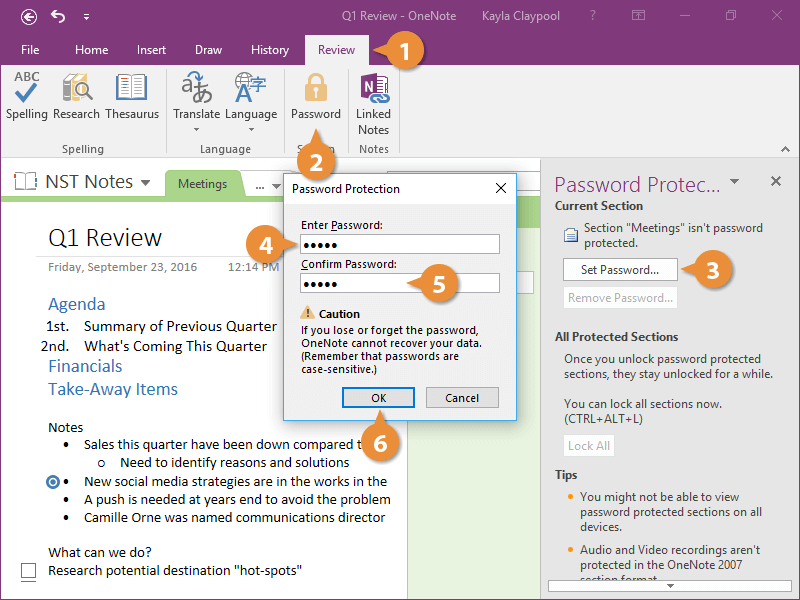
Add a Password
- Click the Review tab.
- Click the Password button.
- Click Set Password.
- Type a password.
- Click in the Confirm Password field and retype the password.
- Click OK.
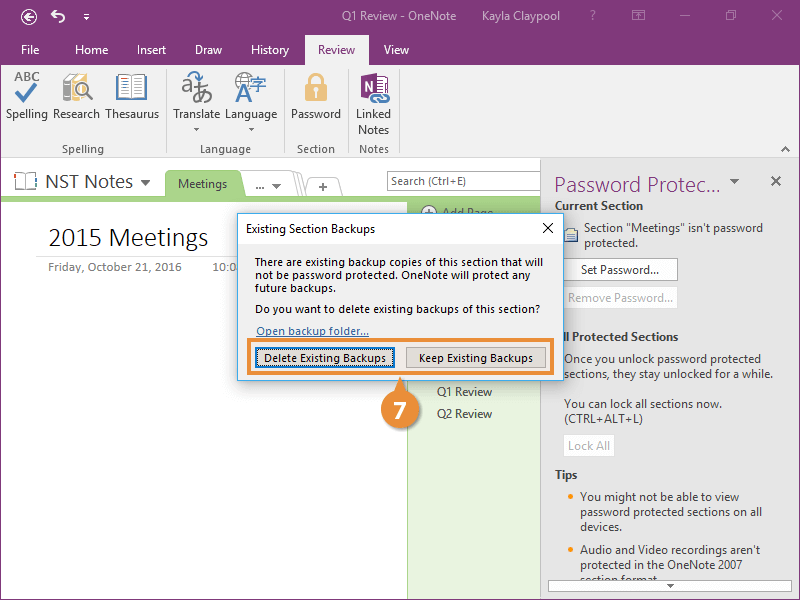
The dialog box lets you know there are backup copies of the notebook that aren't protected.
- Select a backup option.


Password Options
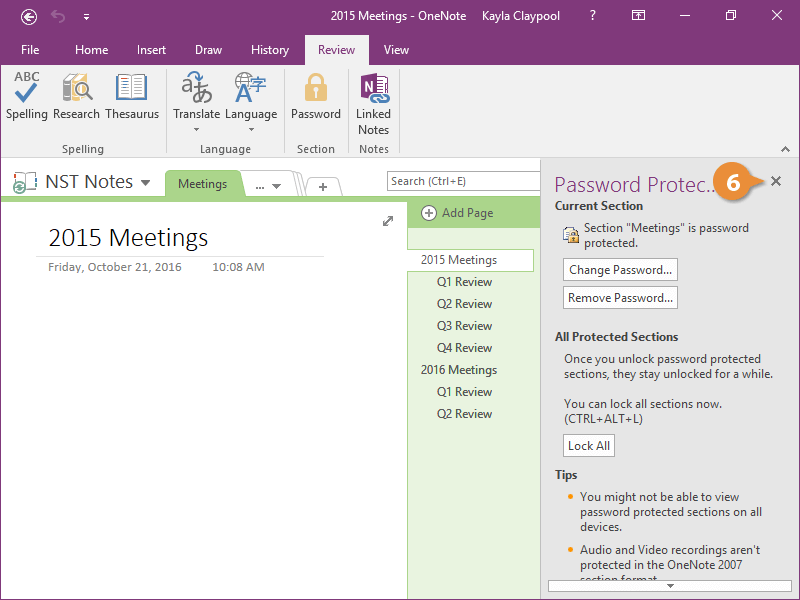
Now that there's a password set, you have the option to lock all the sections if you don't want anything to be seen.
- (Optional) Click Lock All.
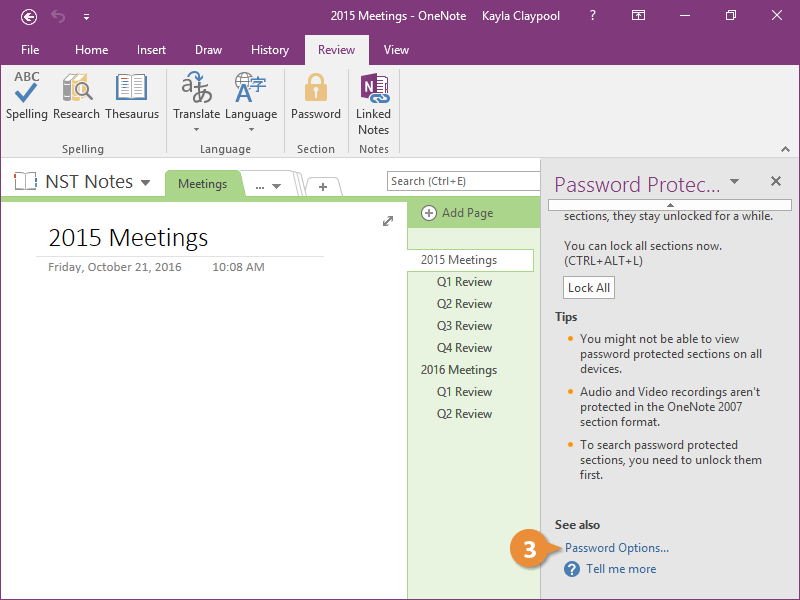
- Hover over the down arrow at the bottom of the pane.
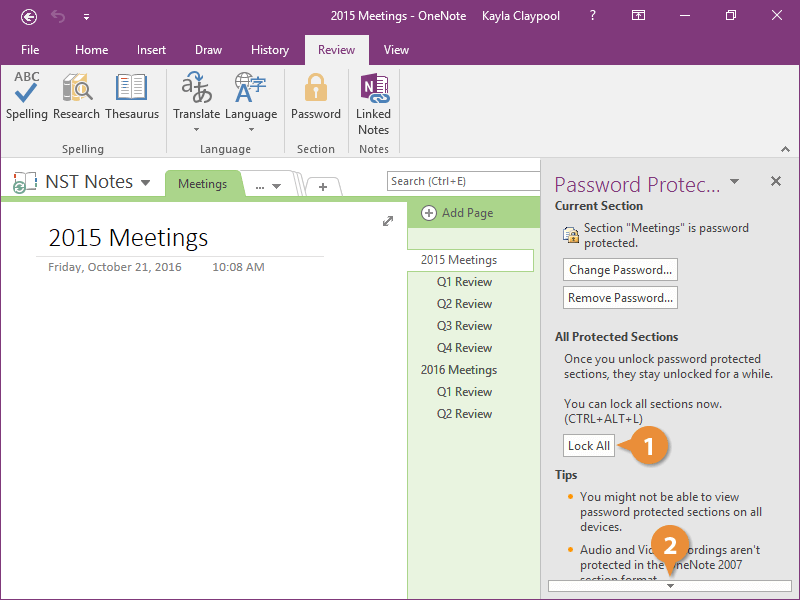
- Click Password Options.
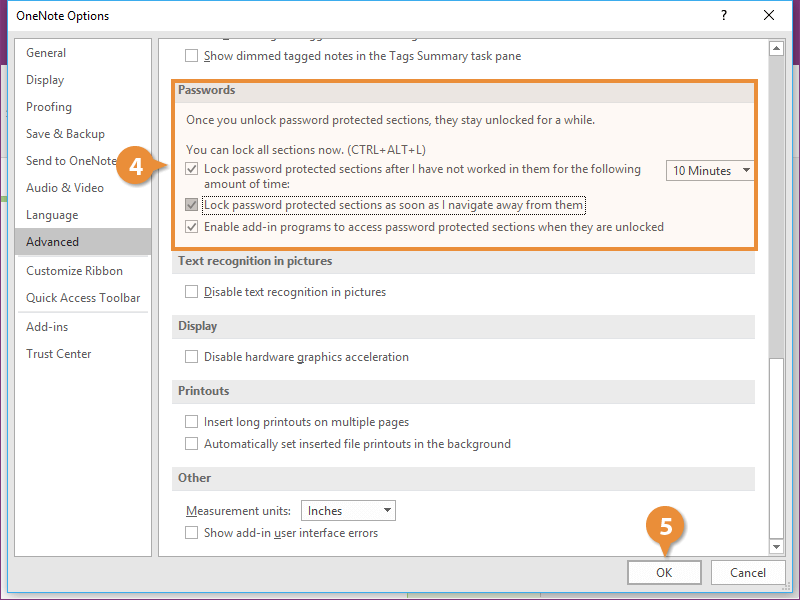
The OneNote Options dialog box opens and you see some password settings. You see here that the default is to have a section stay unlocked for ten minutes after you're done working in it.
- Modify the password options.
- Click OK.
- Close the Password Protection pane.


Unlock a Section
- Navigate to a different section.
- Navigate to the protected section.
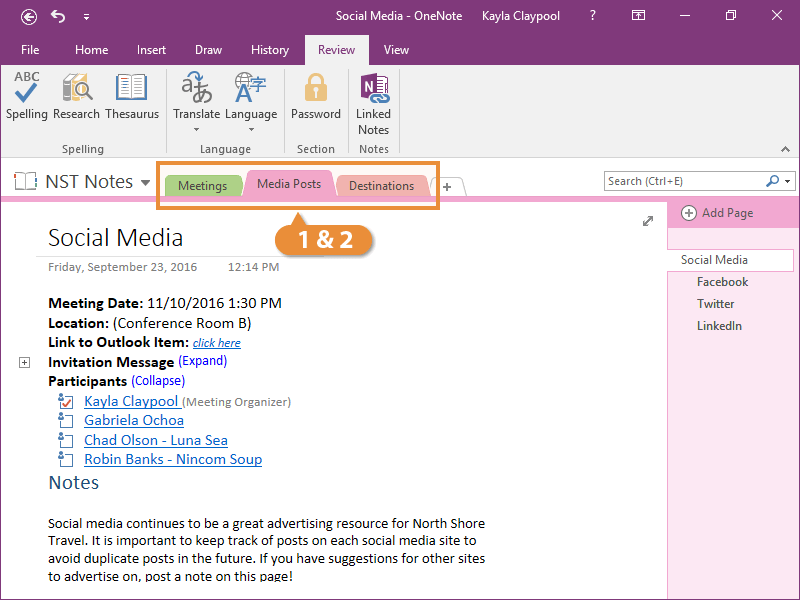
You are locked out and can't see the notes.
- Click the notebook page.
- Enter a password and click OK.


The section is unlocked and you can now edit the notes once again.
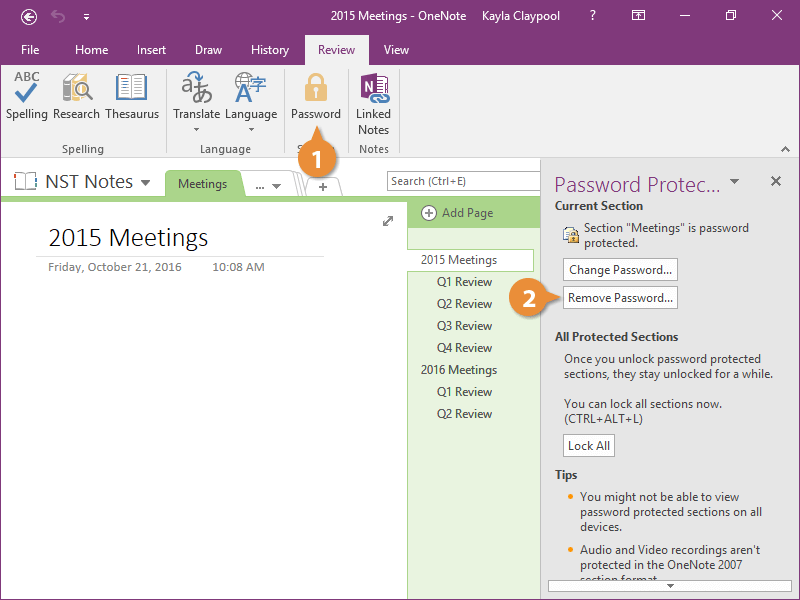
Remove a Password
Now if you no longer need a section to be protected, you can remove the password.
- Click the Password button on the Review tab.
- Click Remove Password.
You can also change the password here if needed.
- Enter the password and click OK.
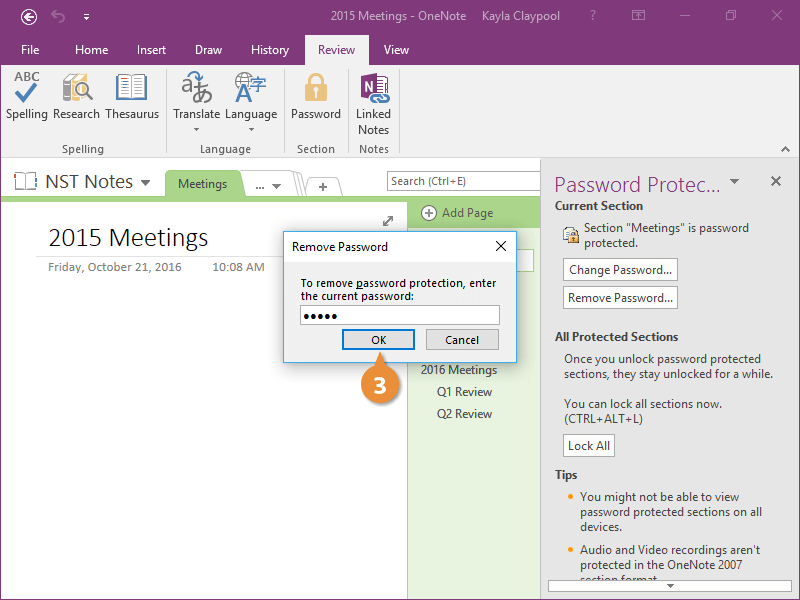


The password is removed from the section.

FREE Quick Reference
Click to DownloadFree to distribute with our compliments; we hope you will consider our paid training.
- LinkedIn-ready certificate
- Skill assessments
- Bite-sized, interactive lessons
- Saved progress