
Page Break in Word
How to Add and Remove Page Breaks in Word

While Word automatically manages when text flows to a new page in a document, you can also manually choose where a new page starts.
Insert Page Breaks
A page break is a special marker that will end the current page and start a new one.
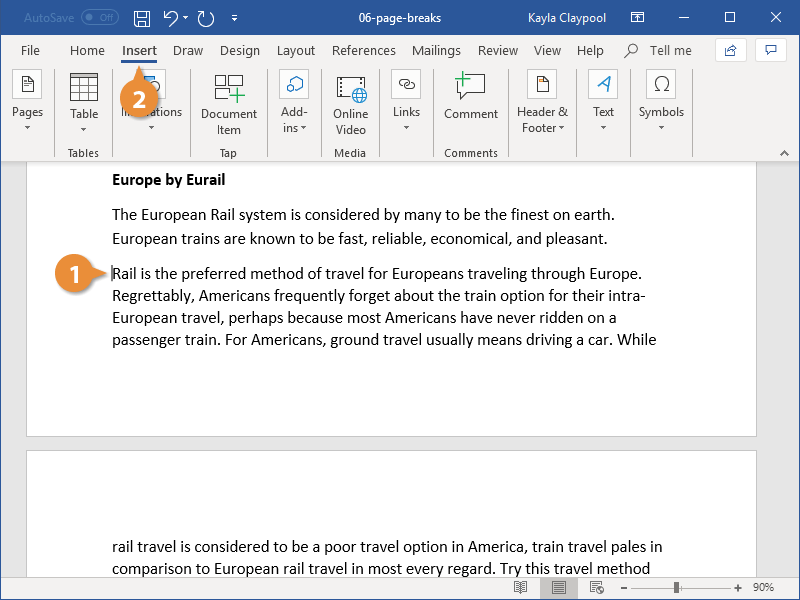
- Click to place your cursor where you want to start a new page.
- Click the Insert tab.
- If necessary, expand the Pages group by clicking it.
- Click the Page Break button.
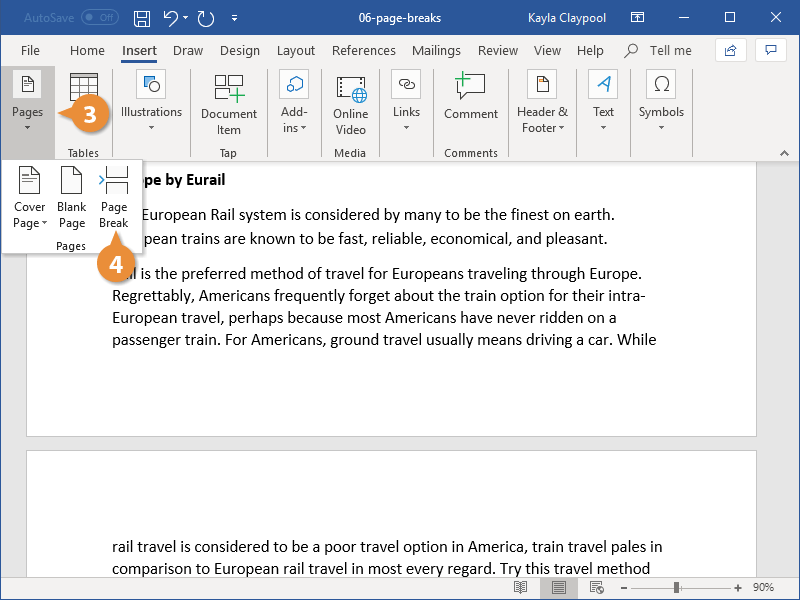
A page break is inserted, and any text after that point is moved to a new page.
You can also insert a page break by pressing Ctrl + Enter.
If you’d rather insert an entire blank page at the break, select Blank Page in the Pages group.
Remove a Page Break
If you decide later that you don't want the page break where you inserted it, you can remove it.
Page breaks are inserted as special hidden formatting marks, so to easily find and remove them, first show formatting marks.
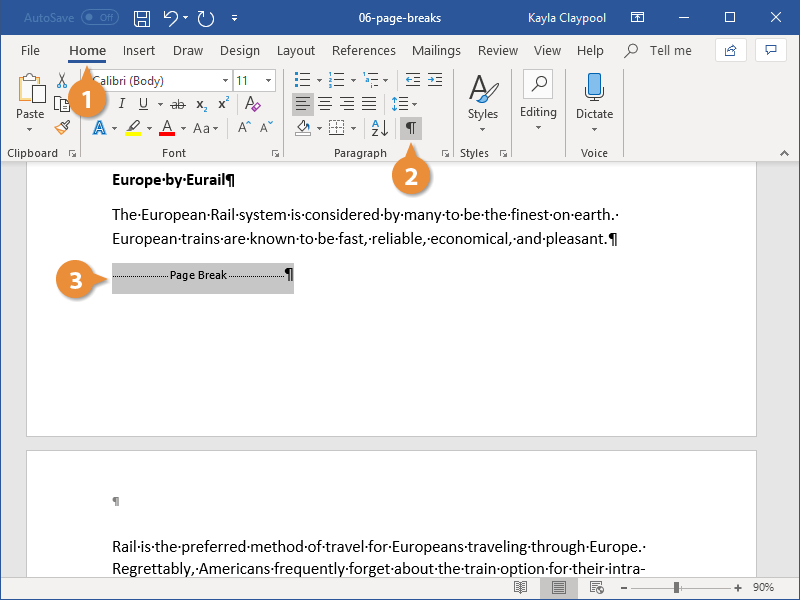
- Click the Home tab.
- Click the Show/Hide ¶ button.
This displays special punctuation characters in your document, such as spaces, paragraph markers, and most importantly for this lesson, page and section breaks.
- Double-click the page break to select it.
- Press Delete
The page break is deleted.
Insert a Blank Page
You can also insert an entire blank page at any point in the text.
- With your insertion point where you want the blank page added, click the Insert tab.
- Expand the Pages group, if necessary.
- Select Blank Page.
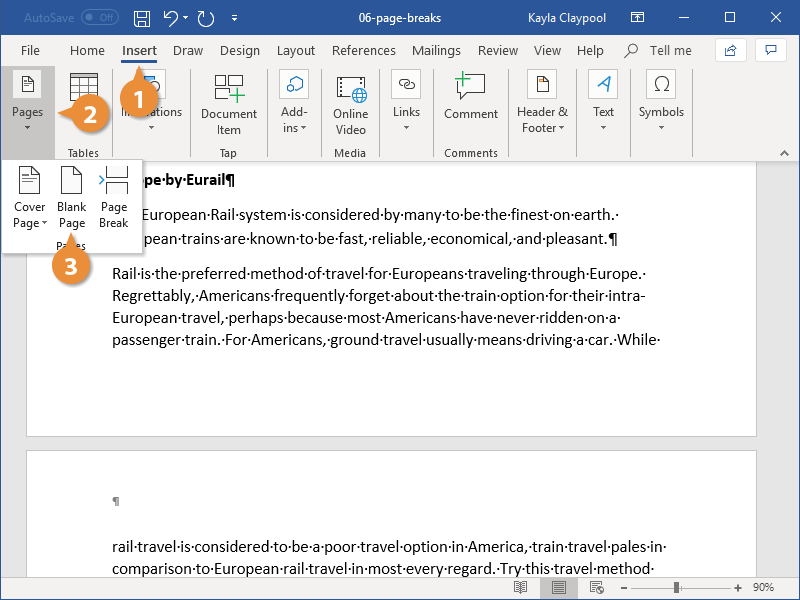
Two page-breaks are inserted, creating a full blank page before the text continues.
Use Paragraph Line and Page Breaks
You can also control breaks with paragraph formatting. For example, you can make sure an entire paragraph stays together on one page, or make sure a paragraph always starts on a new page.
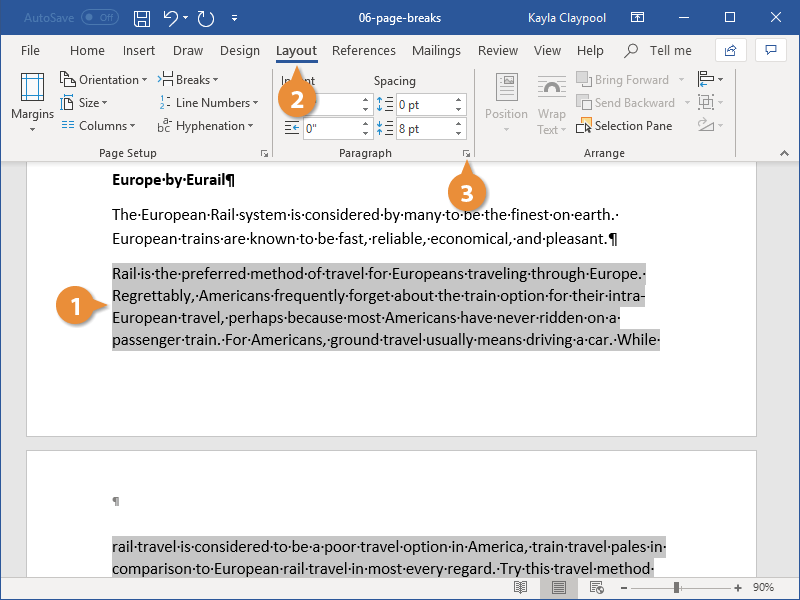
- Select the paragraph(s) that you want to format.
- Click the Layout tab.
- Click the Paragraph group's dialog box launcher.
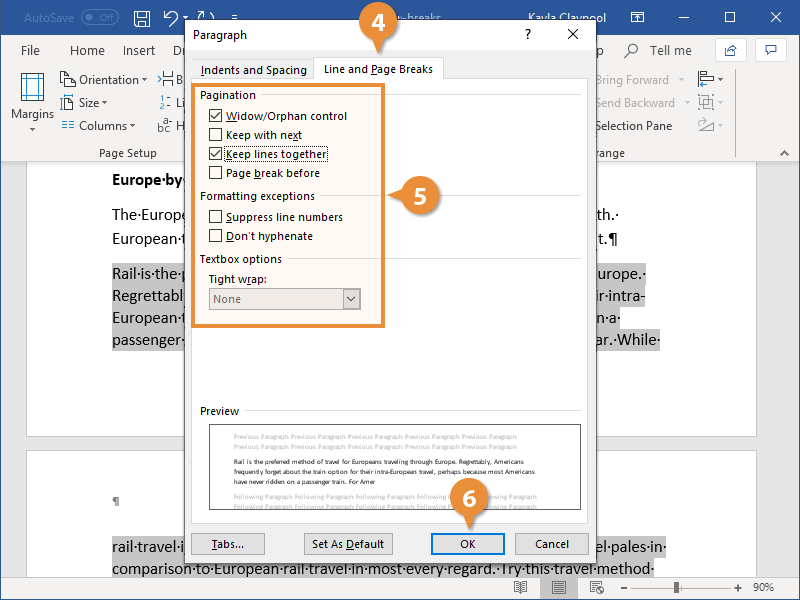
- Click the Line and Page Breaks tab.
- Use the options to set your formatting.
- Widow/Orphan control: prevents the last line of a paragraph (widow), or the first line of a paragraph (orphan) from appearing by themselves on a page. An additional line will be moved up or down with the widow or orphan.
- Keep with next: will prevent the page from breaking between the selected paragraph and the following one.
- Keep lines together: will prevent the page from breaking within the selected paragraph.
- Page break before: will add a page break before the selected paragraph.
- Click OK.
There are several options here that control how a paragraph will break across pages.
The line and page break options are applied to the selected paragraph(s).

FREE Quick Reference
Click to DownloadFree to distribute with our compliments; we hope you will consider our paid training.
- LinkedIn-ready certificate
- Skill assessments
- Bite-sized, interactive lessons
- Saved progress