
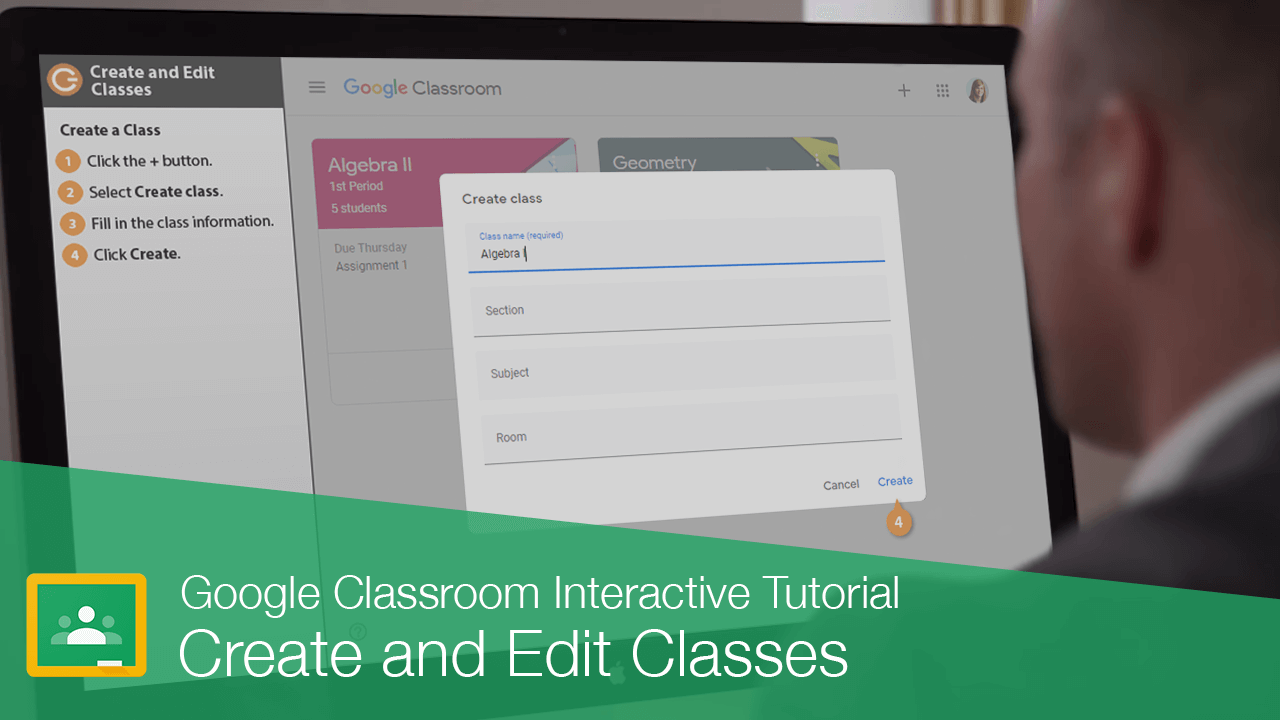
Create and Edit Classes
How to Create and Edit Classes in Google Classroom
One of the first things teachers do to get started in Classroom is create classes. You’ll create a separate class for each of the classes you teach. Depending on your situation, you might only need to add a single class, or you may add 10 or more.
Create a Class
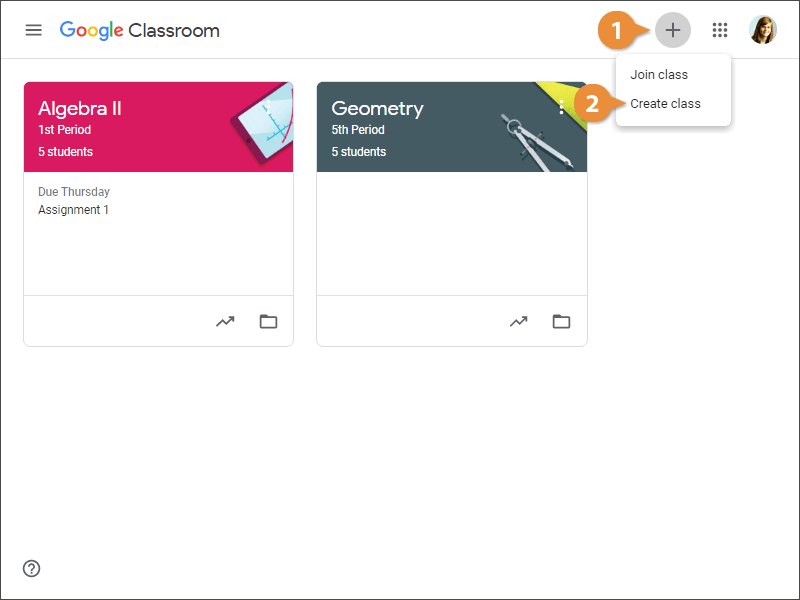
- Click the + button.
- Select Create class.
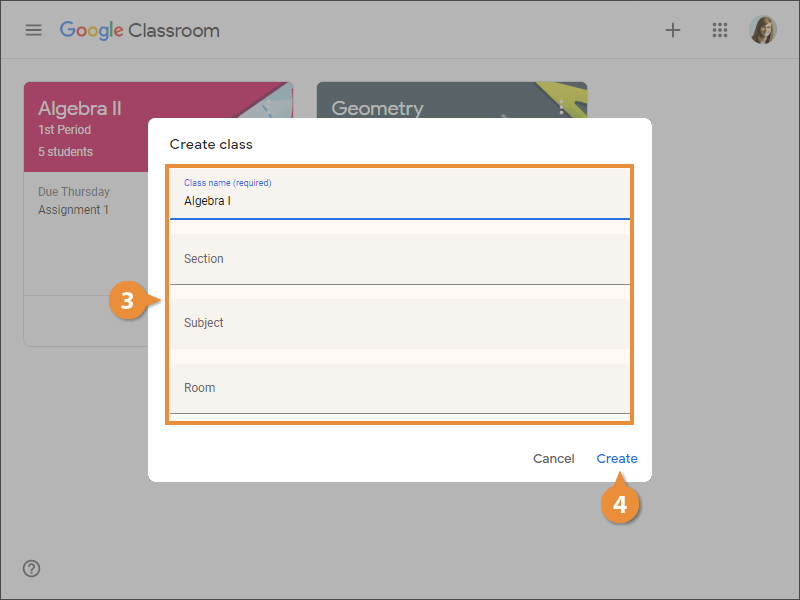
The Create class dialog box appears where you fill in the class information.
- Fill in the class information.
Add as many details as you can. You can change these settings later from the Class settings page.
- Class Name: Enter the class name. This is the only required field.
- Section: If you teach more than one segment of a class, enter a description, time, or grade level for each one. You may teach Algebra I three times a day, so you’ll want to designate each section using this field. For example, 2nd period.
- Subject: Type a subject for the class or select one from the list that appears when you start typing. For example, Math.
- Room: Enter the class location.
- Click Create.
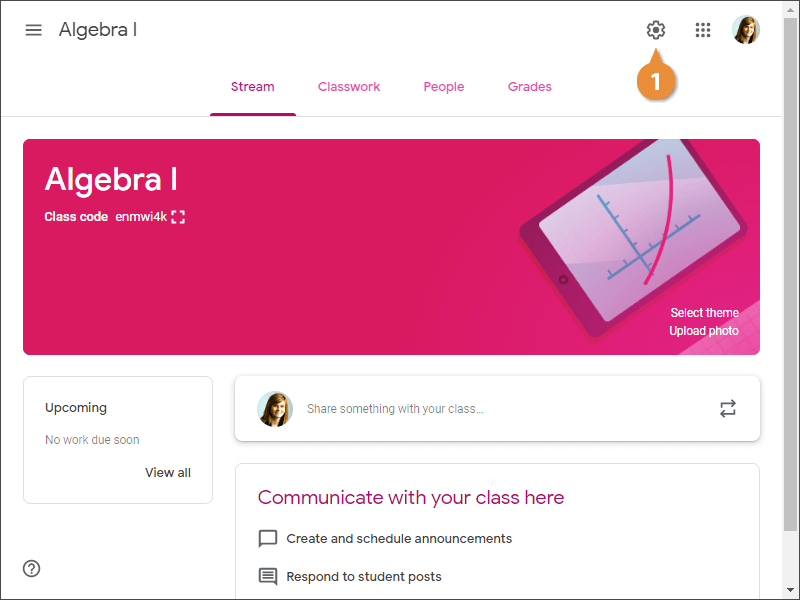
It'll take a few moments for your class to be created. When it's ready, the class page displays.
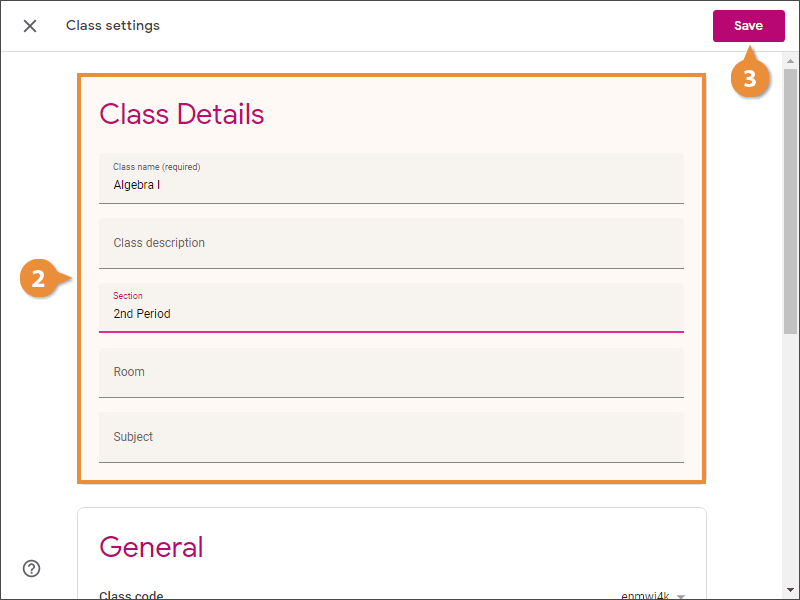
Edit Class Details
After a class is created, you still have the ability to edit the class details.
- Click the Settings button on the class page.
On the Class settings page, you have the same class details available as when creating the class.
- Edit the class details as needed.
- Click Save.
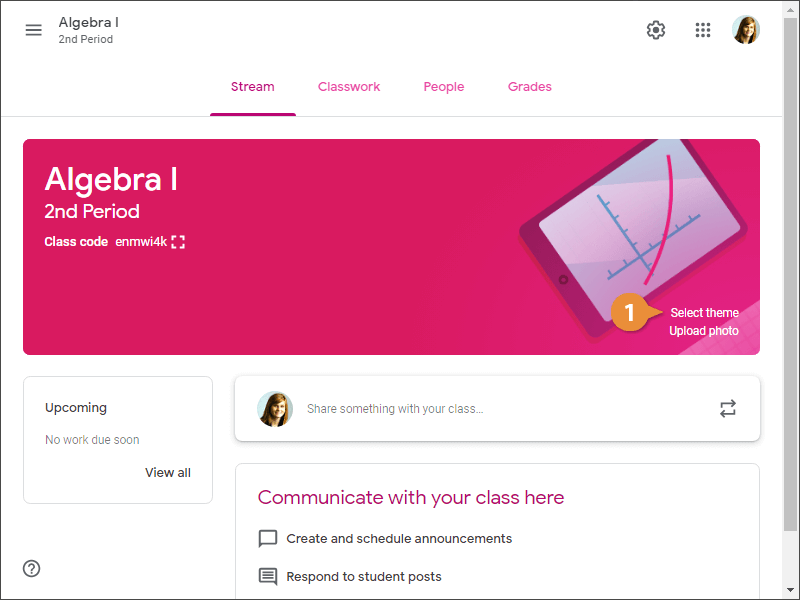
Apply a Class Theme
At first, Classroom automatically assigns a theme to the class, but you can change it. The image or pattern you choose displays at the top of the class’s Stream page. The theme image chosen by the teacher is visible to everyone and cannot be customized by students.
- Click Select theme.
If you have your own image to add, you could also click Upload photo and select a picture that’s saved to your computer.
- Choose a theme category.
- Choose a theme.
- Click Select class theme.
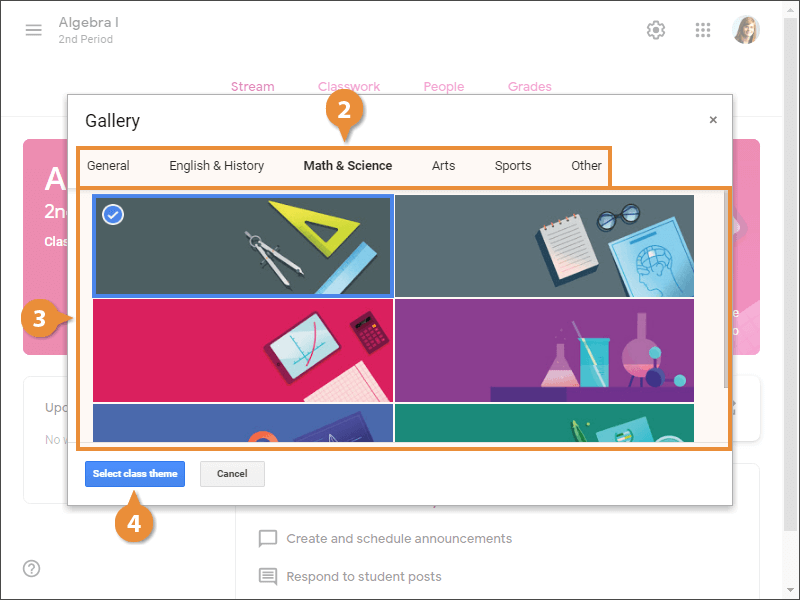
The theme is applied, updating both the header image and the color of the tabs at the top of the page.

FREE Quick Reference
Click to DownloadFree to distribute with our compliments; we hope you will consider our paid training.
- LinkedIn-ready certificate
- Skill assessments
- Bite-sized, interactive lessons
- Saved progress